

How do I crochet a pair of mittens or gloves, and what are some tips for fitting and shaping them? Crochet Techniques
How do I crochet a pair of mittens or gloves, and what are some tips for fitting and shaping them?
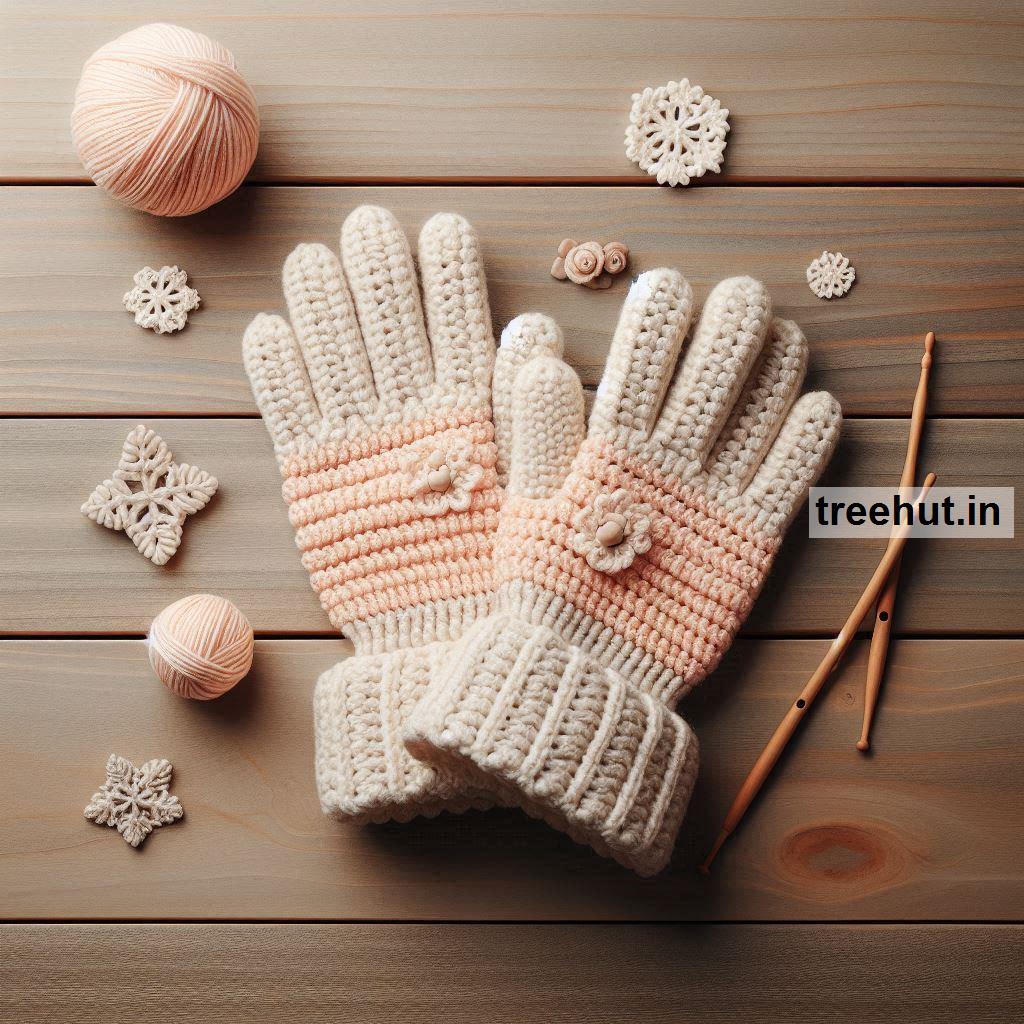
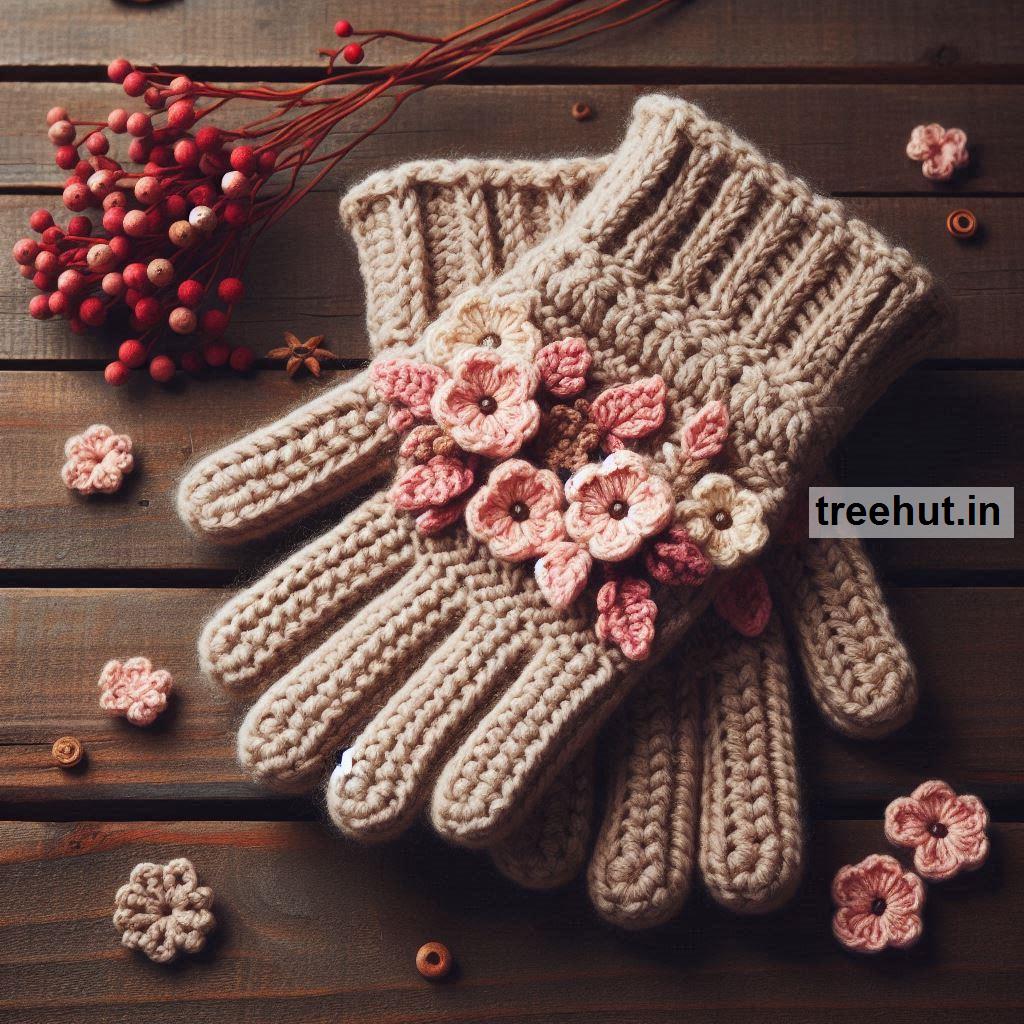
Crocheting mittens or gloves can be a fun and rewarding project, especially as it allows you to create a custom fit and style. Here’s a detailed guide on how to crochet mittens or gloves, along with tips for fitting and shaping:
How to Crochet Mittens or Gloves:
Choose a Pattern:
- Mittens: Mittens are simpler and usually involve creating a tube with a thumb opening. Patterns often include a cuff, body, and a thumb gusset.
- Gloves: Gloves are more complex, requiring separate fingers. Patterns will guide you through creating the palm, fingers, and thumb.
Select Yarn:
- Yarn Weight: Choose a yarn weight appropriate for the season and warmth. Worsted weight is common for warmer mittens, while lighter yarns may be used for cooler weather.
- Fiber Content: Opt for yarn that is soft and durable. Wool or acrylic blends are popular choices for mittens and gloves, as they offer both warmth and ease of care.
- Color: Select colors based on personal preference or the recipient’s style. Variegated yarns can add visual interest.
Choose a Hook Size:
- Hook Size: Use a crochet hook that matches your yarn weight. Refer to the yarn label for recommended hook sizes or follow the pattern instructions.
Crochet the Cuff:
- Foundation Chain: Start by crocheting a foundation chain to match the wrist size. Work in ribbing (e.g., alternating front post and back post stitches) or another cuff pattern for a snug fit.
- Join in the Round: Join the end of the chain to form a circle, and crochet in rounds or rows to create the cuff.
Work the Main Body:
- Main Tube: Continue crocheting in the round or in rows to form the main body of the mitten or glove. Follow the pattern’s instructions for increasing or shaping as needed.
- Thumb Opening: Leave space for the thumb if making mittens. Patterns will specify where and how to create the opening.
Create the Thumb (for Mittens):
- Thumb Gusset: Add a thumb gusset by increasing stitches in the thumb area, then work in rounds or rows to form the thumb.
- Thumb Hole: After creating the thumb gusset, continue crocheting until the thumb is the desired length. Attach the thumb to the mitten if it’s worked separately.
For Gloves (Work the Fingers):
- Finger Stubs: Create each finger individually by crocheting small tubes. Attach them to the palm of the glove according to the pattern instructions.
- Shaping: Shape each finger by decreasing stitches as you approach the fingertip.
Finish and Assemble:
- Close Ends: Finish off any open ends or seams. Weave in loose ends with a yarn needle.
- Add Edging (Optional): Add an optional edging or trim for a polished look. This could be a simple single crochet border or a decorative trim.
Tips for Fitting and Shaping:
Measure Your Hands: Take accurate measurements of your hand, including the circumference of the wrist, palm, and fingers. This helps ensure a proper fit.
Check Gauge: Make a gauge swatch before starting to ensure your mittens or gloves will fit correctly. Adjust your hook size if necessary.
Try on as You Go: If possible, try on the mittens or gloves as you crochet to check the fit. This allows you to make adjustments as needed.
Consider Stretch: Yarn with some elasticity, like blends with spandex, can help ensure a better fit and comfort.
Follow the Pattern: Adhere closely to the pattern instructions for shaping and fitting. Patterns are designed to guide you through the necessary increases, decreases, and shaping techniques.
Add Custom Touches: Personalize your mittens or gloves with embellishments, such as buttons, embroidery, or color changes, to make them unique.
By following these steps and tips, you can create a well-fitting pair of mittens or gloves that are both functional and stylish.