




Strawberry Crochet Cushion Ideas in Granny Stitch
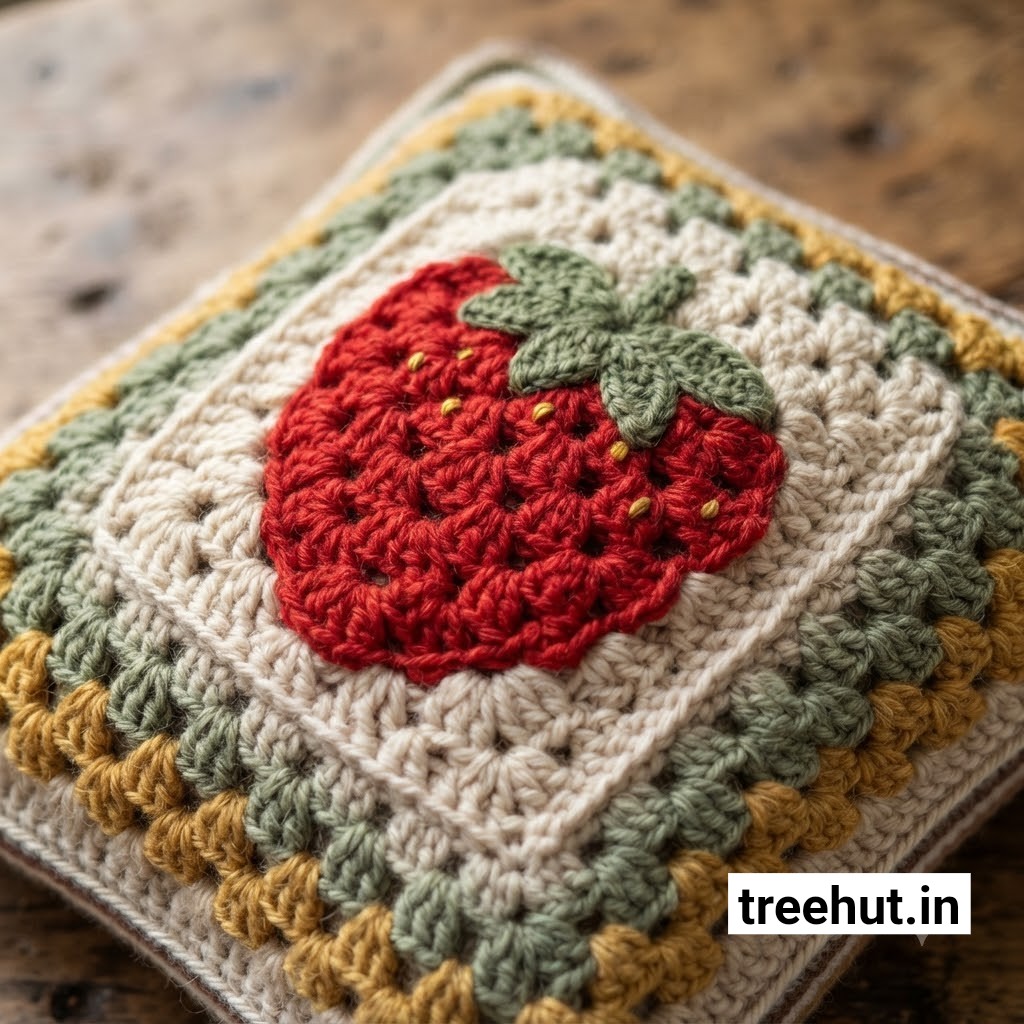
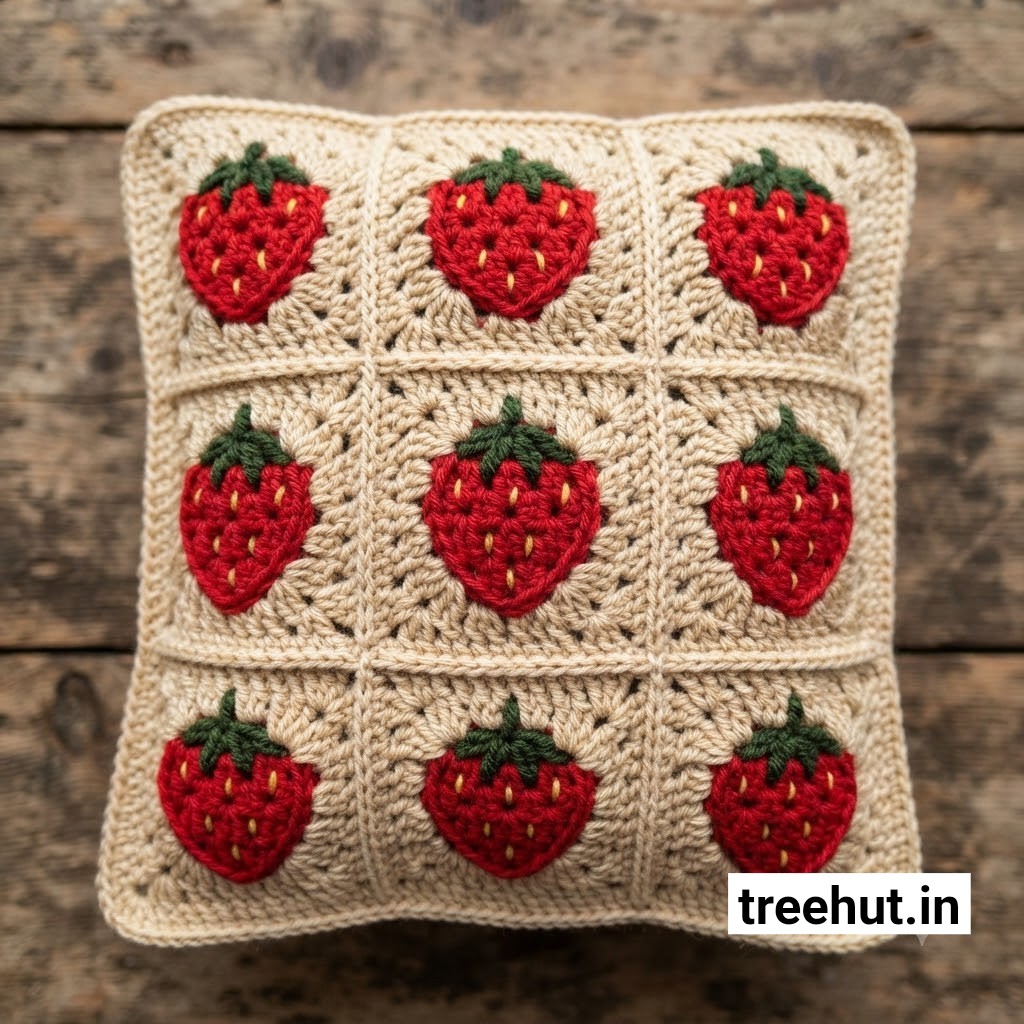
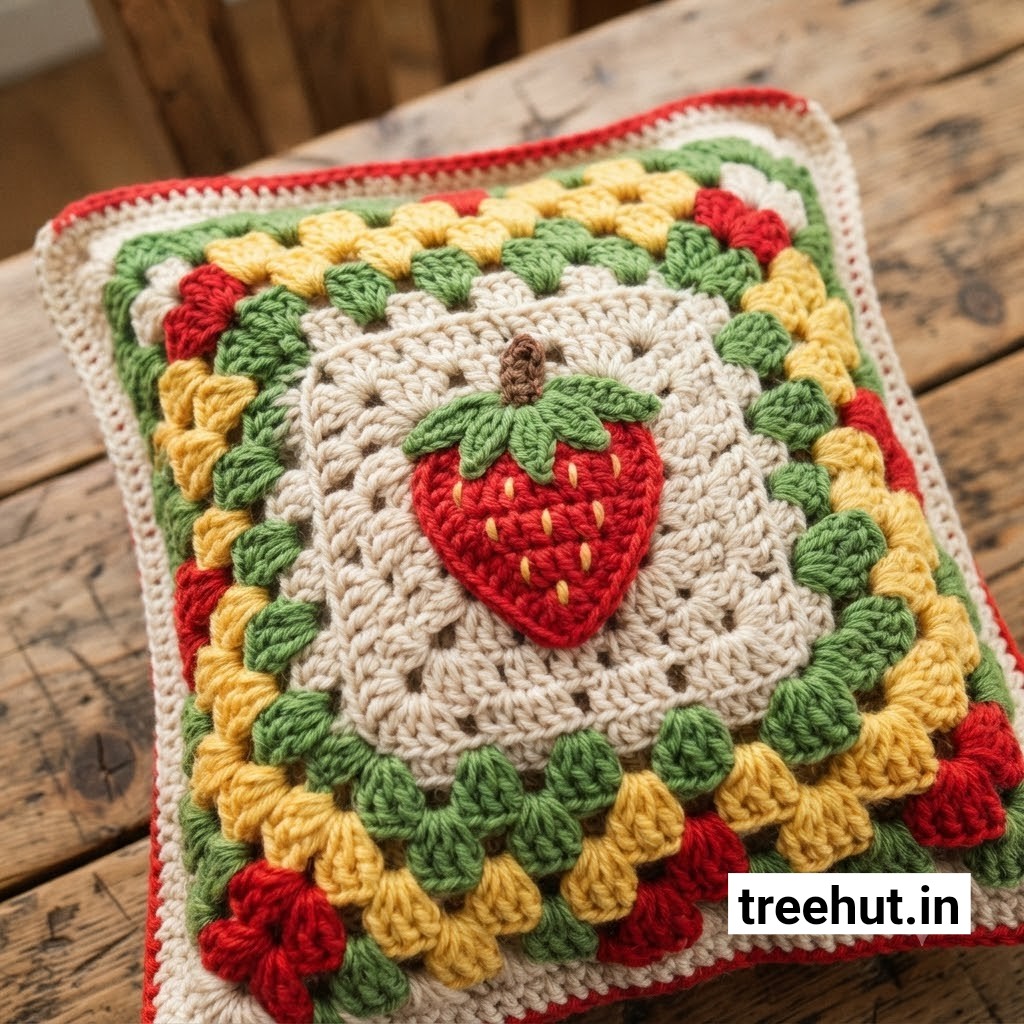
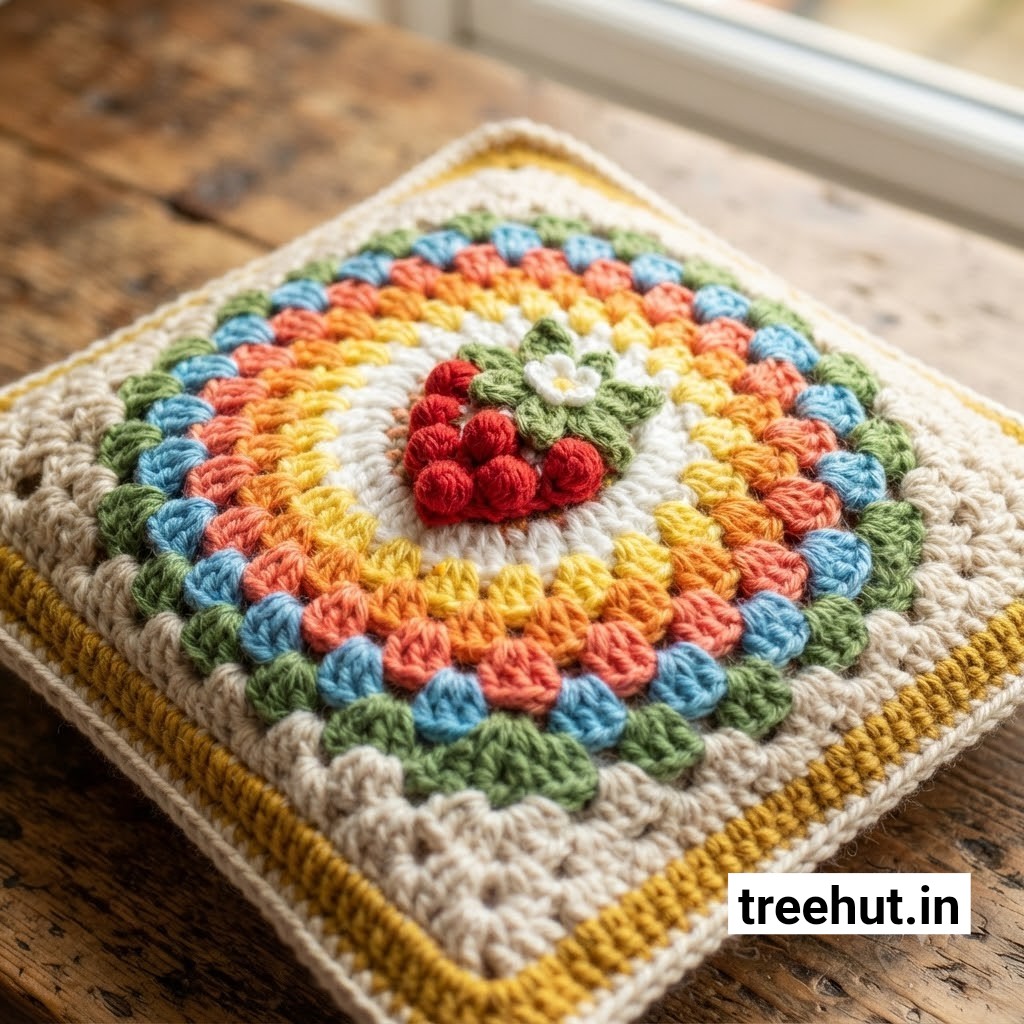
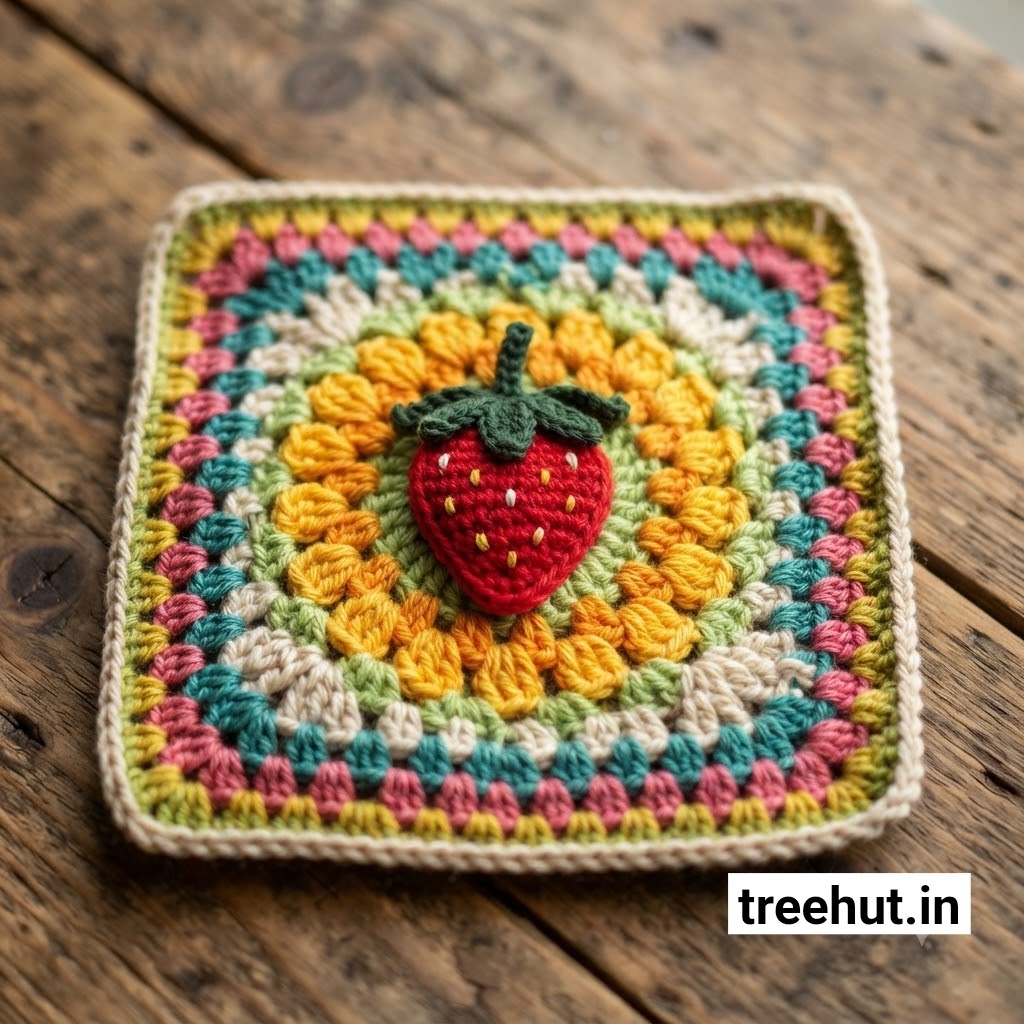
Create charming Strawberry Crochet Cushions using the classic granny stitch! These delightful cushions are perfect for adding a touch of whimsy to your home decor. Below, you’ll find design ideas, a simple step-by-step guide, and practical tips to help you craft the perfect strawberry cushion.
Design Idea Variations:
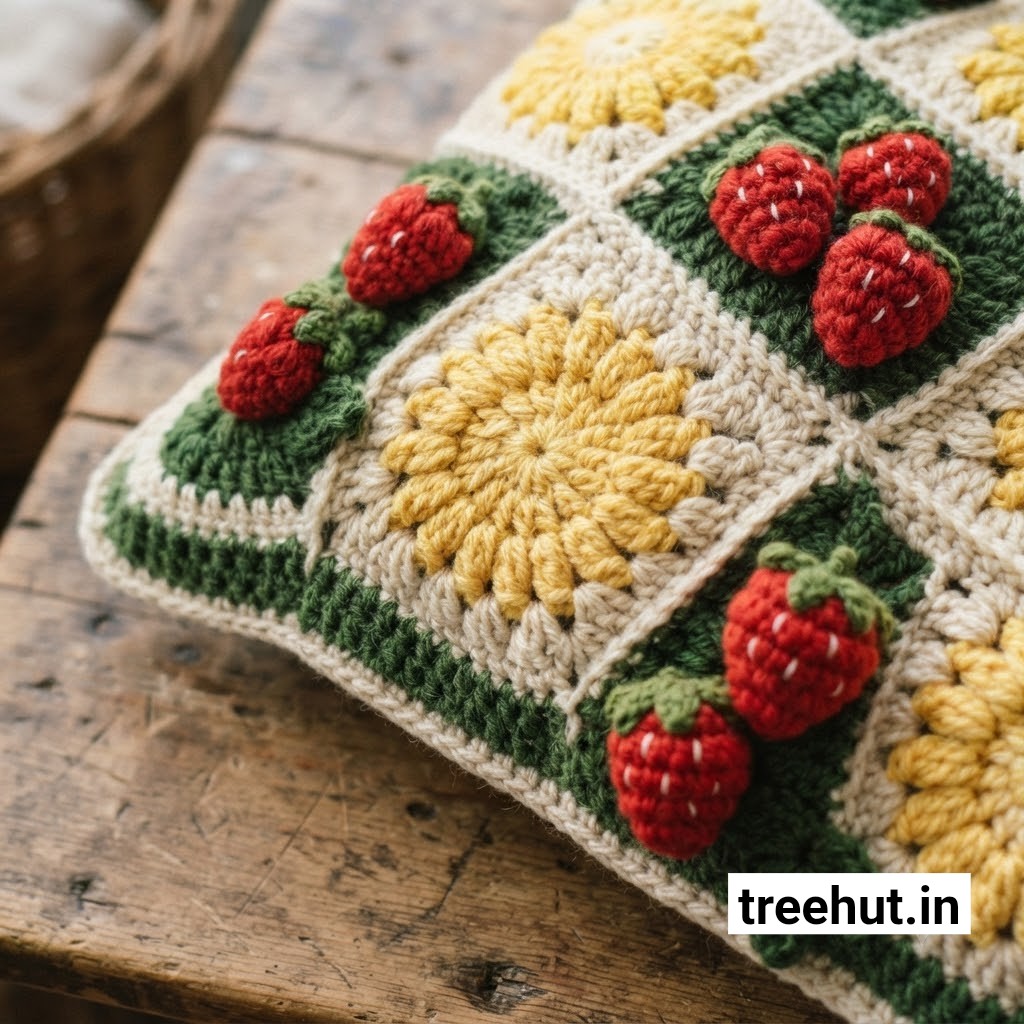
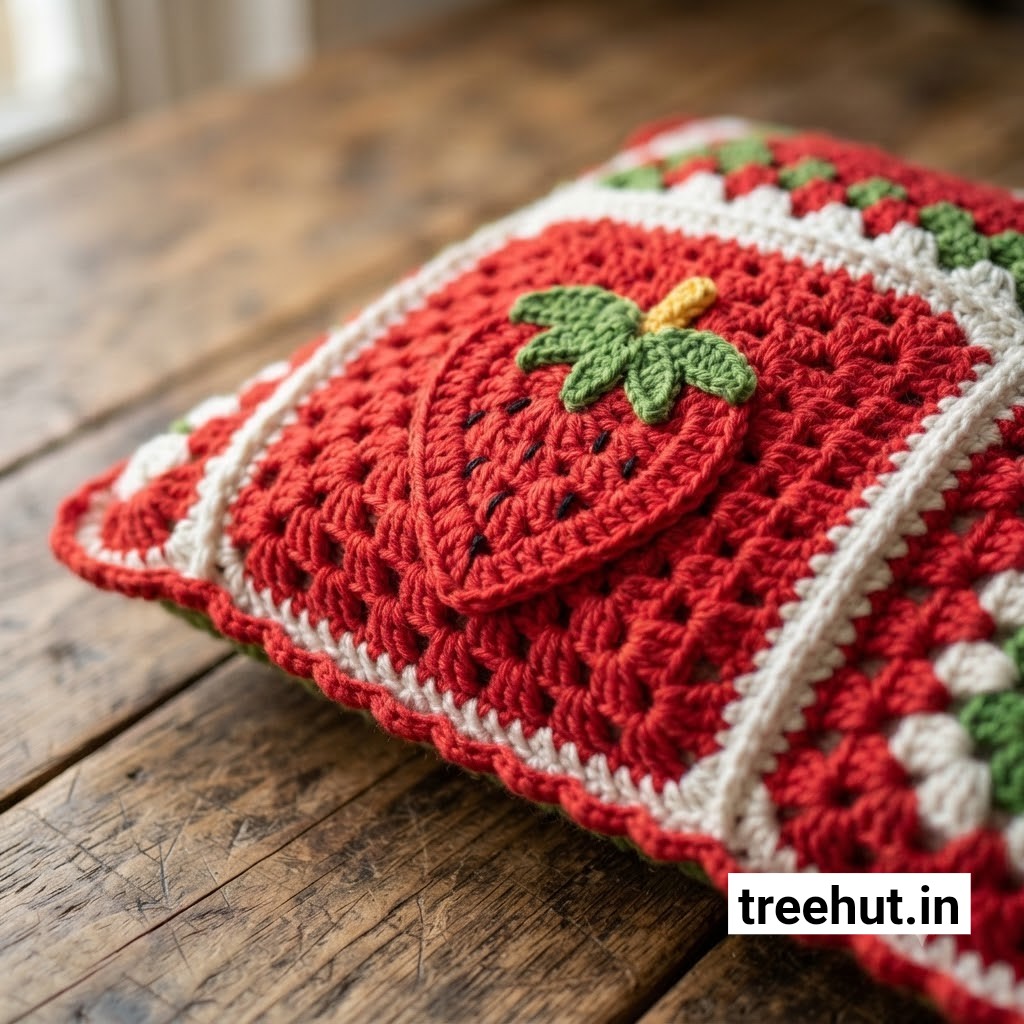
Classic Strawberry Cushion: A bright red cushion with green leaves and tiny white seeds for a traditional look. Use worsted weight yarn for a sturdy yet soft finish.
Mini Strawberry Set: Create a set of smaller cushions in varying sizes, perfect for decorating shelves or gifting as a bundle. Use lightweight yarn for a delicate touch.
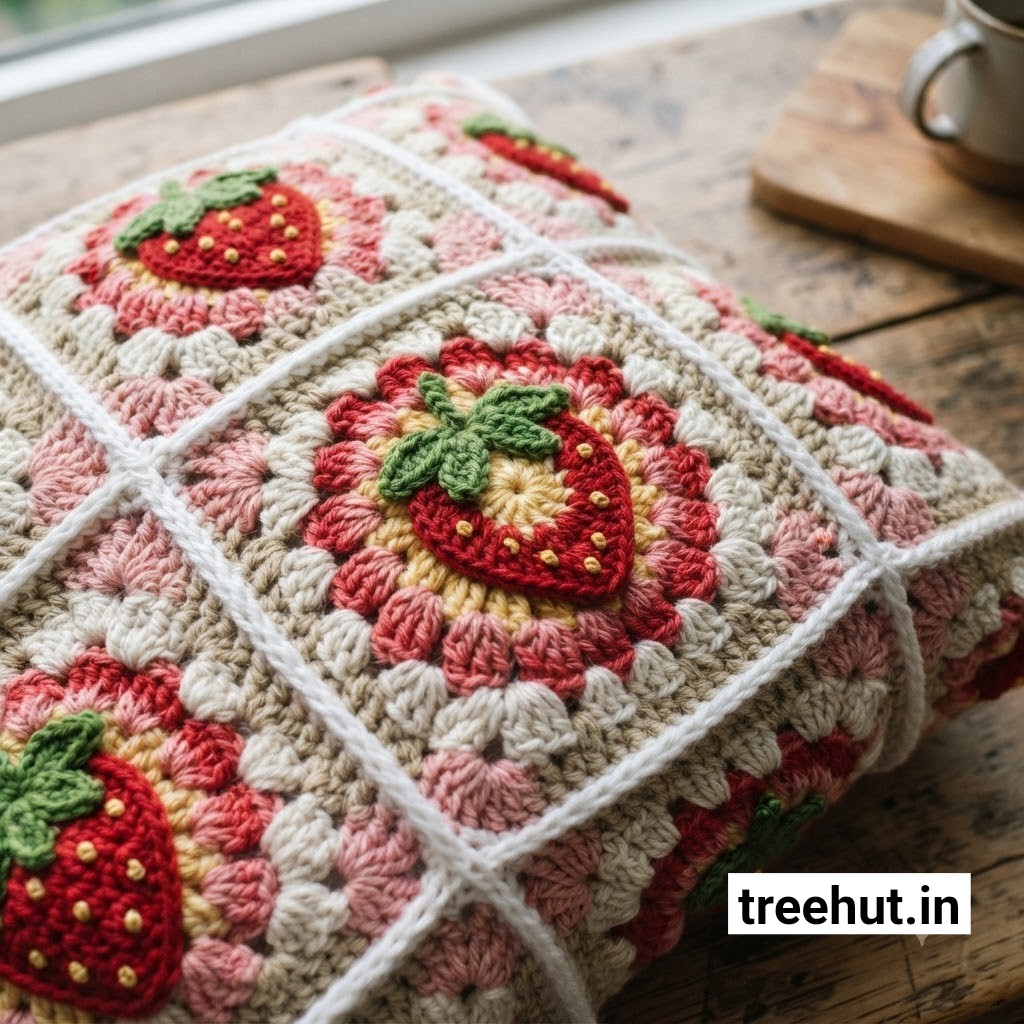
Strawberry Patch Cushion: Combine multiple strawberries into one large cushion, stitching them together in a patchwork style. This design works well with chunky yarn for a cozy feel.
Strawberry Heart Cushion: Add a heart shape in the center of the strawberry for a romantic twist. This design is ideal for Valentine’s Day or anniversary gifts.
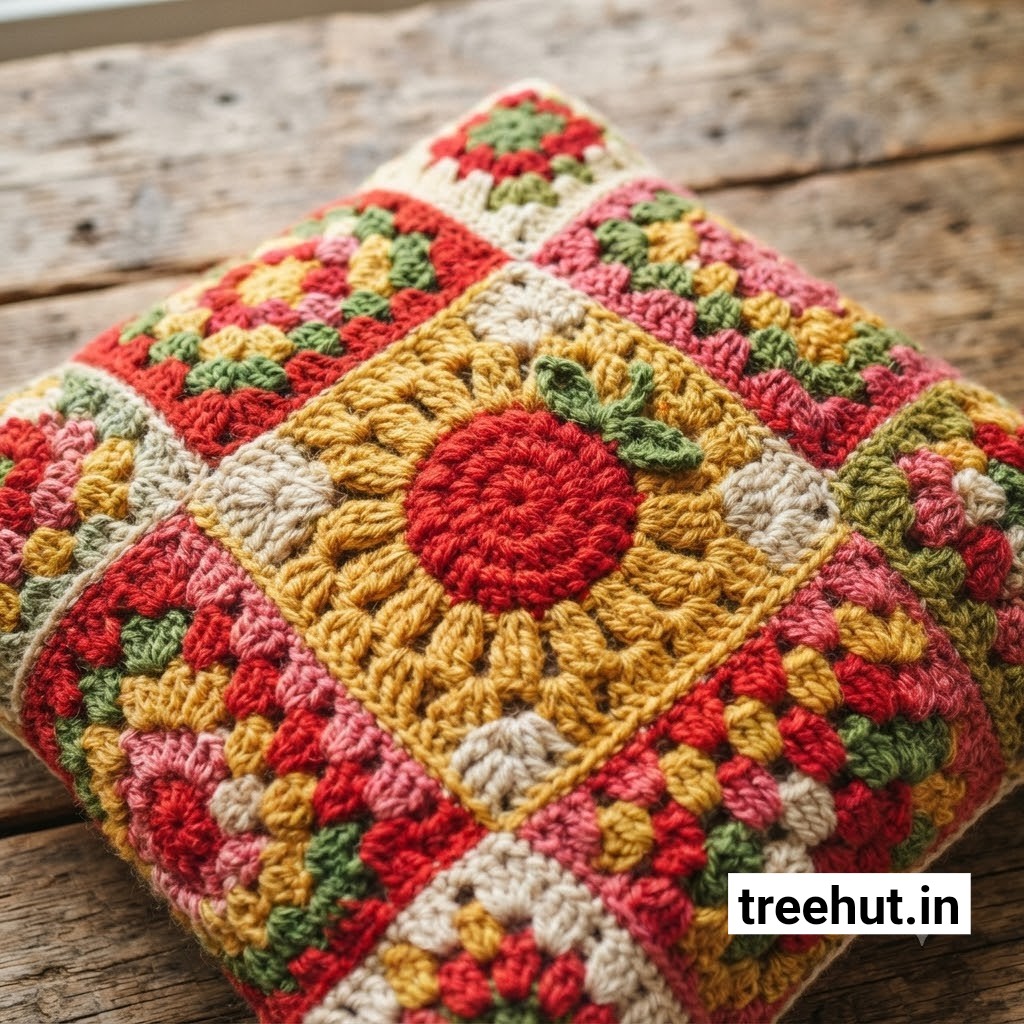
Rainbow Strawberry Cushion: Use pastel or rainbow-colored yarn for a playful, modern take on the classic strawberry. This design is great for nurseries or children’s rooms.
Step-by-Step Basic Method:
To make a basic strawberry granny stitch cushion, you’ll need worsted weight yarn (red, green, and white), a 5mm crochet hook, fiberfill stuffing, and a yarn needle. Start by crocheting a circle in red yarn using the granny stitch. Increase stitches evenly until the circle reaches your desired size (about 12–14 inches in diameter for a standard cushion). Switch to green yarn for the leaves, crocheting small triangles or a leafy border around the top. Add tiny white stitches for seeds using a simple embroidery technique. Once the front and back panels are complete, sew them together, leaving a small opening to stuff with fiberfill. Close the opening, and your cushion is ready!
Practical Tips:
Use a stitch marker to keep track of your rounds, especially if you’re a beginner. This will help you avoid mistakes and ensure even stitching. For a professional finish, block your cushion panels before sewing them together. If you’re gifting or selling, consider adding a removable cover for easy washing. These cushions are perfect for brightening up living rooms, bedrooms, or even outdoor spaces. They also make thoughtful handmade gifts for birthdays, housewarmings, or holidays. Happy crocheting!