


Patchwork Bunny school bag, Spring Patchwork Design Ideas
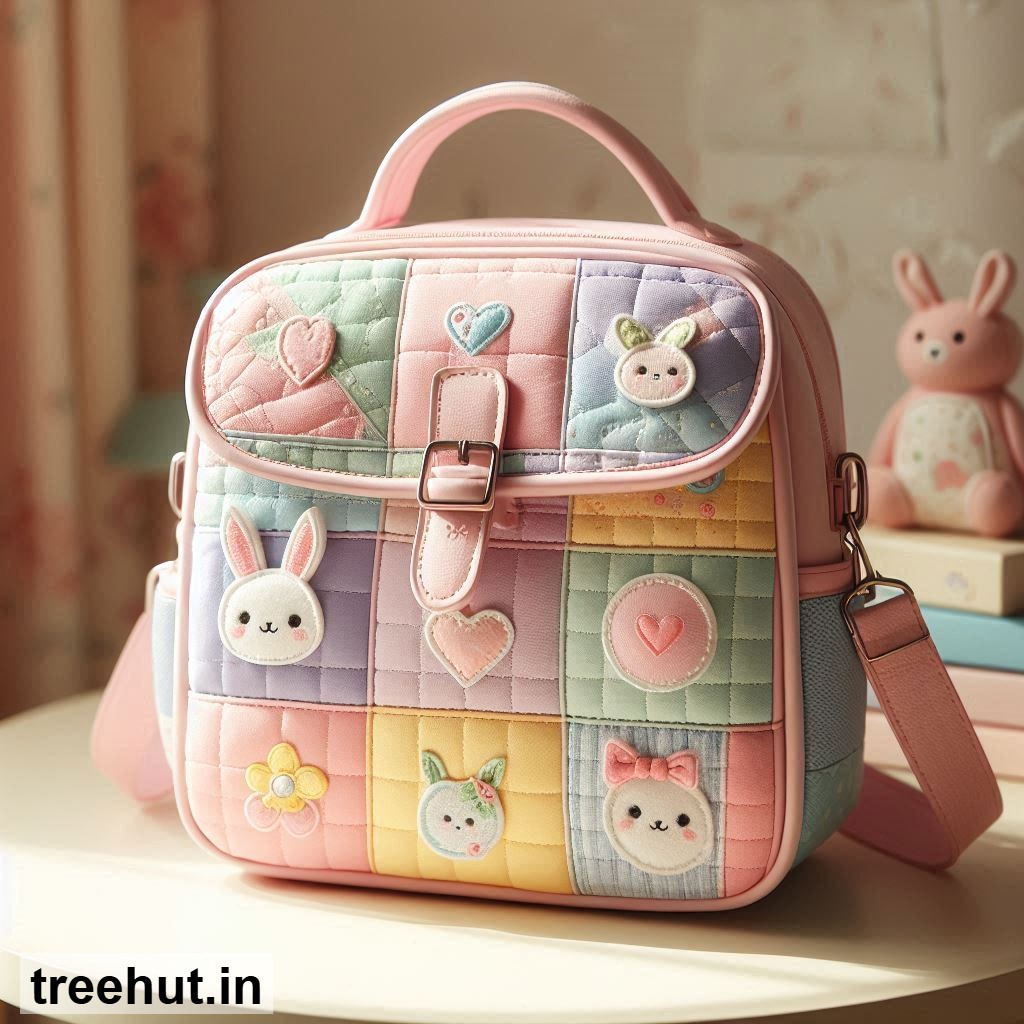
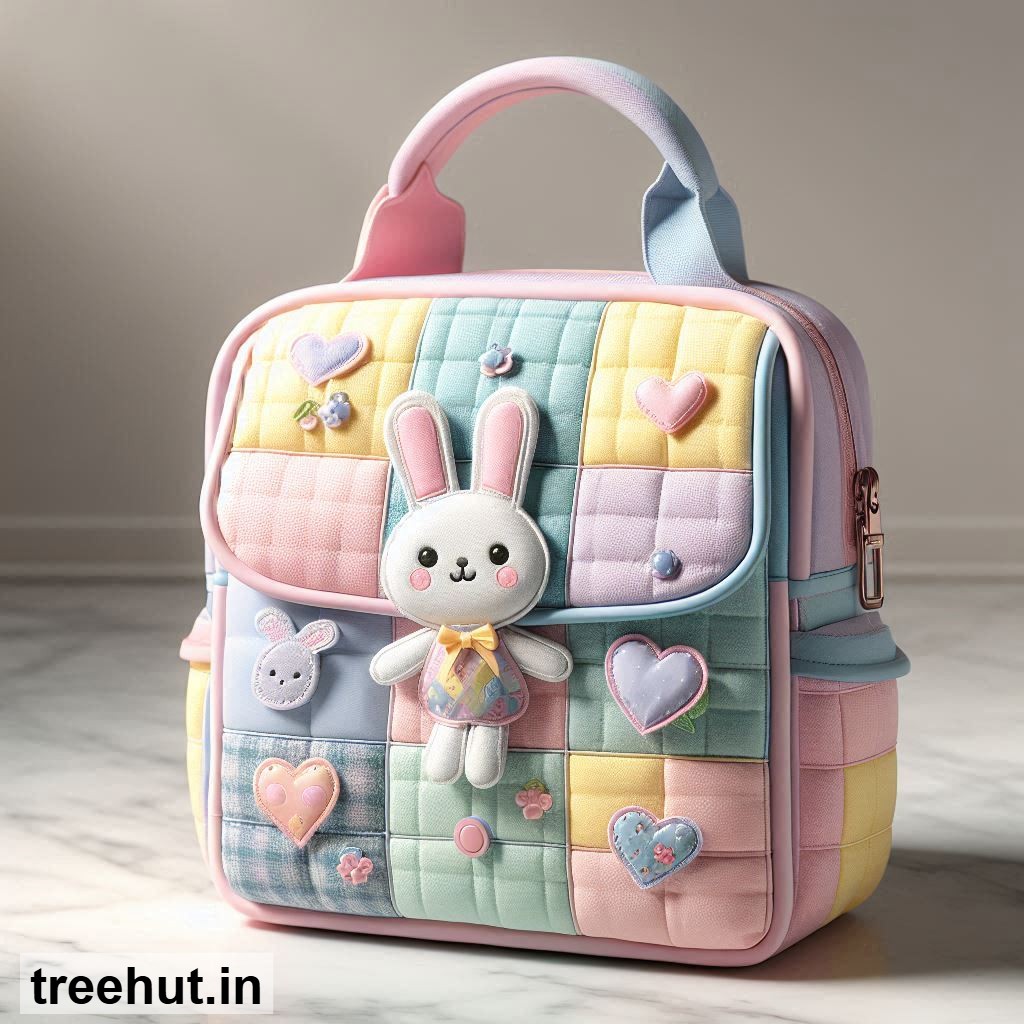
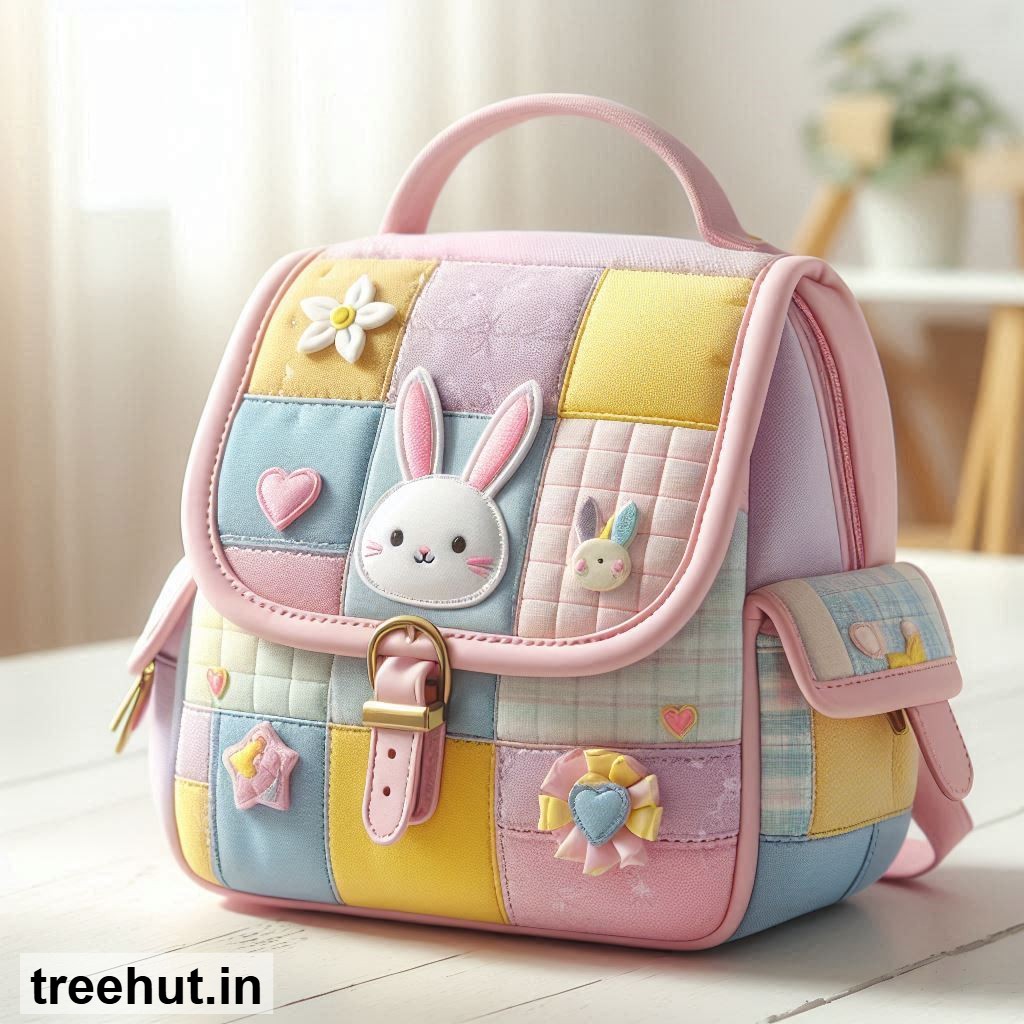
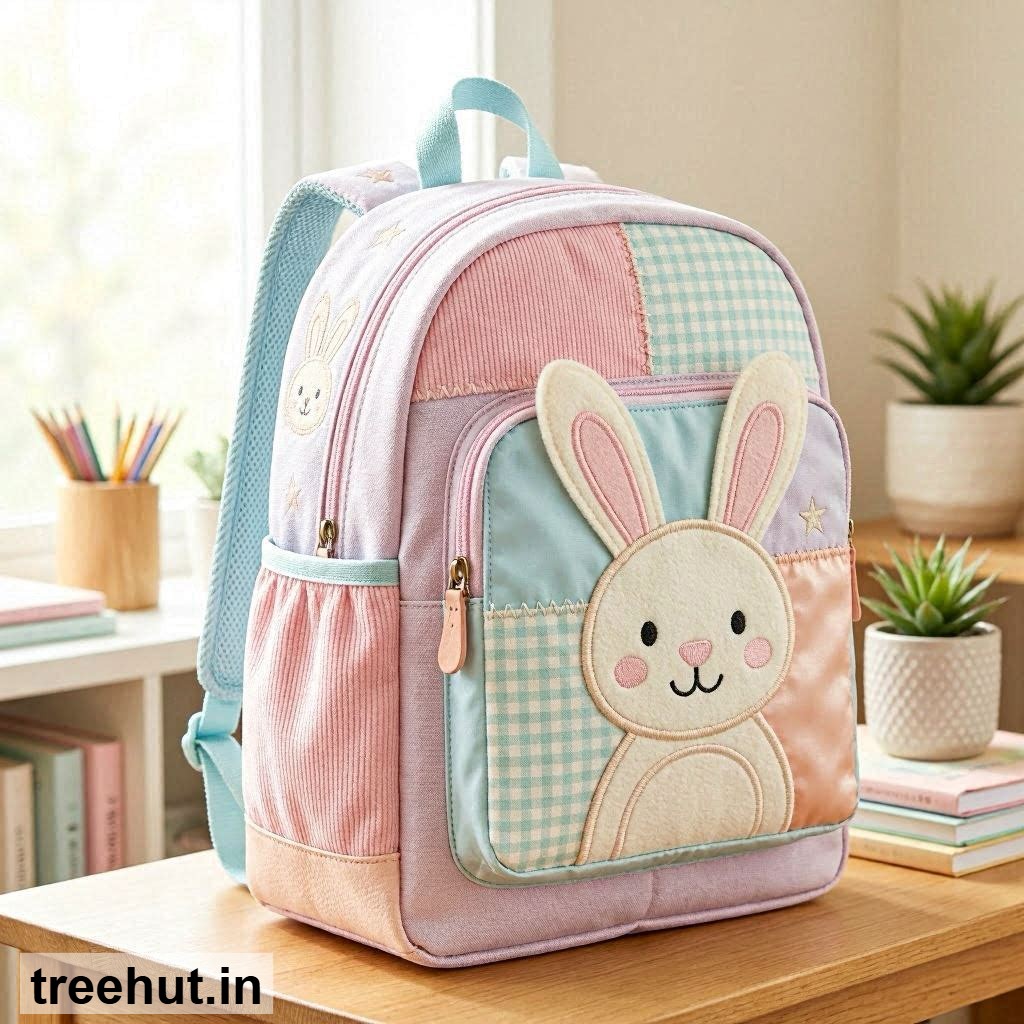
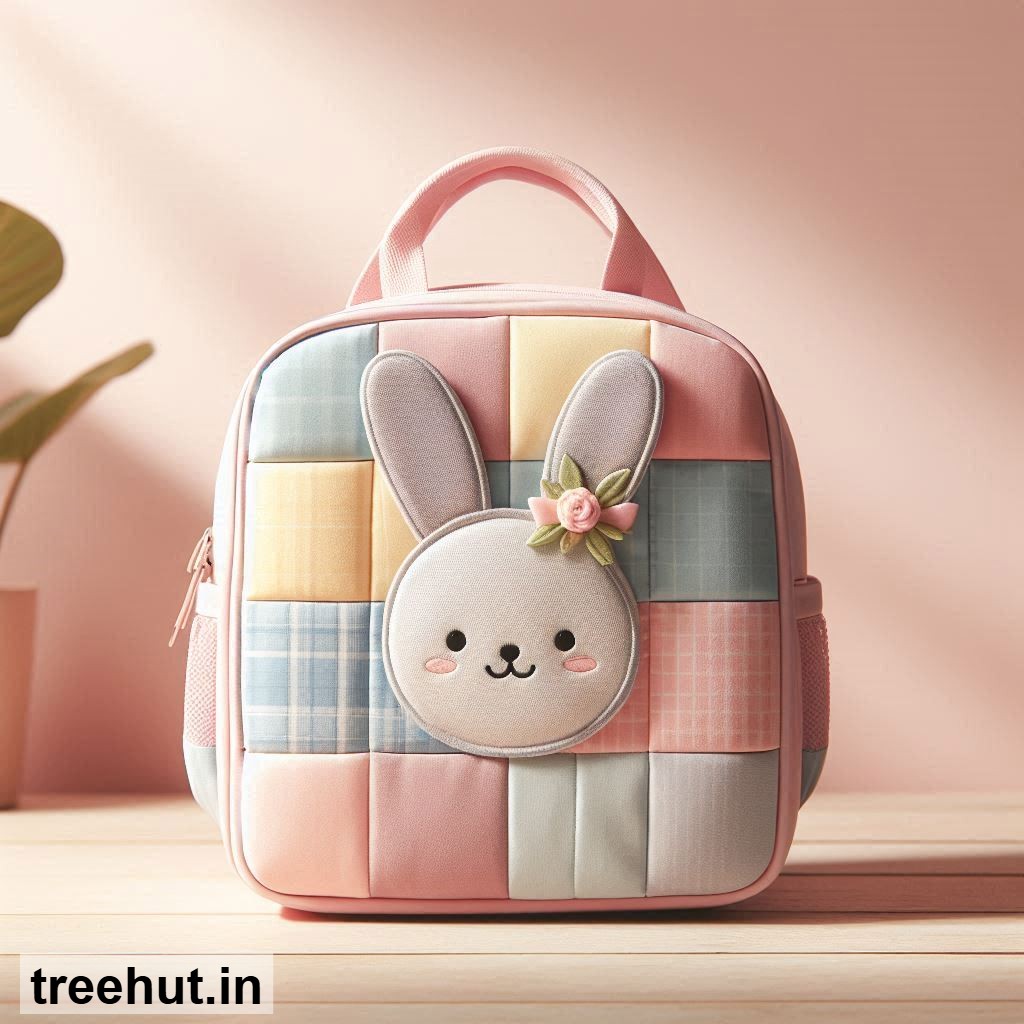
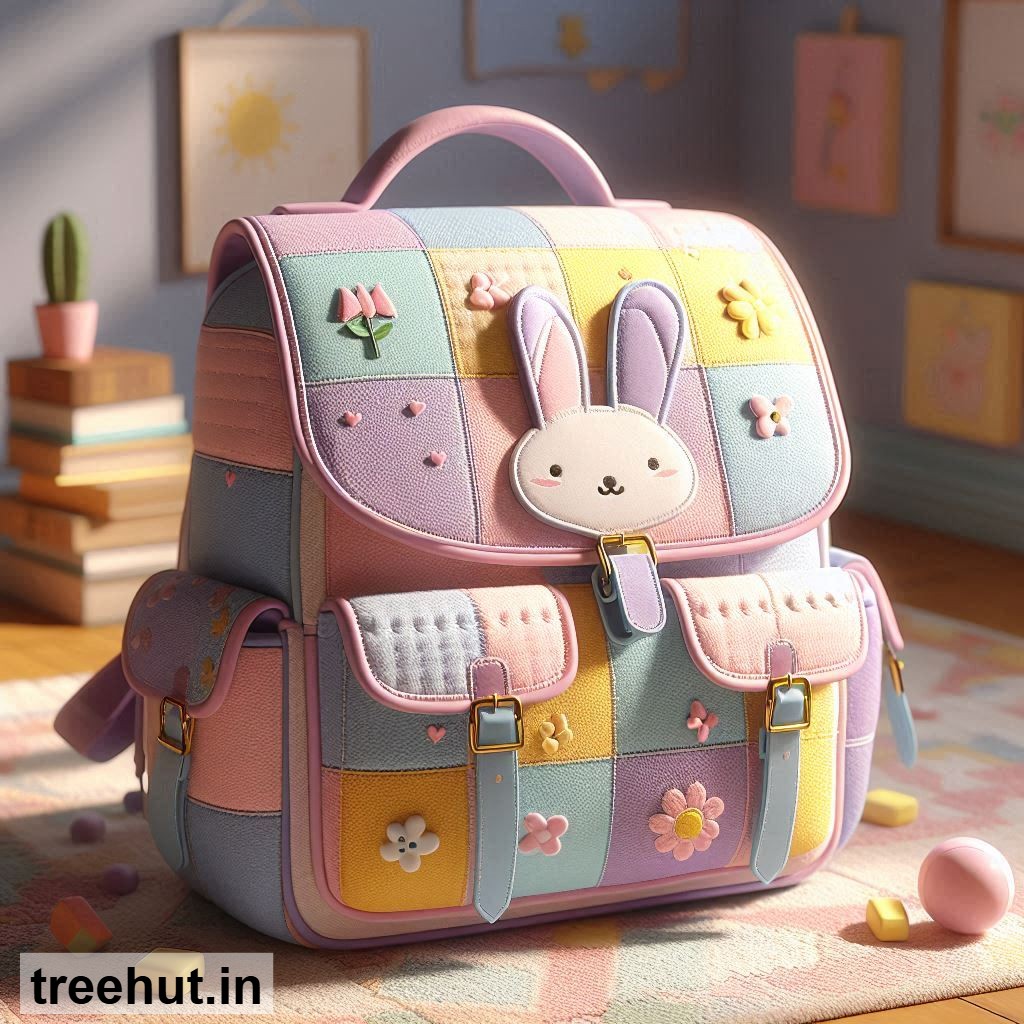
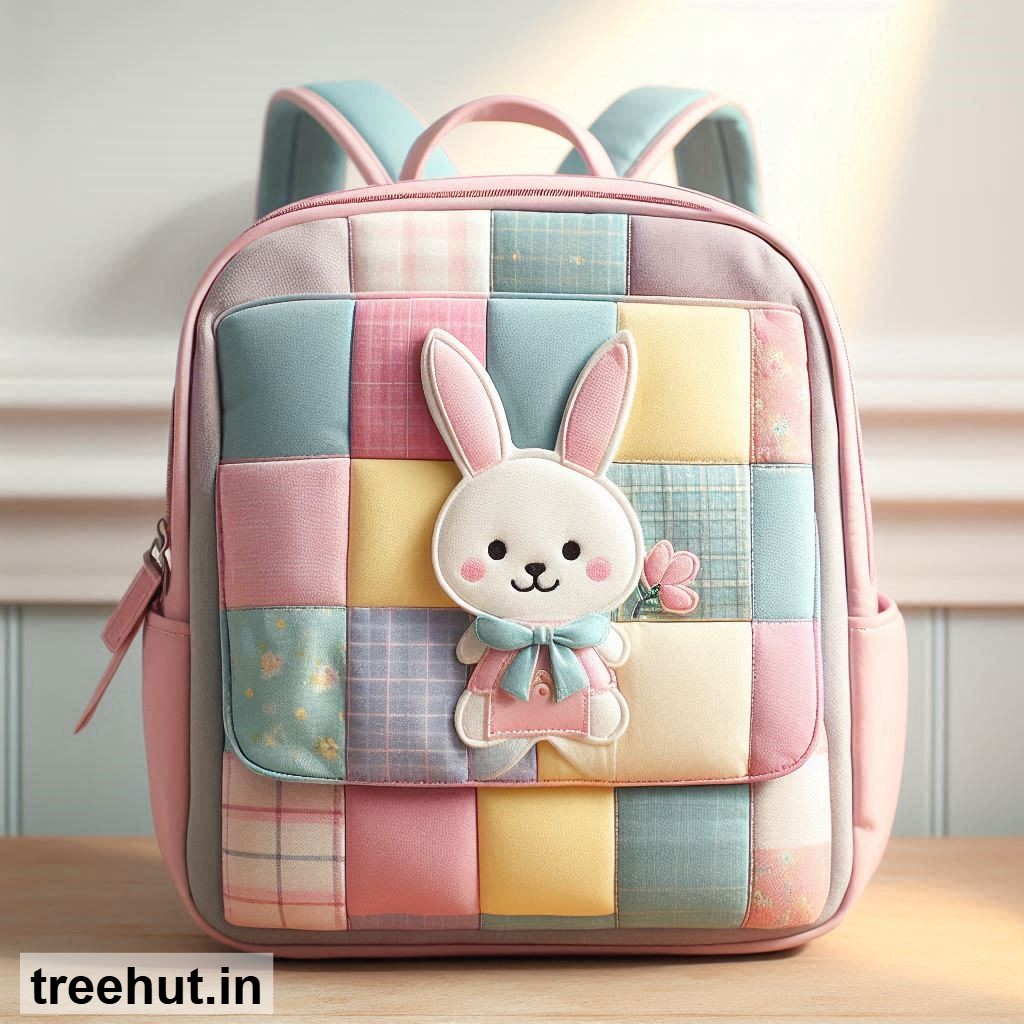
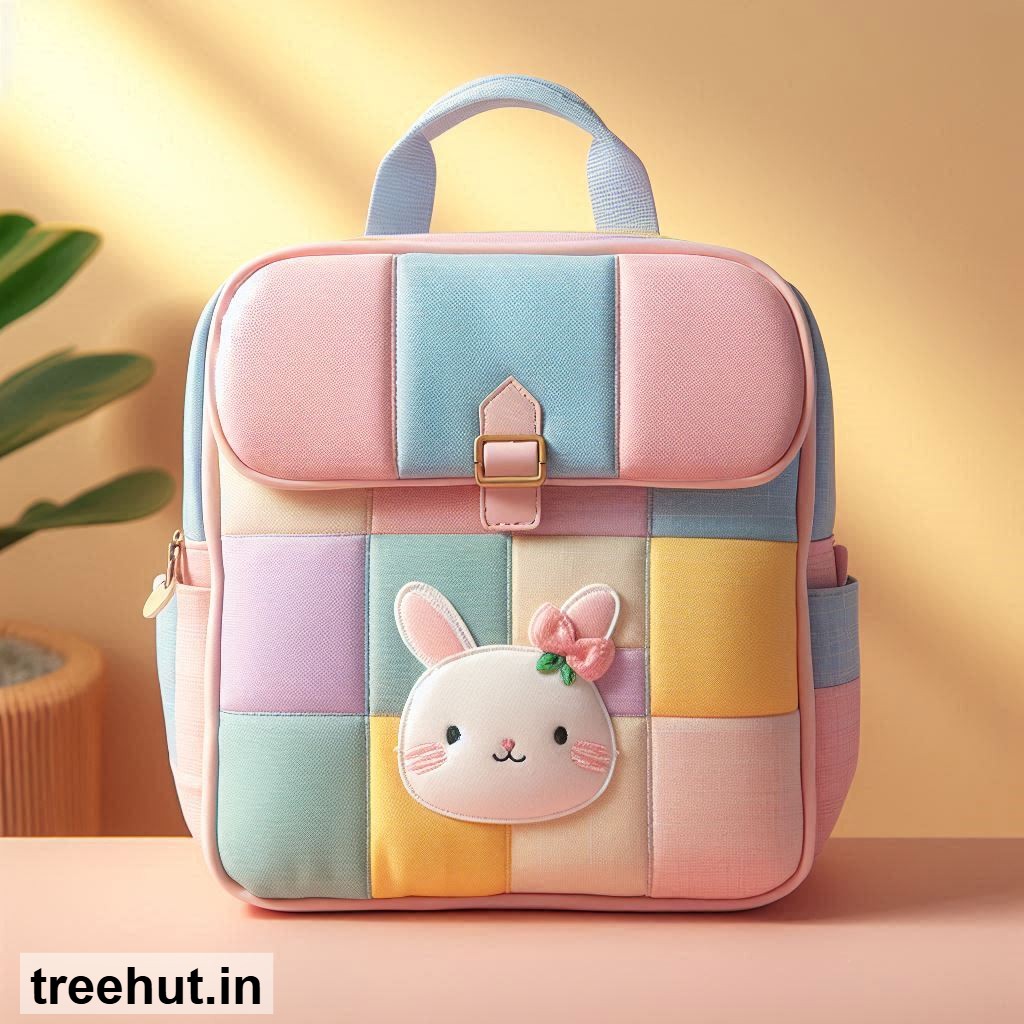
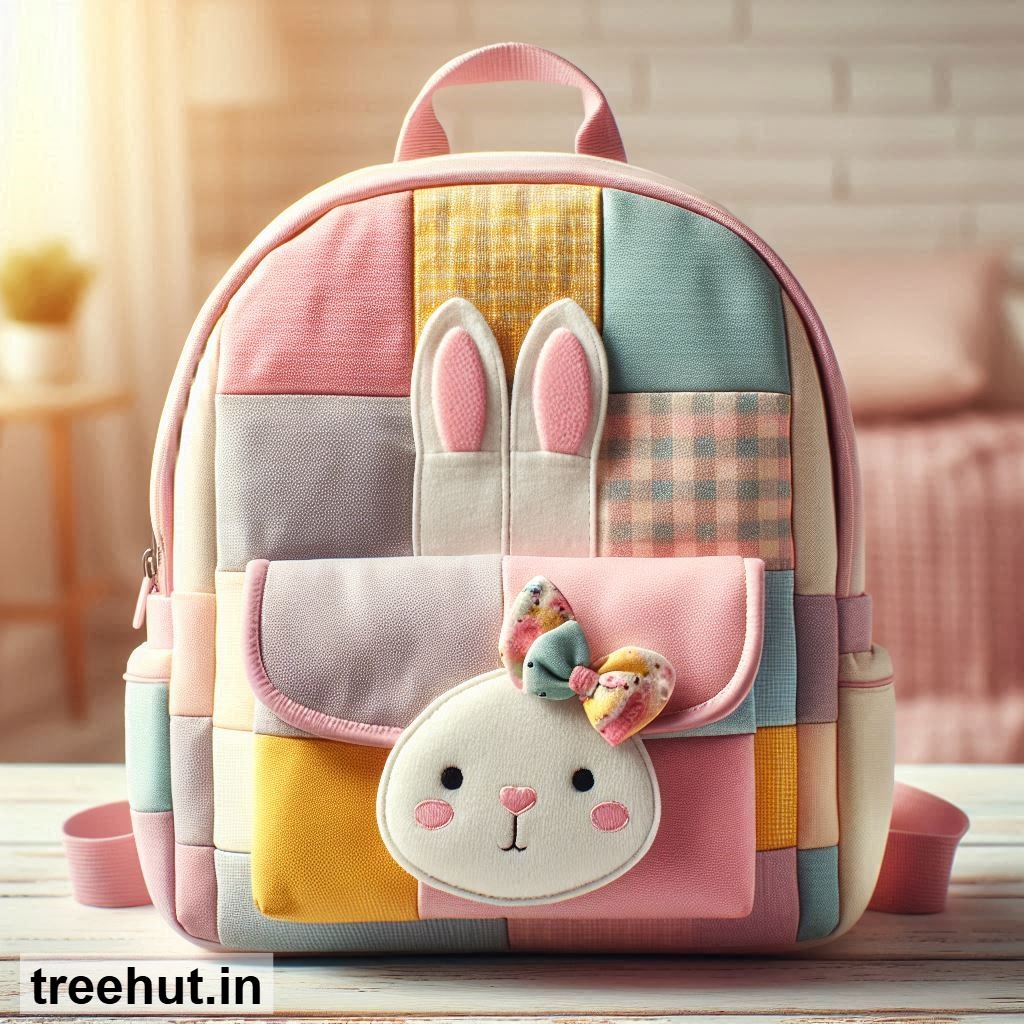
Patchwork bunnies are not just adorable—they’re practical too! A Patchwork Bunny School Bag adds a playful, handmade touch to everyday essentials, making it perfect for kids, students, or anyone who loves whimsical accessories. These bags are lightweight, customizable, and great for carrying books, art supplies, or even a small laptop. Plus, they’re a fantastic way to use up fabric scraps while creating something unique. Whether you're gifting it, selling it, or using it yourself, a patchwork bunny bag is sure to bring smiles.
Spring Patchwork Design Ideas for Your Bunny Bag
1. Pastel Garden Bunny: Use soft pinks, mint greens, and lavender fabrics in floral or gingham prints. Add tiny embroidered flowers or a bunny appliqué for extra charm. This design feels fresh and perfect for spring.
2. Rainbow Stripes: Cut fabric into even strips and sew them horizontally or vertically for a bold, cheerful look. Mix bright colors like yellow, coral, and sky blue for a fun, eye-catching bag.
3. Vintage Patchwork: Combine muted tones like sage, cream, and dusty rose with small-scale prints such as tiny polka dots or vintage florals. This gives a cozy, nostalgic vibe that works well for all ages.
4. Geometric Bunny: Use triangles, hexagons, or squares in contrasting colors for a modern twist. Pair solids with subtle patterns to keep the design clean and stylish.
5. Storybook Bunny: Choose fabrics with whimsical prints like tiny bunnies, carrots, or clouds. This theme is especially great for kids and feels like a page from a favorite story.
6. Neutral Minimalist: Stick to beige, white, and soft gray fabrics with simple textures like linen or cotton. Add a single bunny silhouette or a small embroidered detail for understated elegance.
7. Mixed Media Bunny: Combine fabric with lace, ribbon, or even a small pocket made from faux leather. This adds texture and makes the bag feel extra special.
How to Make a Patchwork Bunny School Bag: Step-by-Step
Materials: Fabric scraps or fat quarters in your chosen colors, lining fabric, interfacing (optional for structure), thread, scissors, sewing machine, pins, and a bunny template (or draw your own).
Measurements: Cut two main bag pieces (front and back) about 12x14 inches, two side panels 4x14 inches, and a bottom panel 4x12 inches. For the straps, cut two strips 3x24 inches. Adjust sizes based on your preference.
Making the Patchwork: Arrange your fabric pieces into a bunny shape or pattern on one of the main bag panels. Pin them in place and sew with a 1/4-inch seam allowance. Press the seams flat with an iron. Repeat for the other main panel if you want both sides to match.
Assembling the Bag: Sew the side panels to the front and back panels, right sides together. Then attach the bottom panel. Turn the bag right side out and press. For the lining, repeat the same steps but leave a small gap to turn the bag later.
Adding Straps: Fold the strap strips in half lengthwise, press, and sew along the edge. Turn them right side out, press again, and topstitch. Attach the straps to the inside of the bag before sewing the lining in place.
Finishing Touches: Insert the lining into the bag, wrong sides together, and pin around the top edge. Sew around the opening, closing the gap in the lining. Turn the bag right side out through the gap, then stitch it closed by hand or machine. Press the top edge for a crisp finish.
Practical Tips for Your Patchwork Bunny Bag
1. Start Simple: If you're new to patchwork, begin with larger fabric pieces or a basic bunny shape. This keeps the project manageable and reduces frustration.
2. Use Interfacing: Adding lightweight interfacing to the main panels gives the bag structure and helps it hold its shape, especially if you plan to carry heavier items.
3. Reinforce Straps: Double-stitch the straps or use thicker fabric to ensure they don’t wear out quickly. You can also add a small piece of interfacing inside the straps for extra durability.
4. Personalize It: Add a monogram, a small embroidered name, or a fun patch to make the bag unique. This is especially great if you're gifting it.
5. Test Your Design: Before cutting into your final fabric, lay out your patchwork design on paper or a scrap piece to see how it looks. This helps avoid mistakes and ensures you’re happy with the layout.
6. Wash Fabrics First: Pre-wash your fabrics to prevent shrinking or bleeding colors after the bag is made. This is especially important if you’re mixing different types of fabric.
What It’s Perfect For
A patchwork bunny school bag is perfect for daily use by kids heading to school or art classes. It’s also a thoughtful handmade gift for birthdays, holidays, or teacher appreciation. If you’re selling your creations, these bags are great for craft fairs, Etsy, or local markets, especially if you offer customization. They’re lightweight, easy to clean, and can be made in various sizes to suit different needs. Whether you’re making one for fun or as a business, a patchwork bunny bag is a charming project that’s both practical and delightful.