





Spring Patchwork Design Ideas for Bee themed Picnic Tote
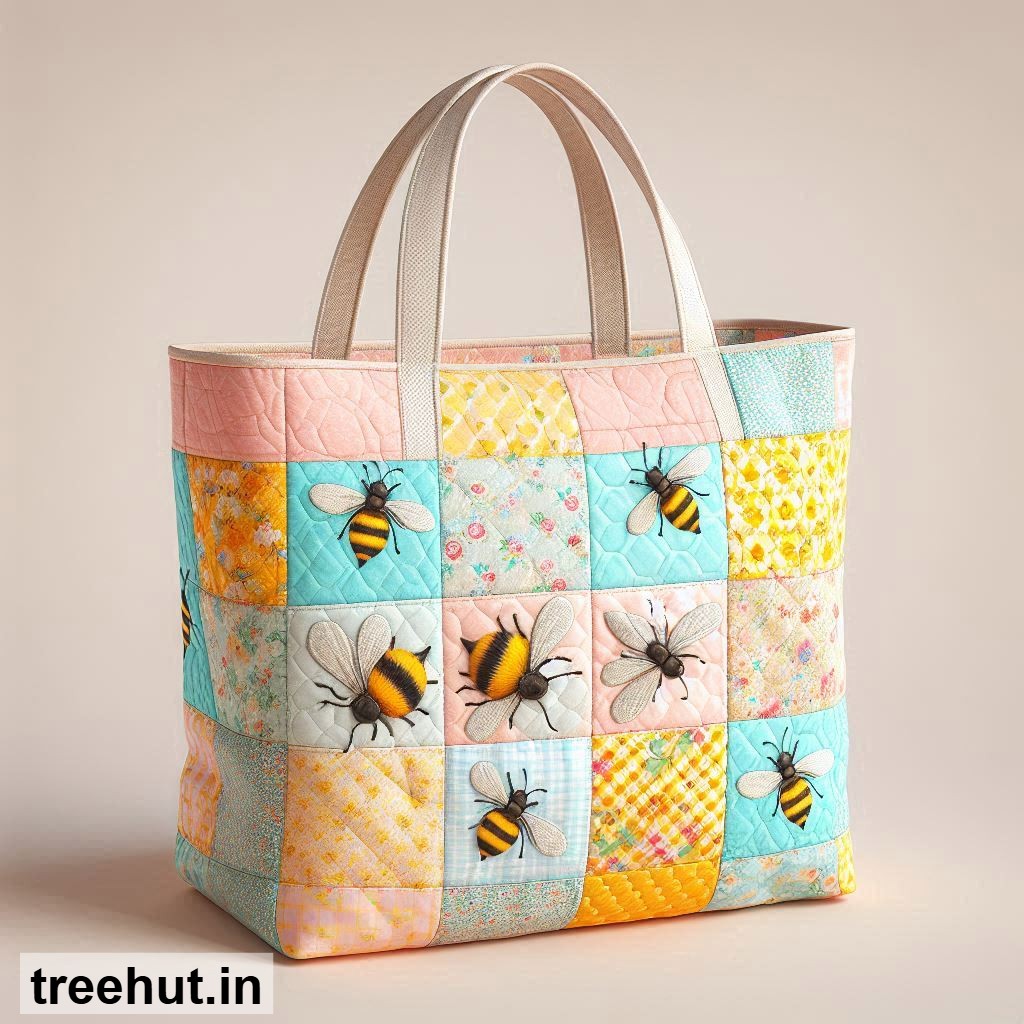
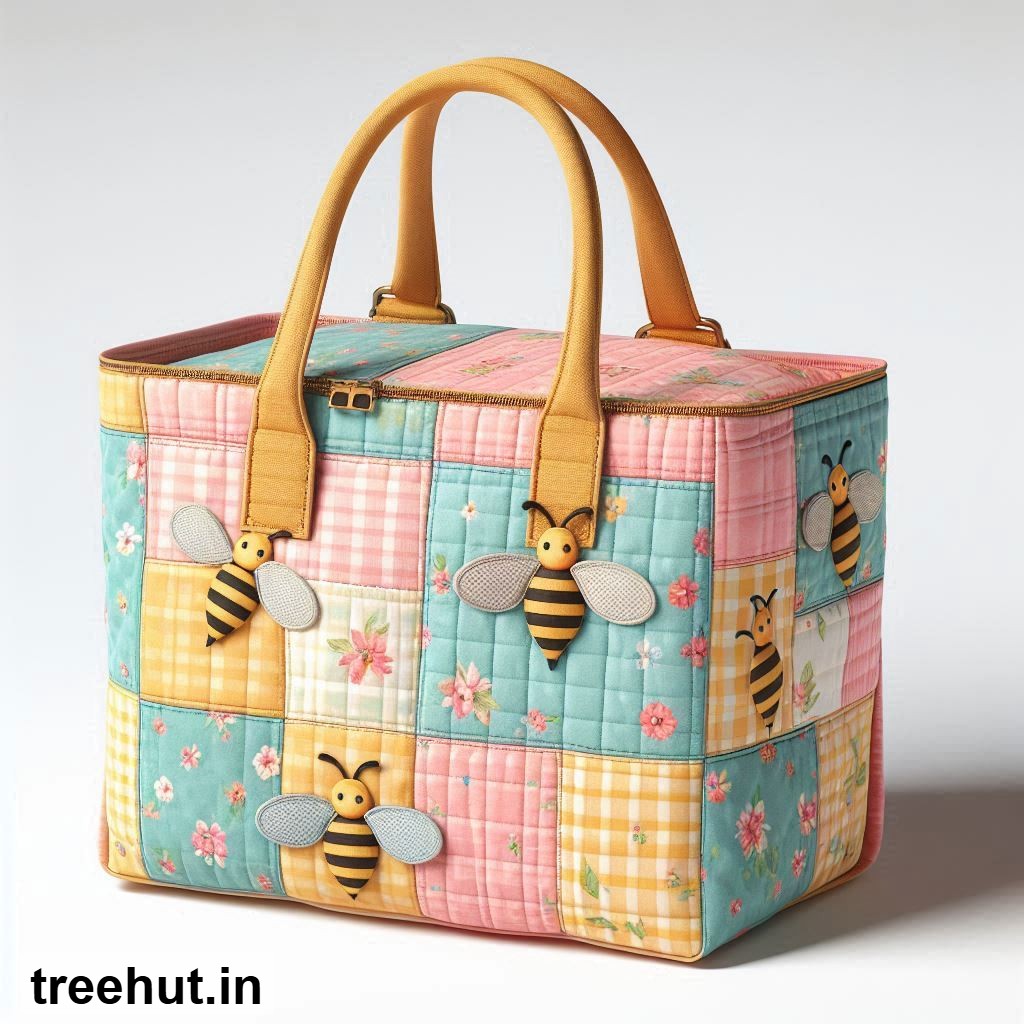
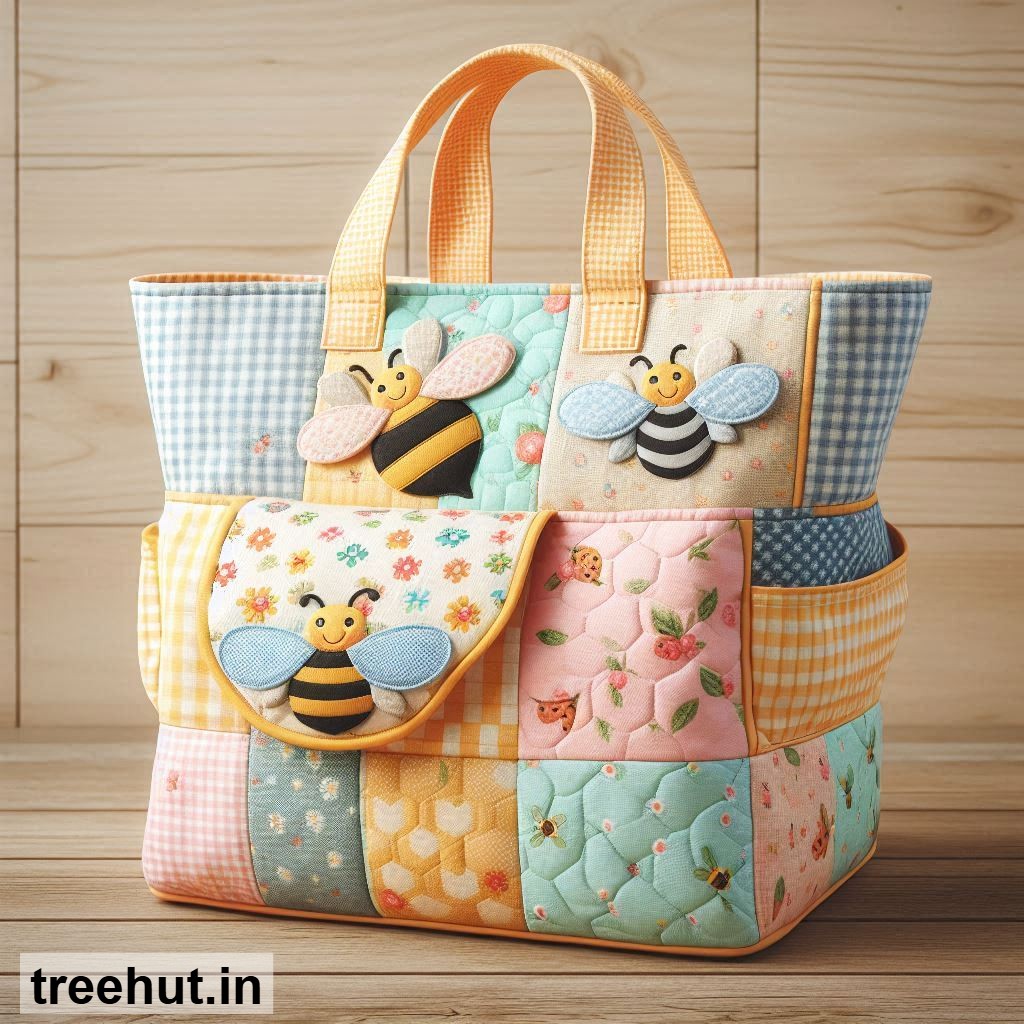
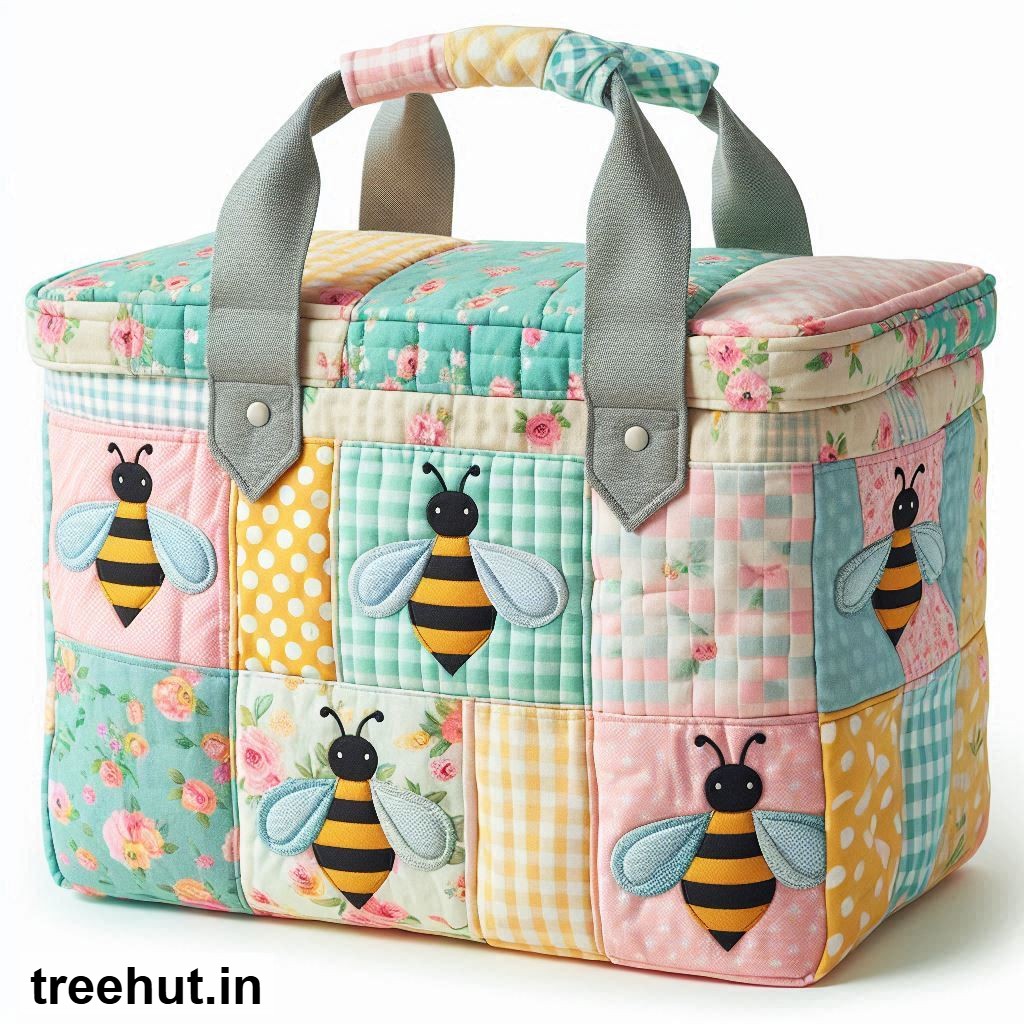
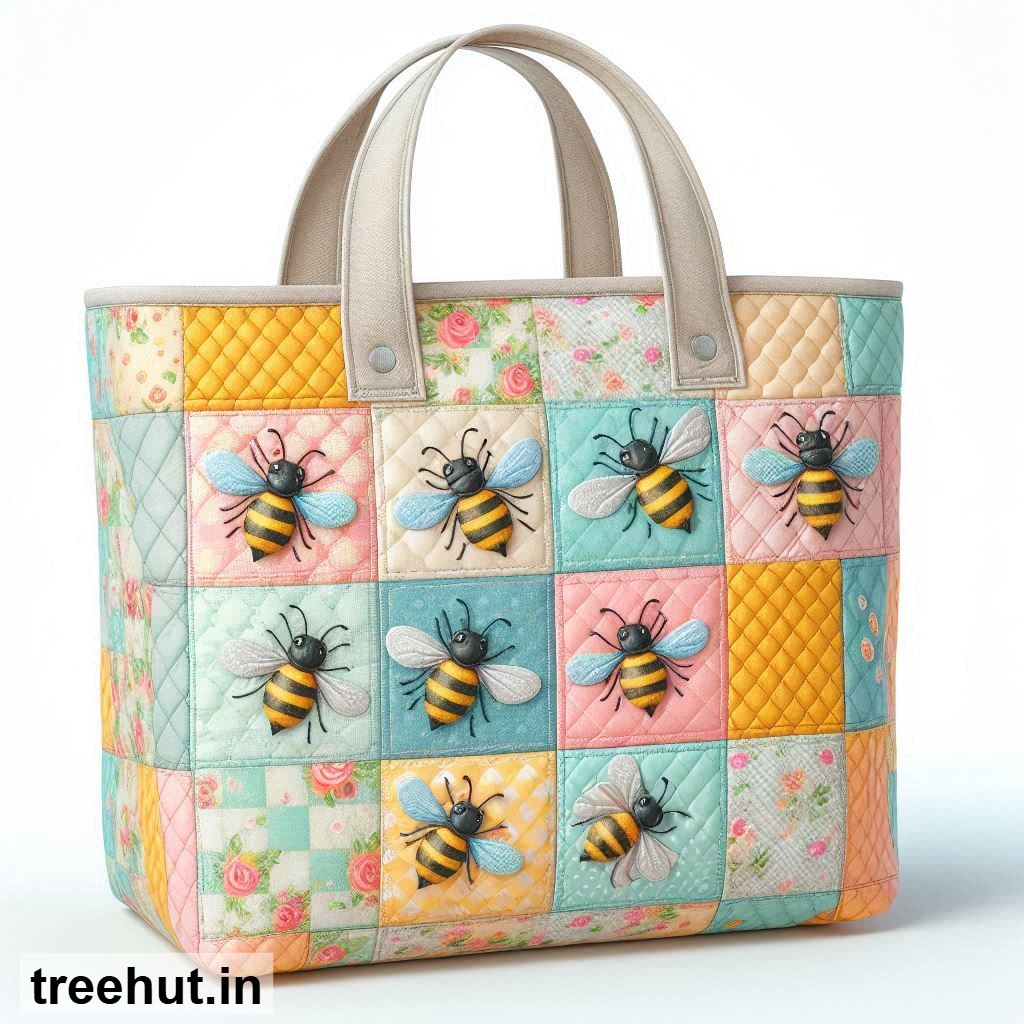
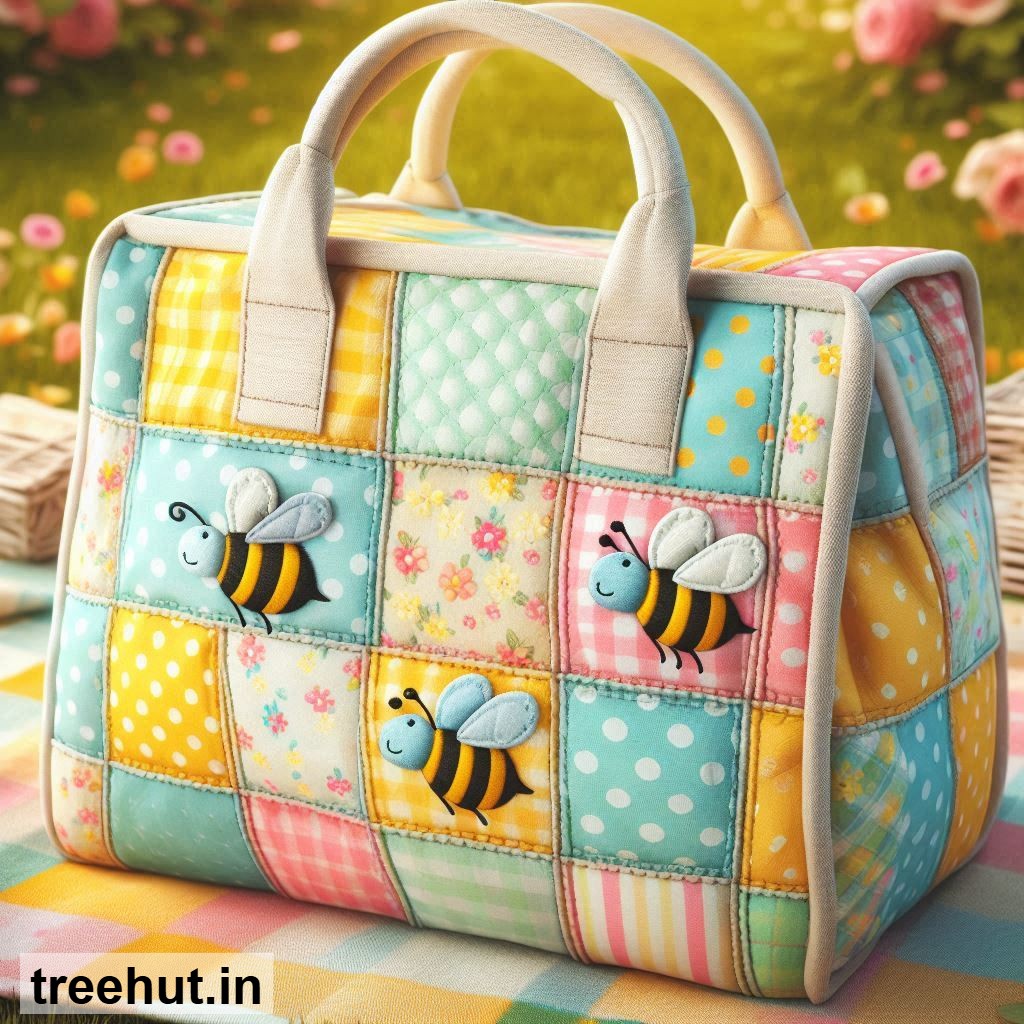
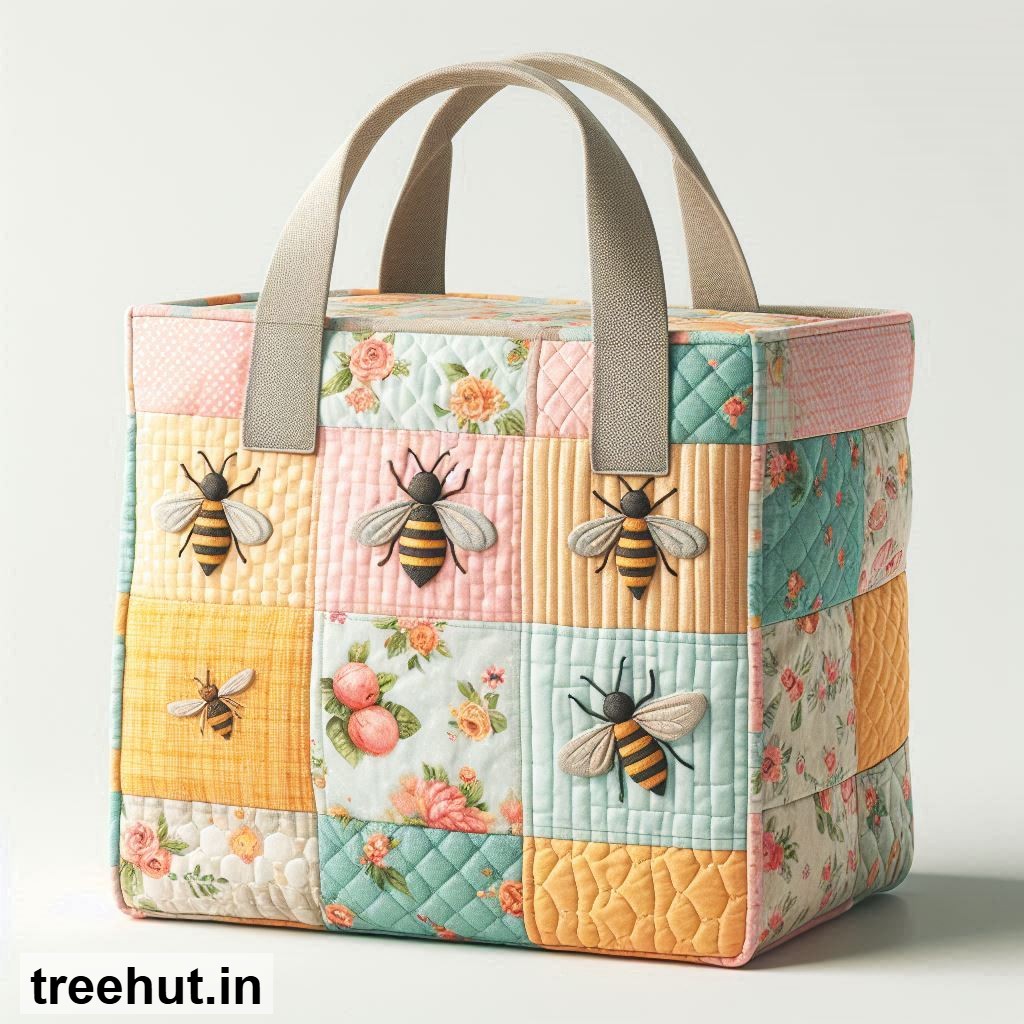
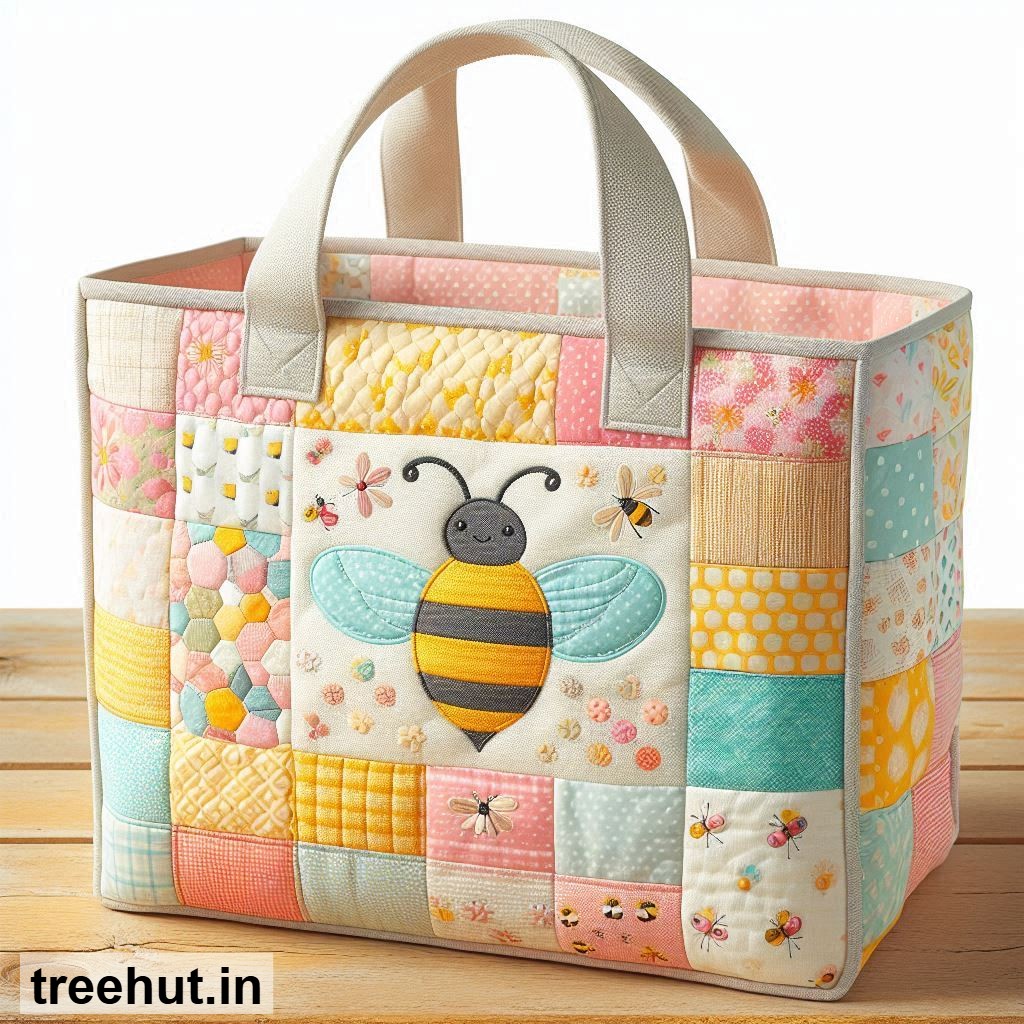
Spring is the perfect time to bring a little buzz of creativity into your crafting projects! A bee-themed picnic tote is not only adorable but also incredibly practical. Whether you're heading to the park, the beach, or just running errands, this charming tote will carry your essentials in style. Plus, it’s a fantastic way to showcase your love for nature and handmade crafts. Below, you’ll find spring patchwork design ideas to inspire your project, along with a simple step-by-step guide to bring your bee-themed tote to life.
One delightful design idea is the Hexagon Honeycomb Tote. Use yellow and black fabric to create hexagon shapes, mimicking a beehive. This design is eye-catching and perfect for those who love geometric patterns. Another fun option is the Buzzing Bee Appliqué Tote, where you can sew or glue small bee appliqués onto a solid-colored background. This adds a playful touch without requiring advanced sewing skills.
For a softer look, consider the Floral Bee Garden Tote. Combine pastel floral prints with tiny bee motifs scattered throughout the fabric. This design is perfect for spring and evokes a sense of freshness. If you prefer a more rustic vibe, the Denim and Gingham Tote is a great choice. Use denim as the base and add gingham patches in yellow and black for a classic, country-inspired look.
The Rainbow Stripes Tote is another vibrant option. Alternate stripes of different colors, then add bee appliqués or embroidery to tie the theme together. For a minimalist approach, the Black and White Bee Tote uses monochrome fabric with subtle bee prints or embroidery, creating a chic and modern look. Lastly, the Scalloped Edge Tote adds a whimsical touch with scalloped fabric edges and small bee patches, making it both cute and unique.
Now, let’s dive into the step-by-step process to create your bee-themed picnic tote. You’ll need cotton fabric in your chosen colors, a sewing machine (or needle and thread if sewing by hand), scissors, pins, measuring tape, and iron for pressing seams. Start by cutting two rectangles of fabric for the tote’s main body, each measuring 16 inches by 18 inches. Cut two additional strips for the handles, each 4 inches by 24 inches.
Next, arrange your patchwork design on one of the main fabric pieces. Pin the patches in place and sew them together, pressing the seams flat with an iron as you go. Once your patchwork is complete, place the two main fabric pieces together with the right sides facing inward. Sew around the edges, leaving the top open. Turn the tote right side out and press it flat.
For the handles, fold each strip in half lengthwise and press. Open the fold and fold the edges inward to meet the center crease, then press again. Fold the strip in half once more and sew along the edge to create a sturdy handle. Attach the handles to the inside of the tote by sewing them securely in place. Finally, add any finishing touches like appliqués, embroidery, or topstitching to give your tote a polished look.
Here are a few practical tips to make your project a success. First, pre-wash your fabric to prevent shrinking after your tote is complete. Second, use a walking foot on your sewing machine if you’re working with multiple layers of fabric to avoid shifting. Third, reinforce the handles by sewing them multiple times or using interfacing for extra durability. Fourth, personalize your tote with embroidery or fabric paint to make it truly one-of-a-kind.
This bee-themed picnic tote is perfect for daily use, whether you’re heading to the farmers' market or a picnic in the park. It also makes a thoughtful handmade gift for friends and family who love nature or unique accessories. If you’re looking to sell your creations, this tote is a great addition to craft fairs or online shops, as its cute design and practicality make it a crowd-pleaser. Happy crafting!