



Spring Crochet headbands Ideas and how to make them
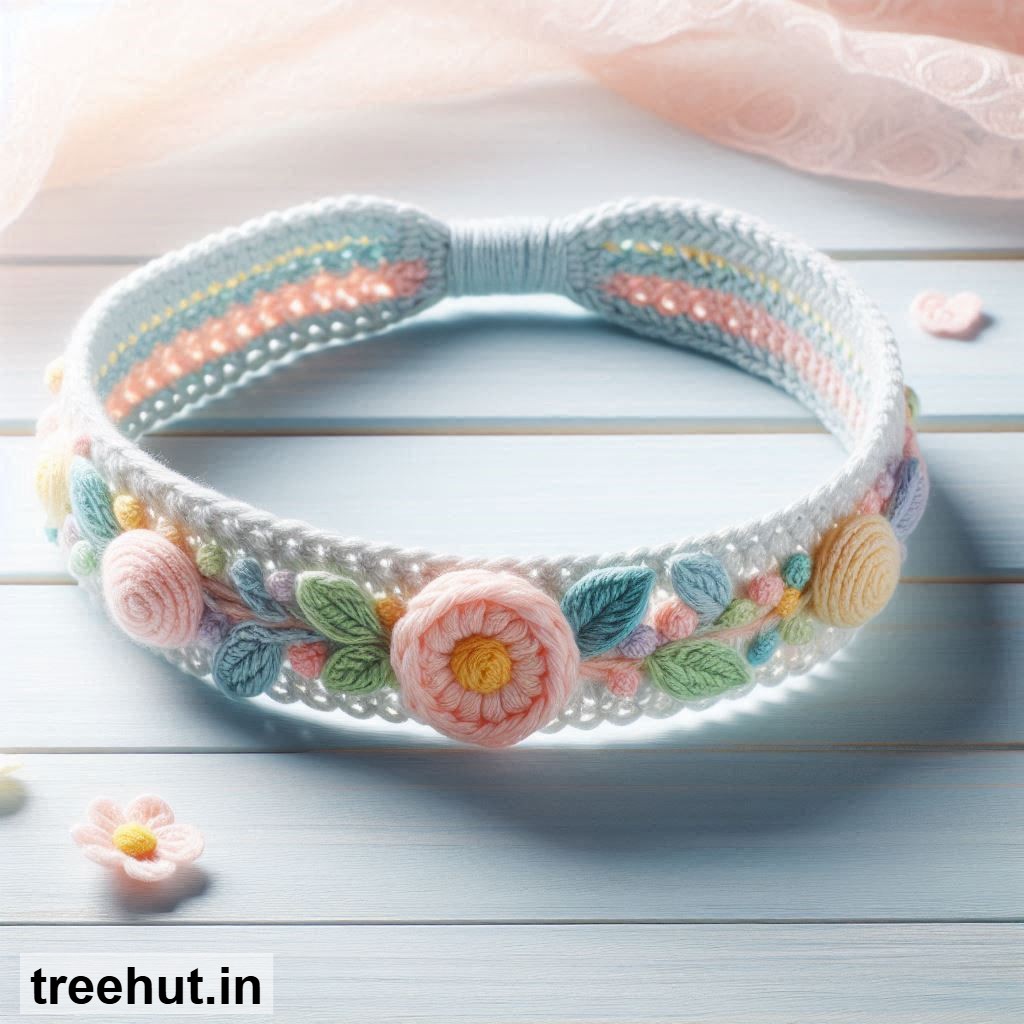
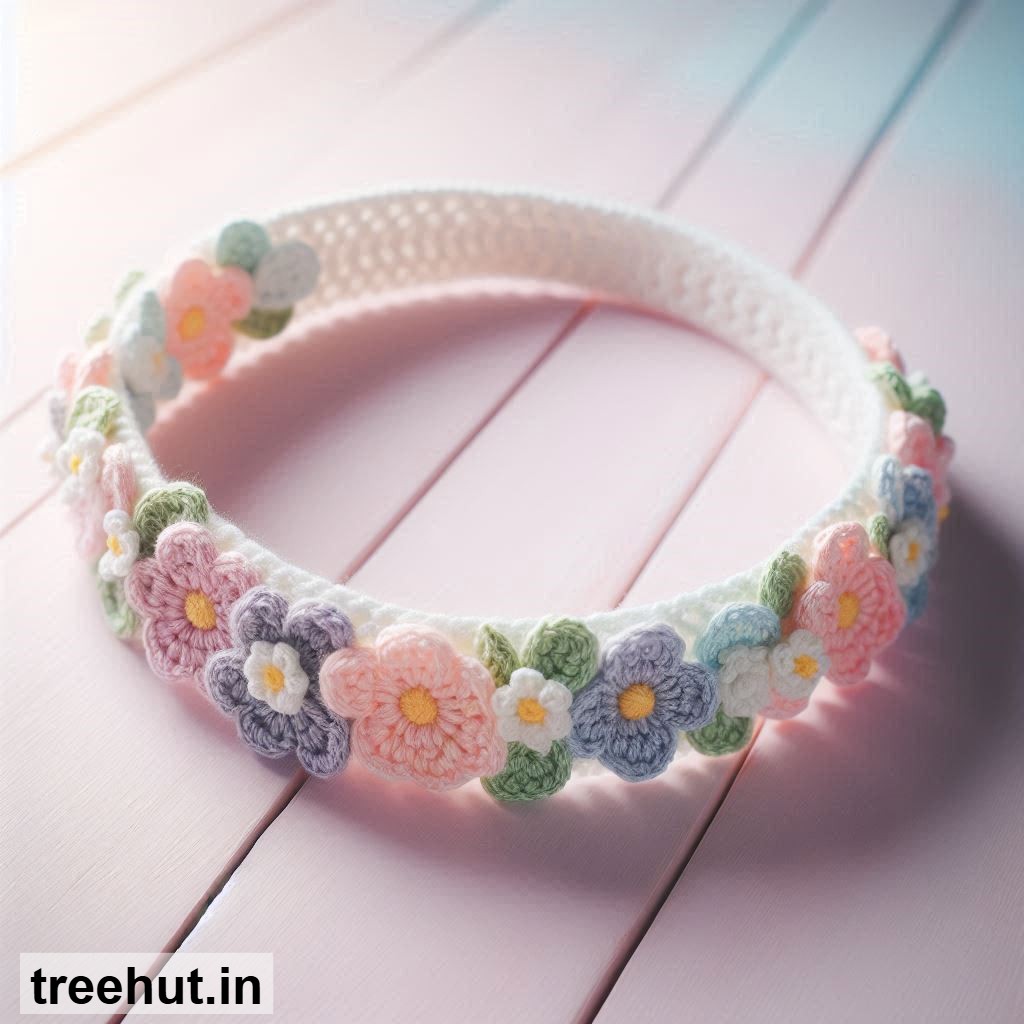
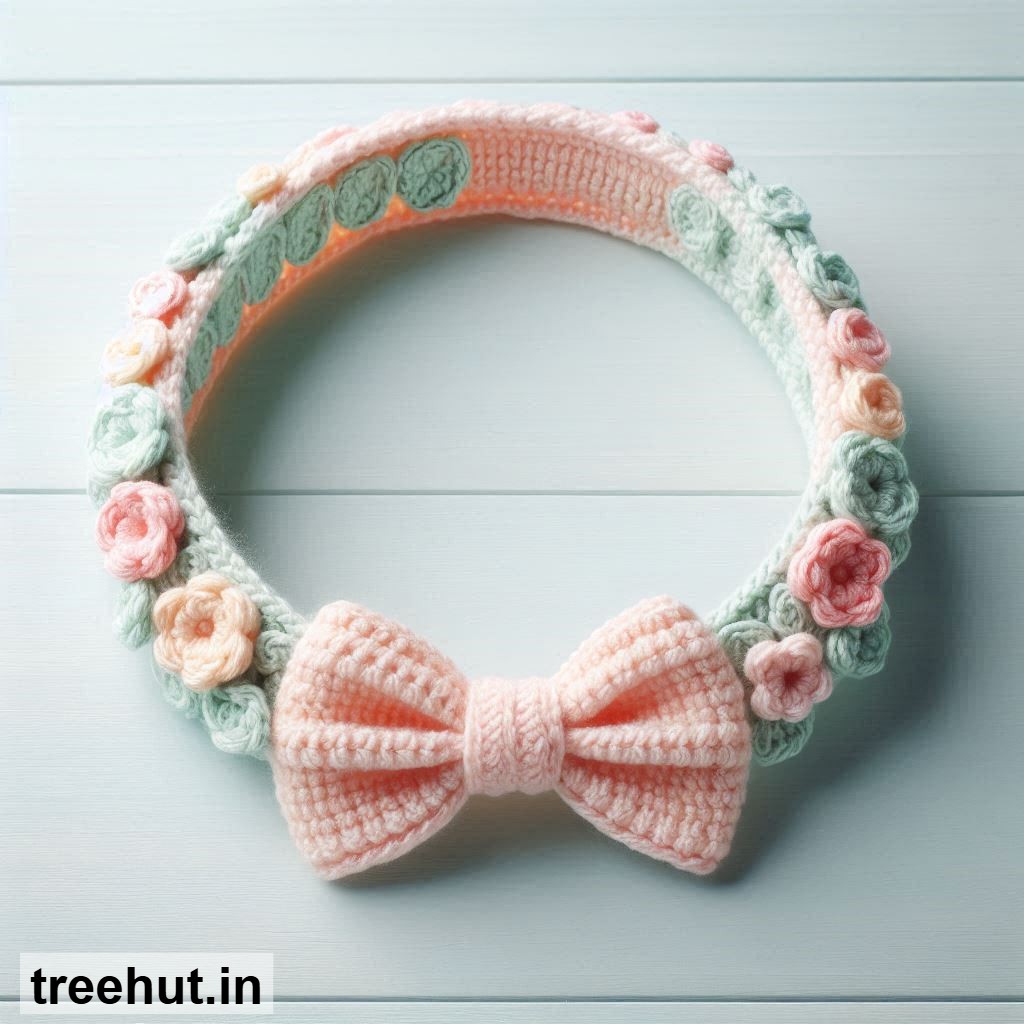
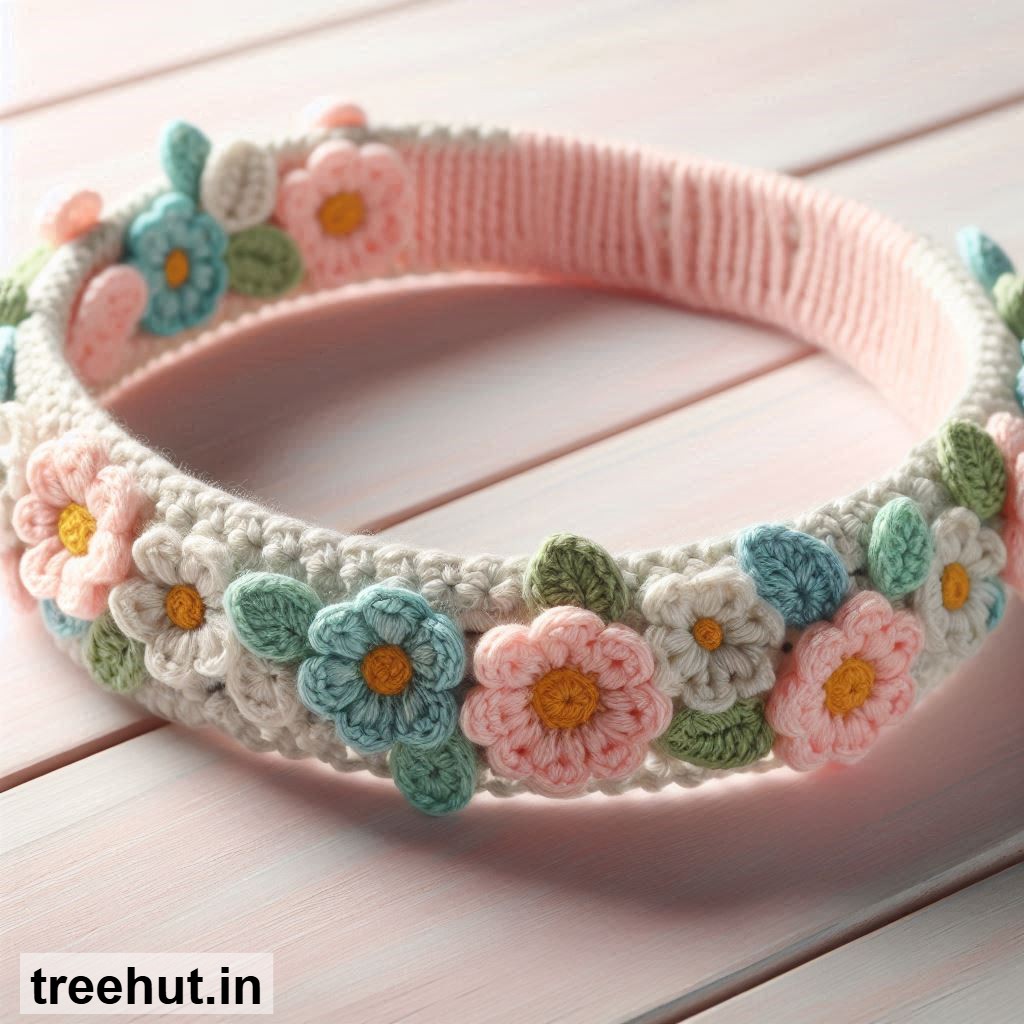
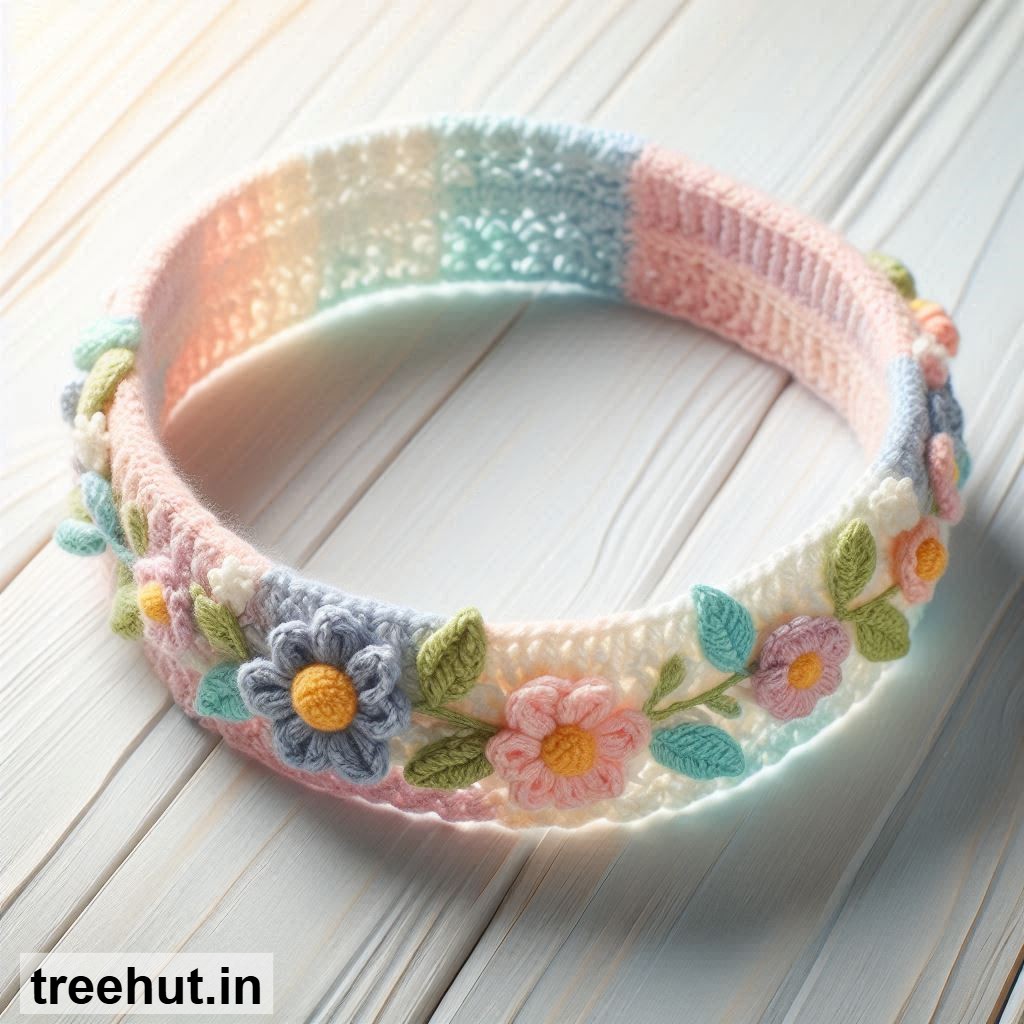
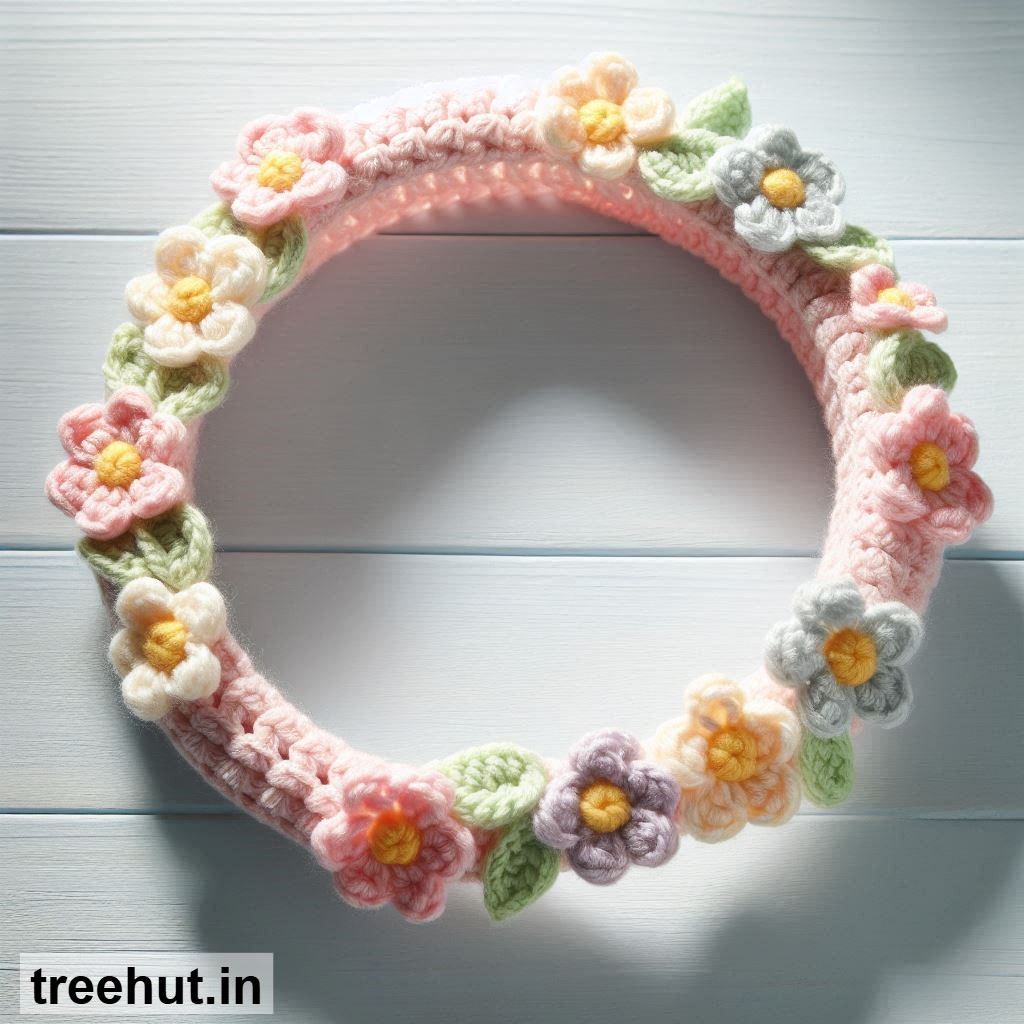
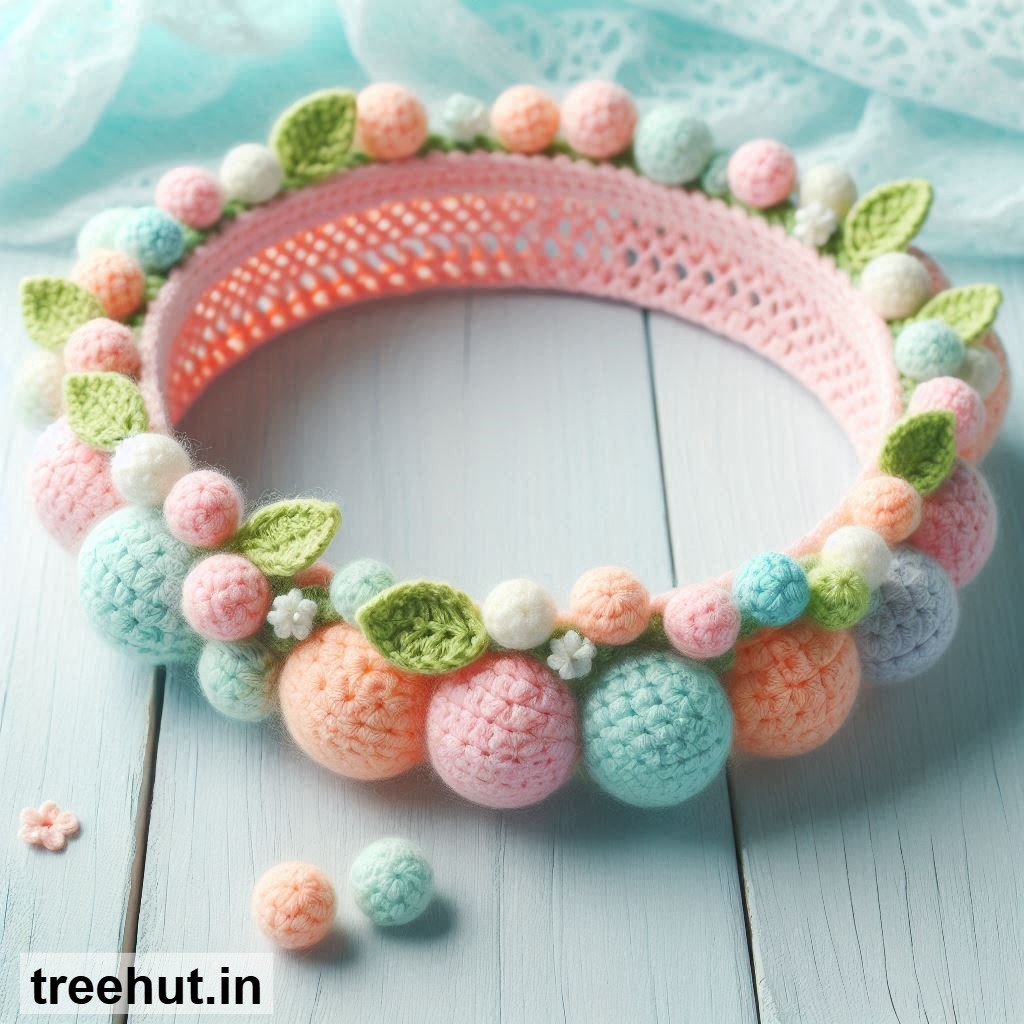
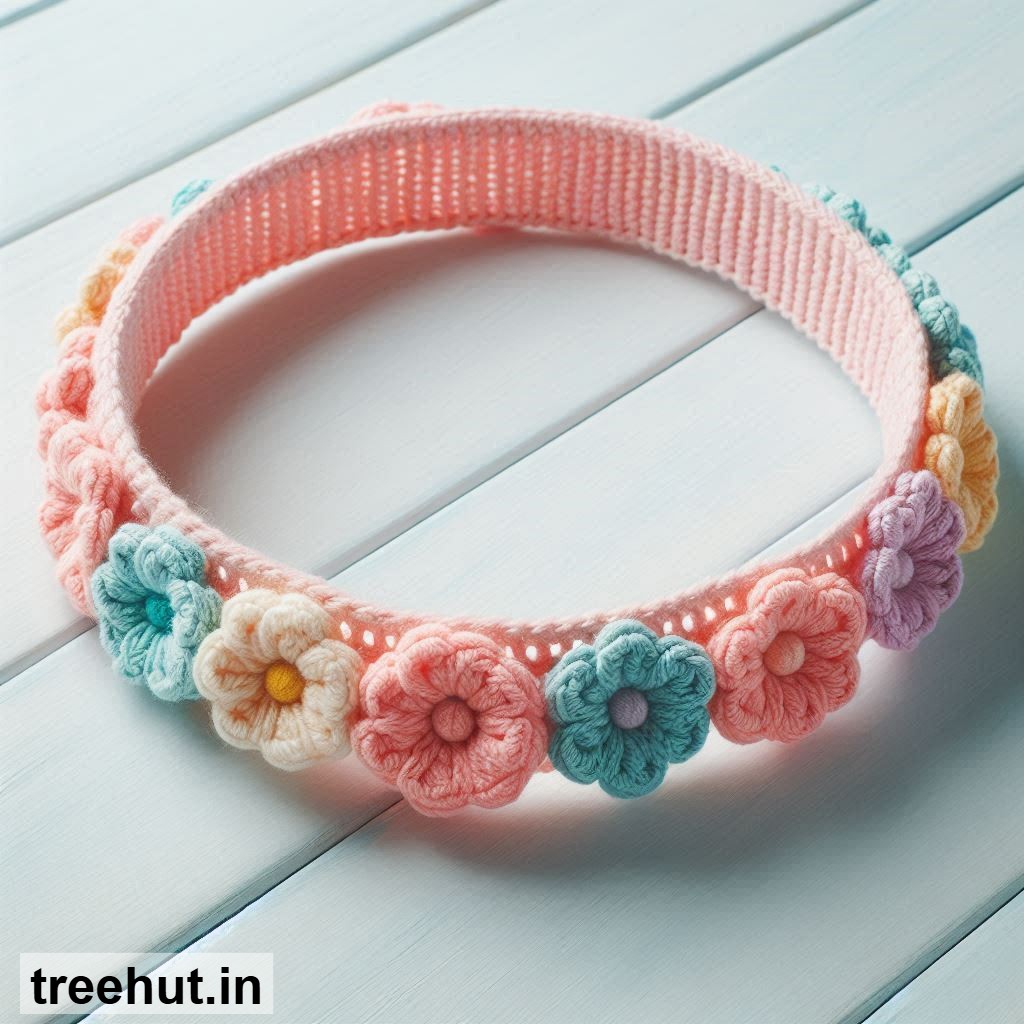
Spring crochet headbands are not only adorable but also incredibly practical. They keep your hair out of your face while adding a touch of handmade charm to any outfit. Whether you're looking to create a stylish accessory for yourself or a thoughtful gift for a friend, these headbands are a fun and easy project for intermediate crafters. Let’s dive into some delightful design ideas and a simple guide to making your own.
Flower Power Headband: This design features a large or small crocheted flower attached to a simple band. It’s perfect for adding a pop of color and a feminine touch to your spring wardrobe.
Braided Headband: A braided headband offers a chic and textured look. You can use multiple colors to create a vibrant, eye-catching piece that stands out.
Button-Up Headband: This design includes a small button closure, making it adjustable and comfortable to wear. It’s great for those who prefer a secure fit without the hassle of tying.
Lace Headband: A delicate lace pattern gives this headband an elegant and sophisticated look. It’s ideal for dressier occasions or for adding a touch of refinement to everyday outfits.
Turban Style Headband: This headband mimics the look of a turban with its wrapped design. It’s stylish and perfect for bad hair days or adding a boho vibe to your look.
Striped Headband: Simple yet effective, a striped headband can be made in various colors to match different outfits. It’s a versatile design that’s easy to customize.
Basic Crochet Headband Method:
Materials: You will need a crochet hook (size appropriate for your yarn), yarn in your chosen color(s), a yarn needle, scissors, and optionally, a button or flower embellishment.
Measurements: Measure the circumference of your head or the head of the person you’re making the headband for. A standard adult size is about 21-23 inches. Add an inch or two for a comfortable fit.
Making the Headband: Start by creating a foundation chain that matches your head measurement. Join the ends to form a ring, being careful not to twist the chain. Work in rounds or rows, depending on your chosen design, using single crochet, half-double crochet, or double crochet stitches. For a simple band, continue crocheting in rounds until the headband reaches the desired width, usually about 2-3 inches.
Finishing: Once you’ve reached the desired length and width, fasten off the yarn, leaving a tail. Use the yarn needle to weave in the ends. If you’re adding a button or flower, sew it securely onto the headband. For a braided or turban-style headband, follow specific patterns to achieve the desired look.
Practical Tips:
Choose soft, breathable yarns like cotton or bamboo for comfort, especially if the headband will be worn for extended periods. Experiment with different stitch patterns to add texture and interest to your designs. Headbands make excellent gifts, so consider making a few in various colors and styles for friends and family. They’re also great for selling at craft fairs or online marketplaces. For daily use, opt for simple and sturdy designs that can withstand regular wear and washing. Lastly, don’t be afraid to mix and match colors and embellishments to create unique, one-of-a-kind pieces.