




Crochet plant hangers Ideas and how to make them
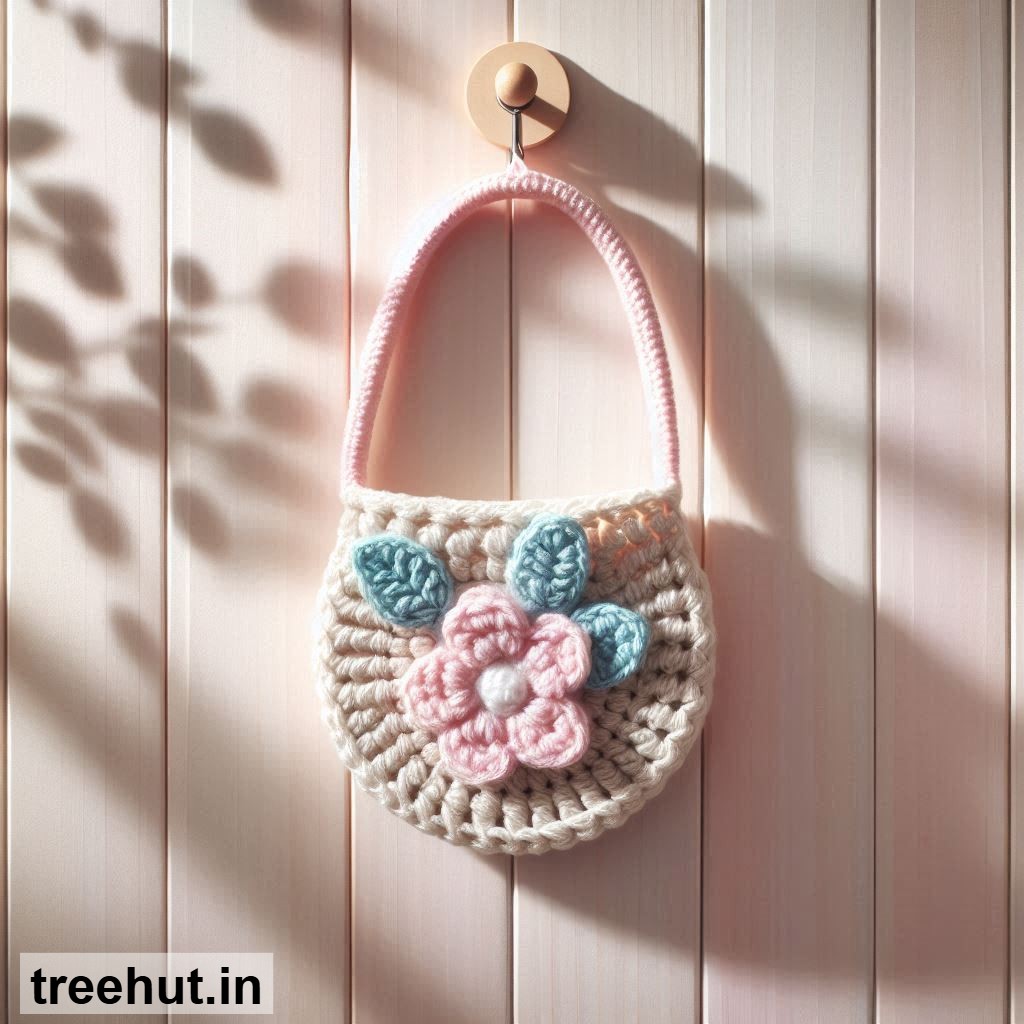
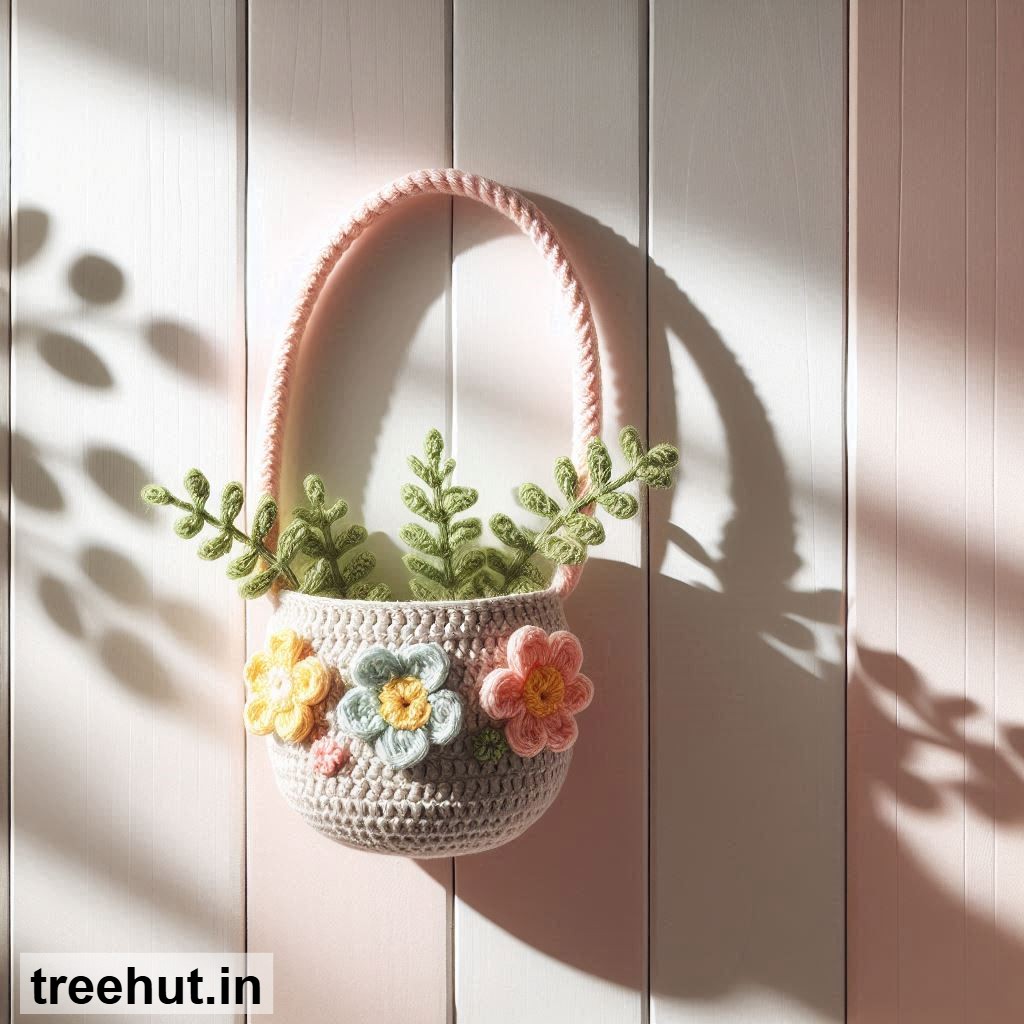
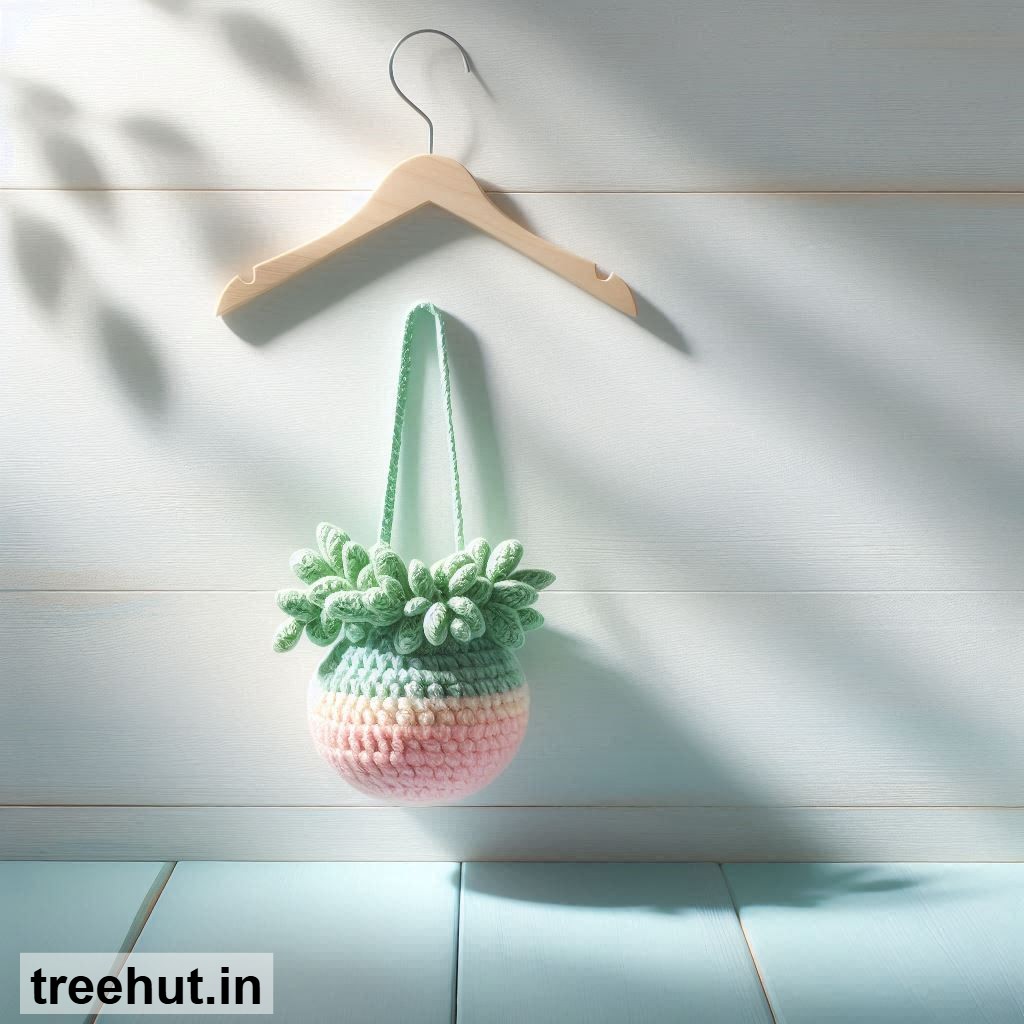
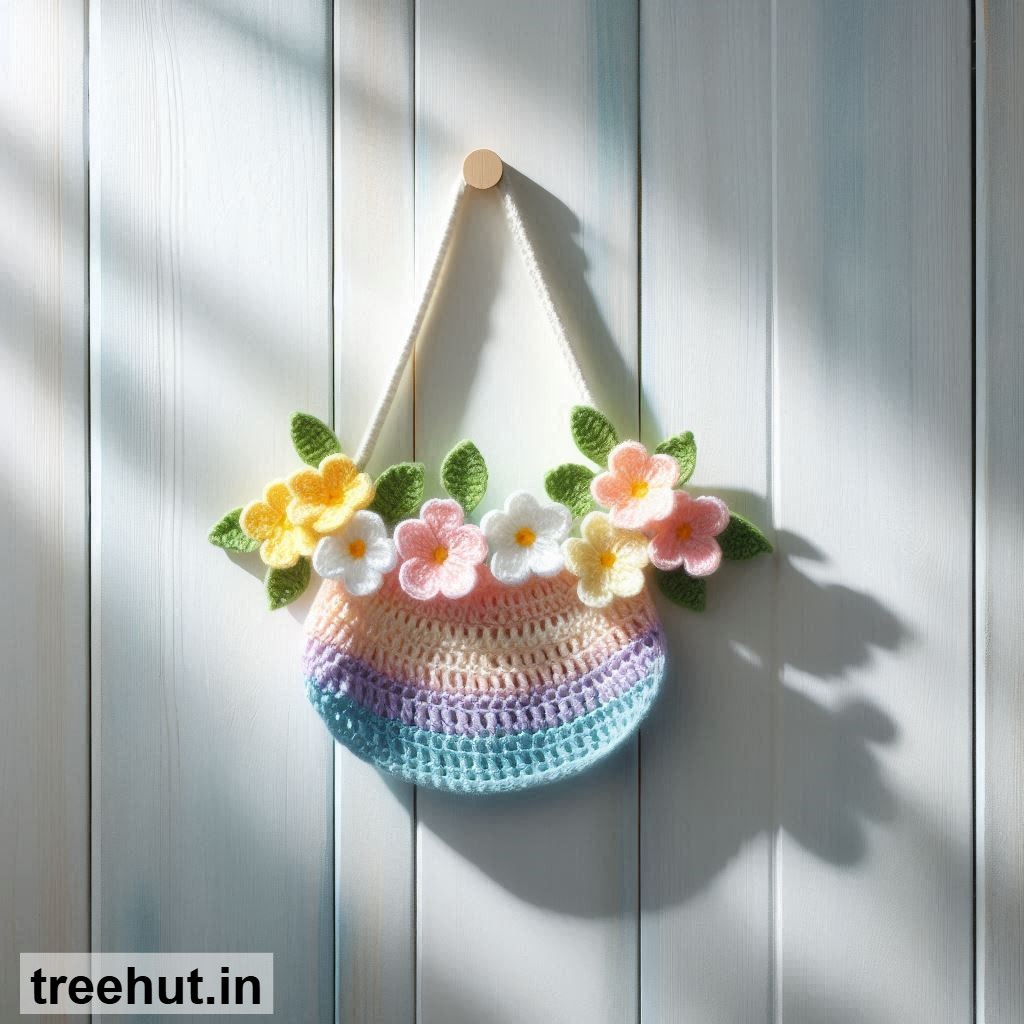
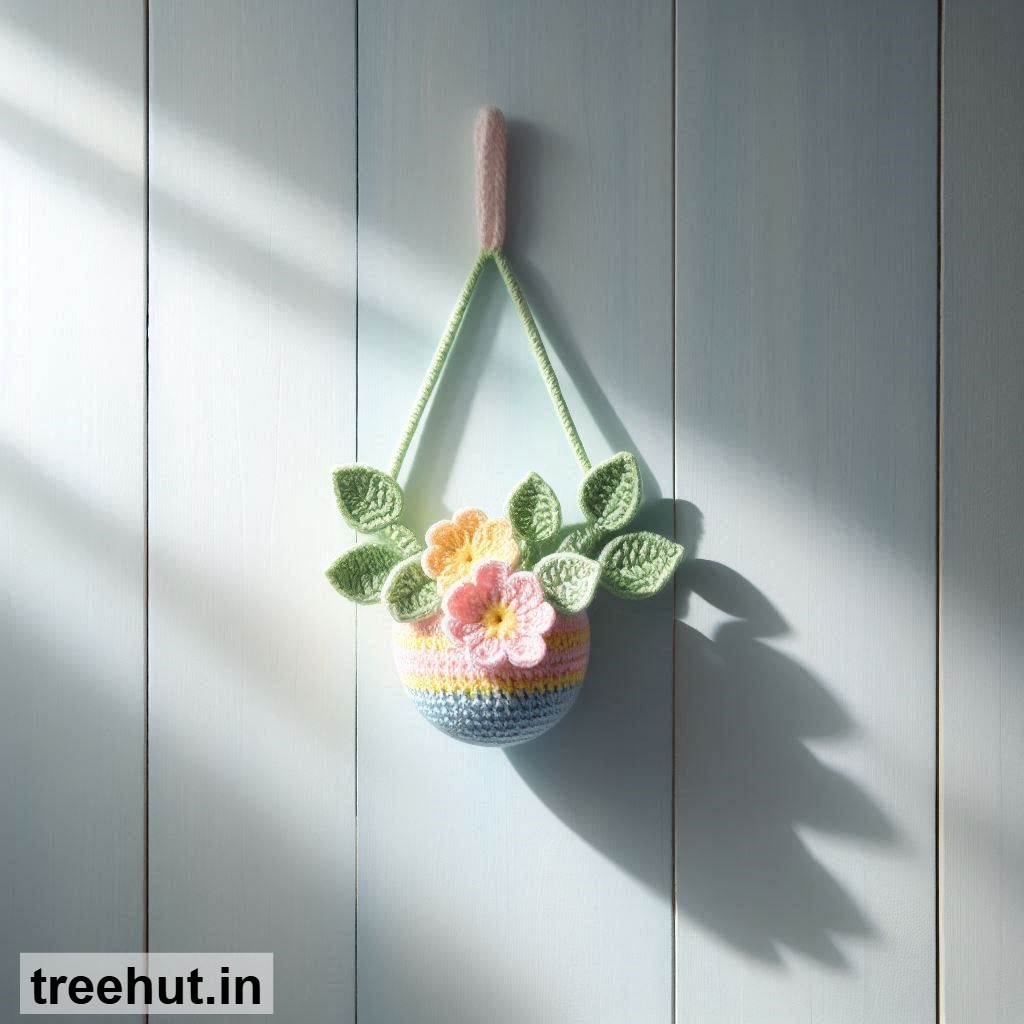
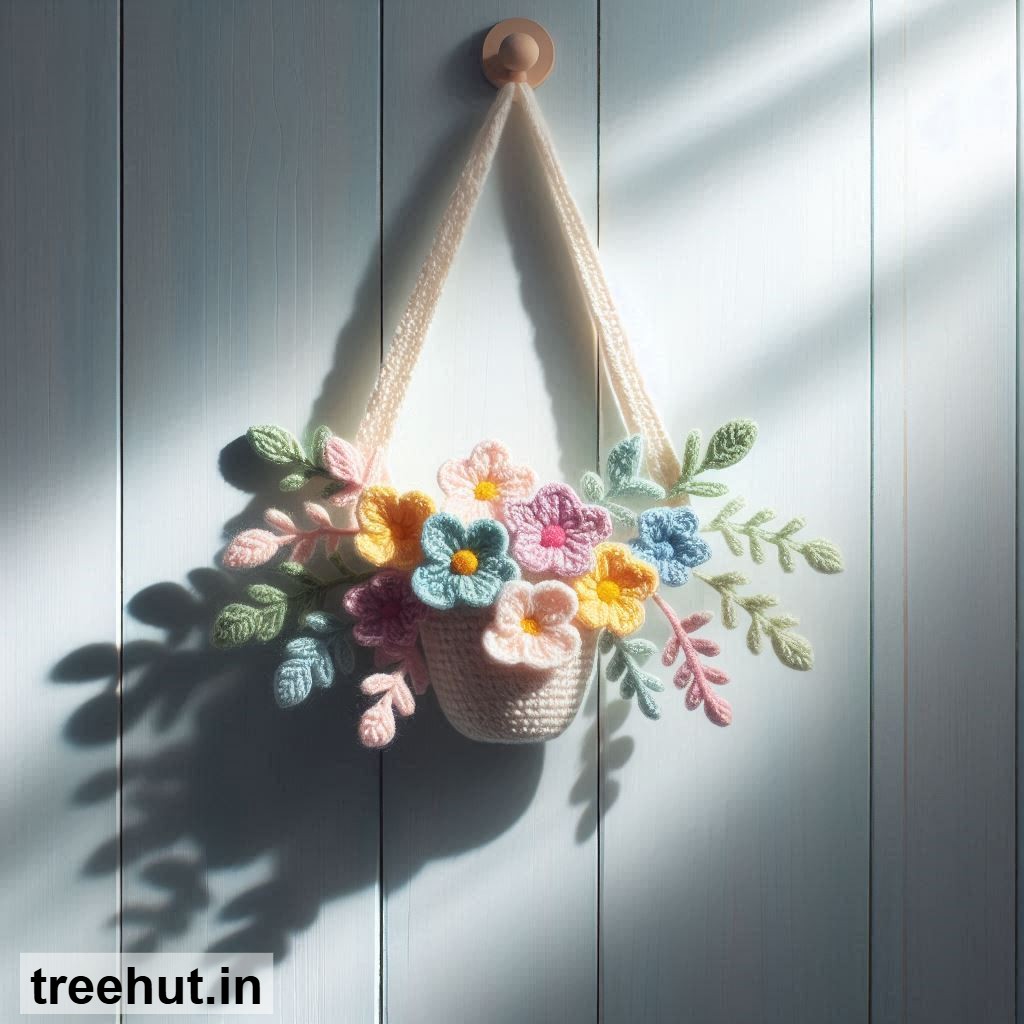
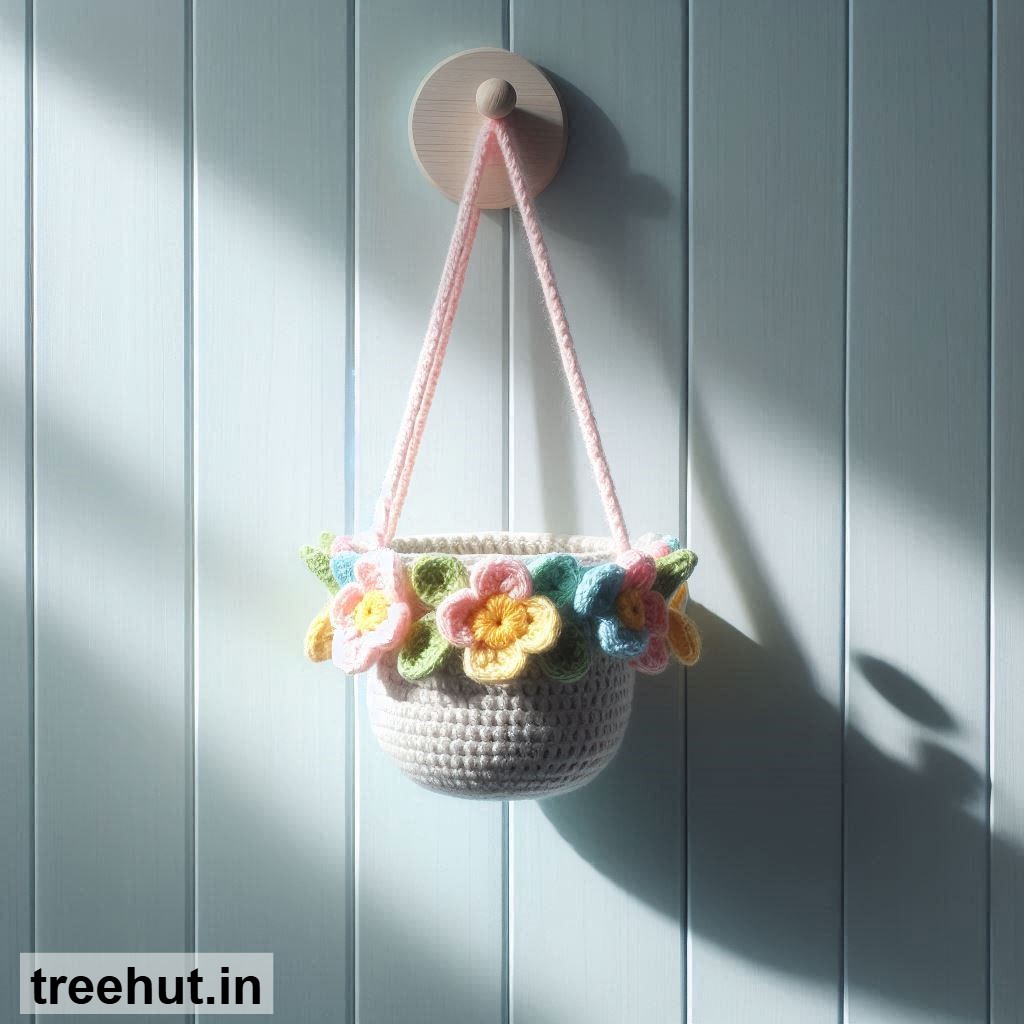
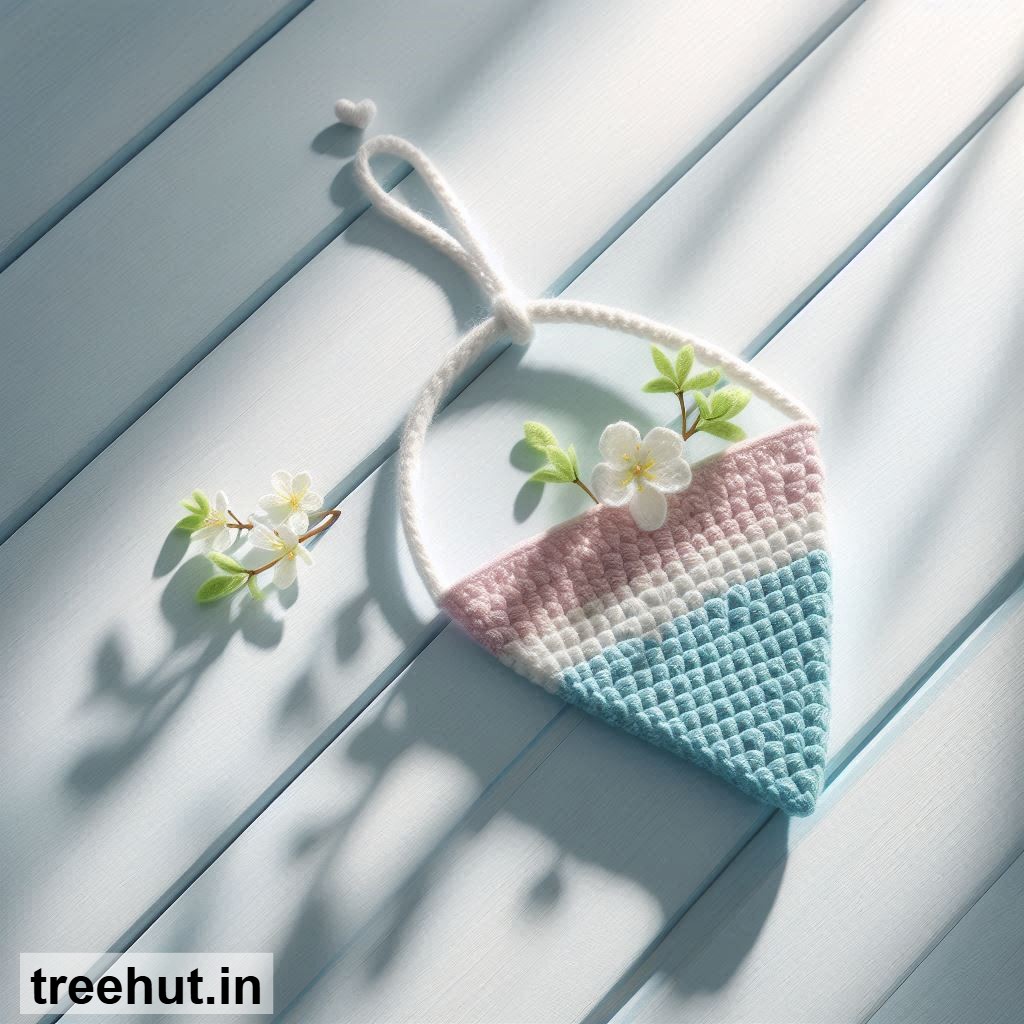
Spring is the perfect time to bring a touch of greenery into your home, and what better way to do that than with adorable Spring Crochet Plant Hangers? These charming hangers are not only functional, keeping your plants safe and elevated, but they also add a cozy, handmade touch to any space. Whether you're a beginner or an intermediate crafter, making these plant hangers is a fun and rewarding project that lets you play with colors, textures, and designs. Plus, they make fantastic gifts or even a cute addition to your own home decor!
There are so many ways to customize your crochet plant hangers to match your style or the season. Here are a few design ideas to inspire you:
1. Classic Macramé-Inspired Hanger: Use simple knots and basic crochet stitches to create a boho-chic look. This design is perfect for beginners and works well with neutral or earthy tones.
2. Floral-Themed Hanger: Add small crocheted flowers or leaves to your hanger for a springtime touch. You can attach them along the sides or at the bottom for a whimsical effect.
3. Striped or Ombré Hanger: Play with colors by creating stripes or a gradient effect. This is a great way to use up leftover yarn and add a pop of color to your space.
4. Lace-Style Hanger: Use delicate, openwork stitches to create a light and airy hanger. This design is ideal for smaller plants or succulents and adds an elegant touch.
5. Tassel or Pom-Pom Hanger: Add tassels or pom-poms to the ends of your hanger for a playful, festive look. This is a fun way to incorporate texture and movement into your design.
6. Geometric Pattern Hanger: Experiment with geometric shapes like triangles or diamonds for a modern, minimalist look. This design is great for intermediate crafters looking to try something new.
7. Rustic Jute and Yarn Combo: Combine jute or twine with yarn to create a rustic, natural-looking hanger. This design is perfect for a farmhouse or cottagecore aesthetic.
8. Mini Hanger for Tiny Plants: Make a smaller version of the hanger for tiny plants like air plants or small succulents. This is a quick and easy project that’s perfect for beginners.
Now that you have some ideas, let’s dive into the basic method for making your own crochet plant hanger. Here’s what you’ll need:
Materials: Yarn (cotton or a sturdy blend works best), a crochet hook (size will depend on your yarn), scissors, a tape measure, and a small plant pot for sizing.
Measurements: Start by measuring the circumference of your plant pot. You’ll want your hanger to be snug but not too tight. For a standard 4-inch pot, you’ll need a base circle of about 6 inches in diameter. The length of the hanger will depend on how high you want it to hang, but a good starting point is around 12-18 inches.
Making the Hanger: Begin by creating a magic ring and crocheting a circle to fit the base of your pot. Use single crochet (sc) or half-double crochet (hdc) stitches for a sturdy base. Once your circle is the right size, start working in rounds to create the sides of the hanger. You can use basic stitches like sc or hdc, or try a simple shell stitch for a decorative touch. Continue crocheting until the hanger is tall enough to hold your pot securely.
Adding the Hanging Loops: To create the loops for hanging, chain a length that will allow your hanger to hang at the desired height. For example, chain about 20-30 stitches, then attach the loop to the top of the hanger. You can make 2-4 loops depending on your design. Secure the loops with slip stitches or by weaving in the ends.
Finishing: Once your hanger is complete, weave in any loose ends with a yarn needle. Give it a gentle stretch to make sure it’s sturdy, and then place your plant pot inside. Adjust the loops as needed to ensure the hanger hangs evenly.
Here are a few practical tips to make your crochet plant hangers even better:
1. Choose the Right Yarn: Cotton or a cotton blend is ideal for plant hangers because it’s sturdy and holds up well to moisture. Avoid acrylic yarn if you plan to hang your plants outdoors, as it can stretch over time.
2. Test the Fit: Before finishing your hanger, test it with your plant pot to make sure it fits snugly. You can adjust the size by adding or removing stitches as needed.
3. Add a Lining: If you’re worried about soil spilling out, you can add a fabric lining to the inside of your hanger. This is especially useful for smaller pots or plants with loose soil.
4. Personalize for Gifting: Crochet plant hangers make wonderful gifts! Add a handwritten tag or a small note to make it extra special. You can also customize the colors to match the recipient’s home decor.
5. Sell Your Creations: If you enjoy making plant hangers, consider selling them at local craft fairs or online. They’re popular items, especially during the spring and summer months.
6. Use for Daily Decor: These hangers aren’t just for plants! You can use them to hold small trinkets, candles, or even as a cute way to organize your craft supplies.
Whether you’re making a Spring Crochet Plant Hanger for yourself or as a gift, this project is a fun and creative way to add a handmade touch to your space. Happy crocheting!