




Spring Crochet butterfly appliques Ideas and how to make them
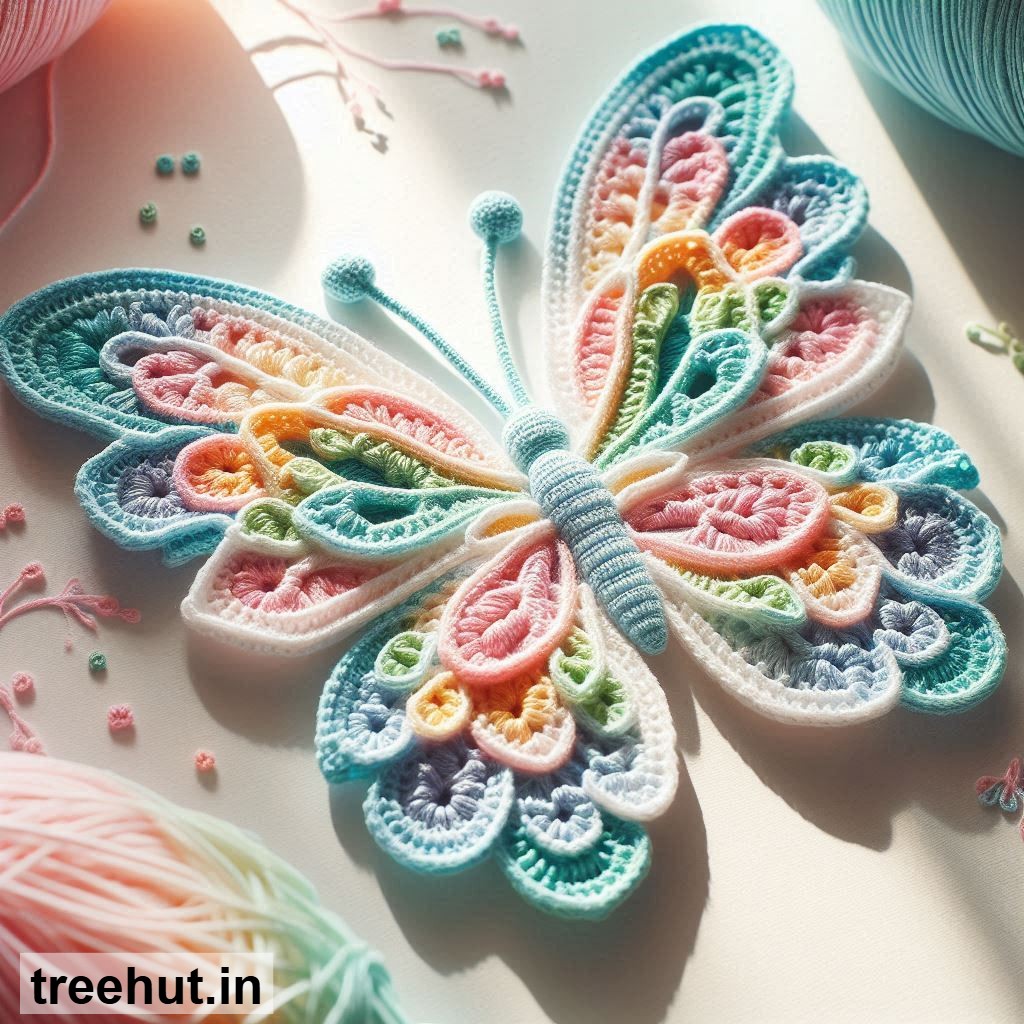
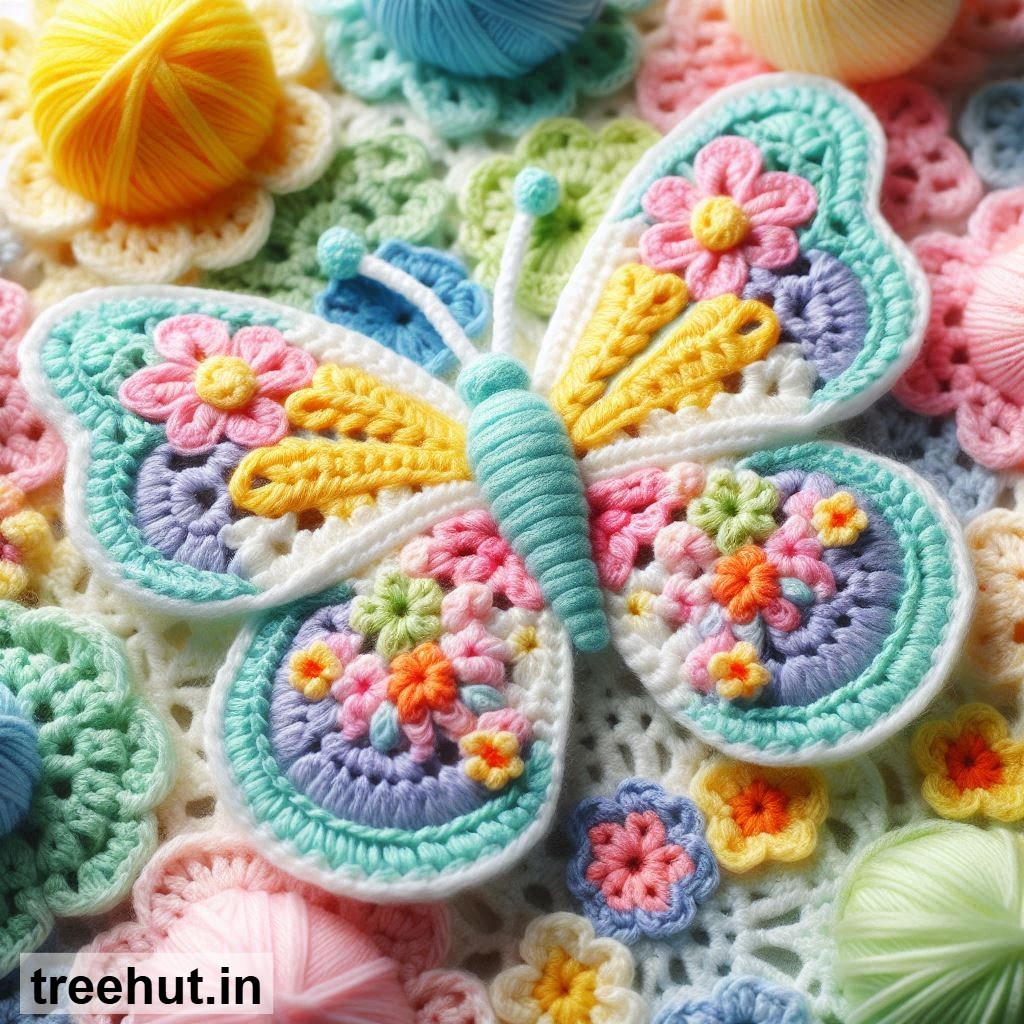
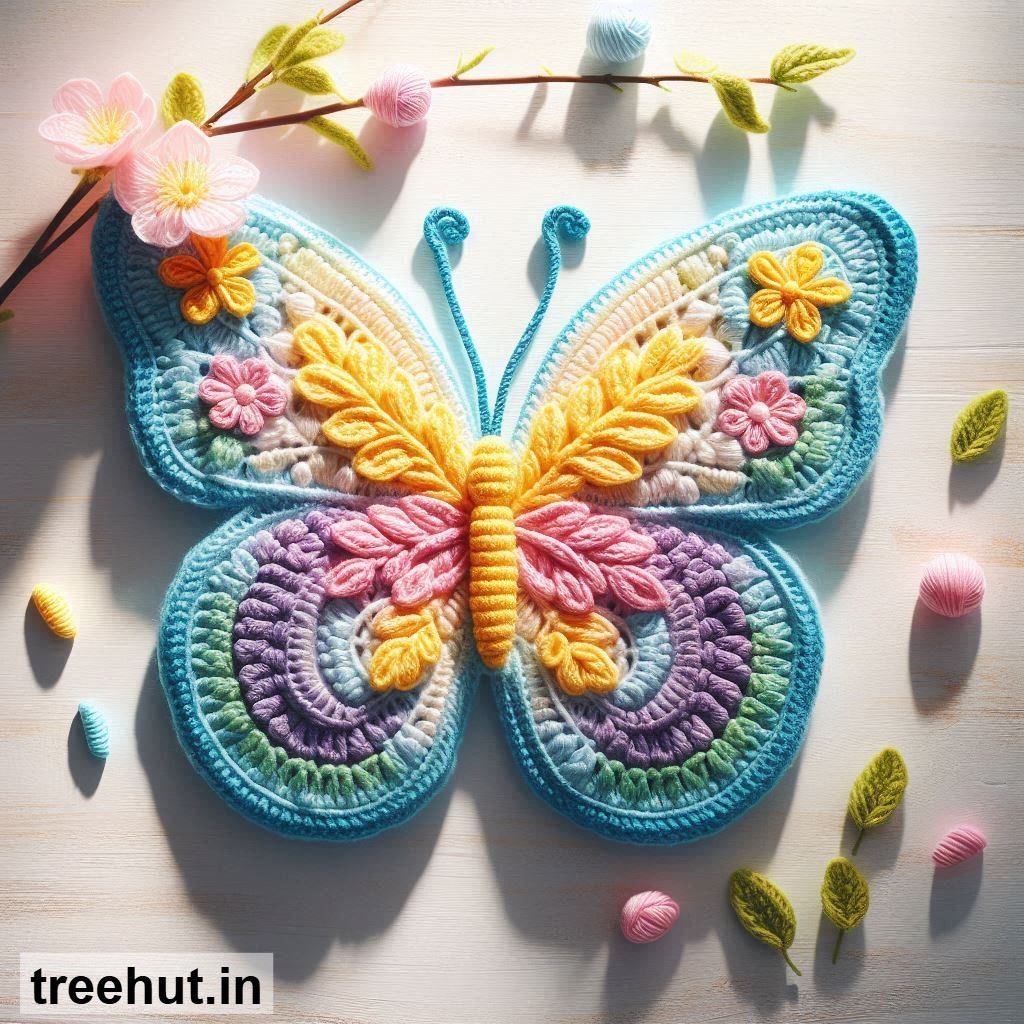
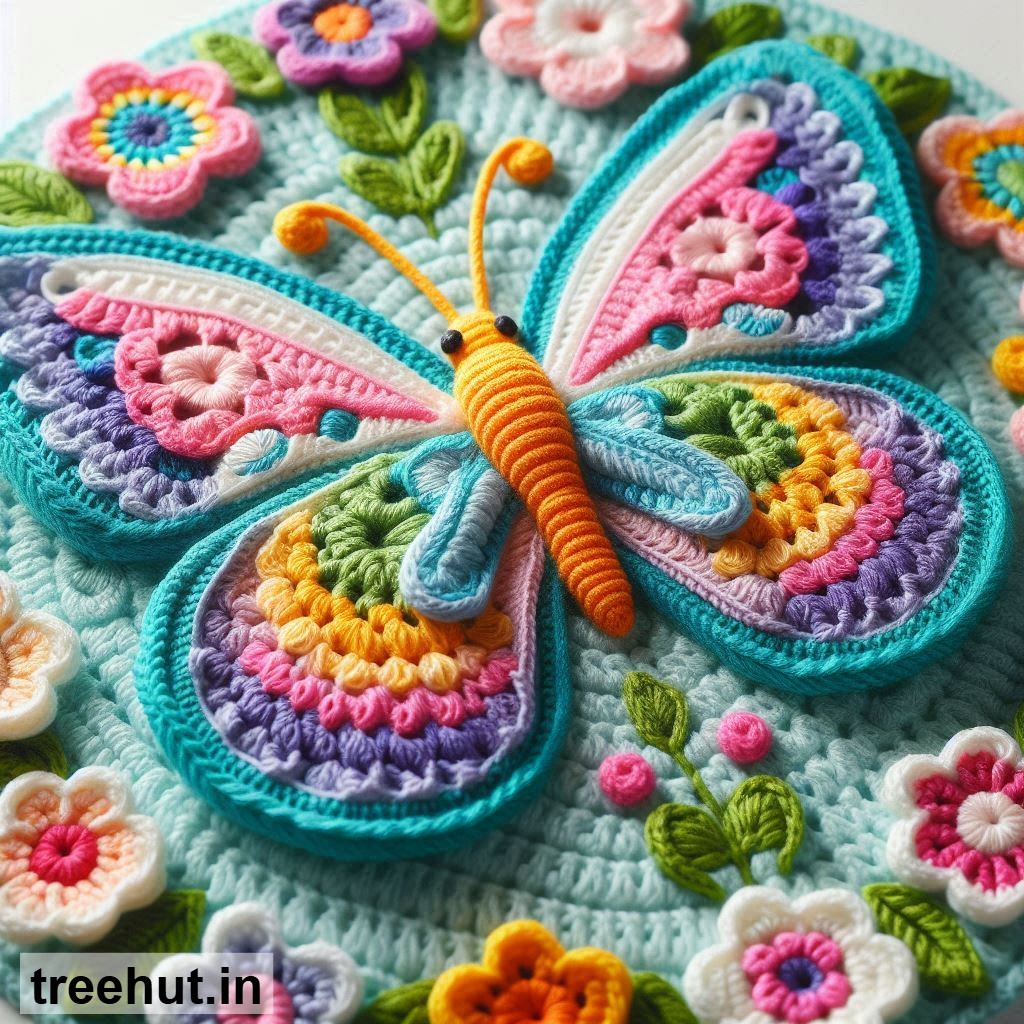
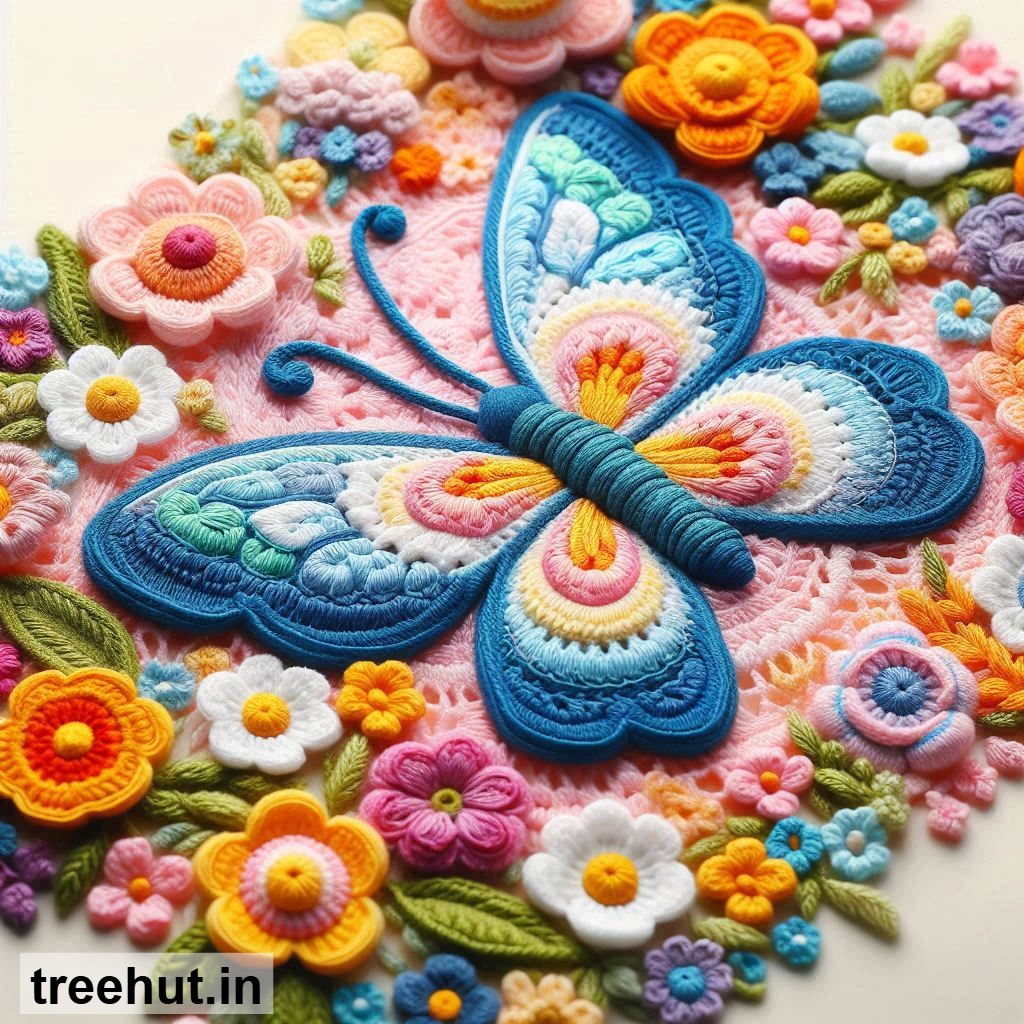
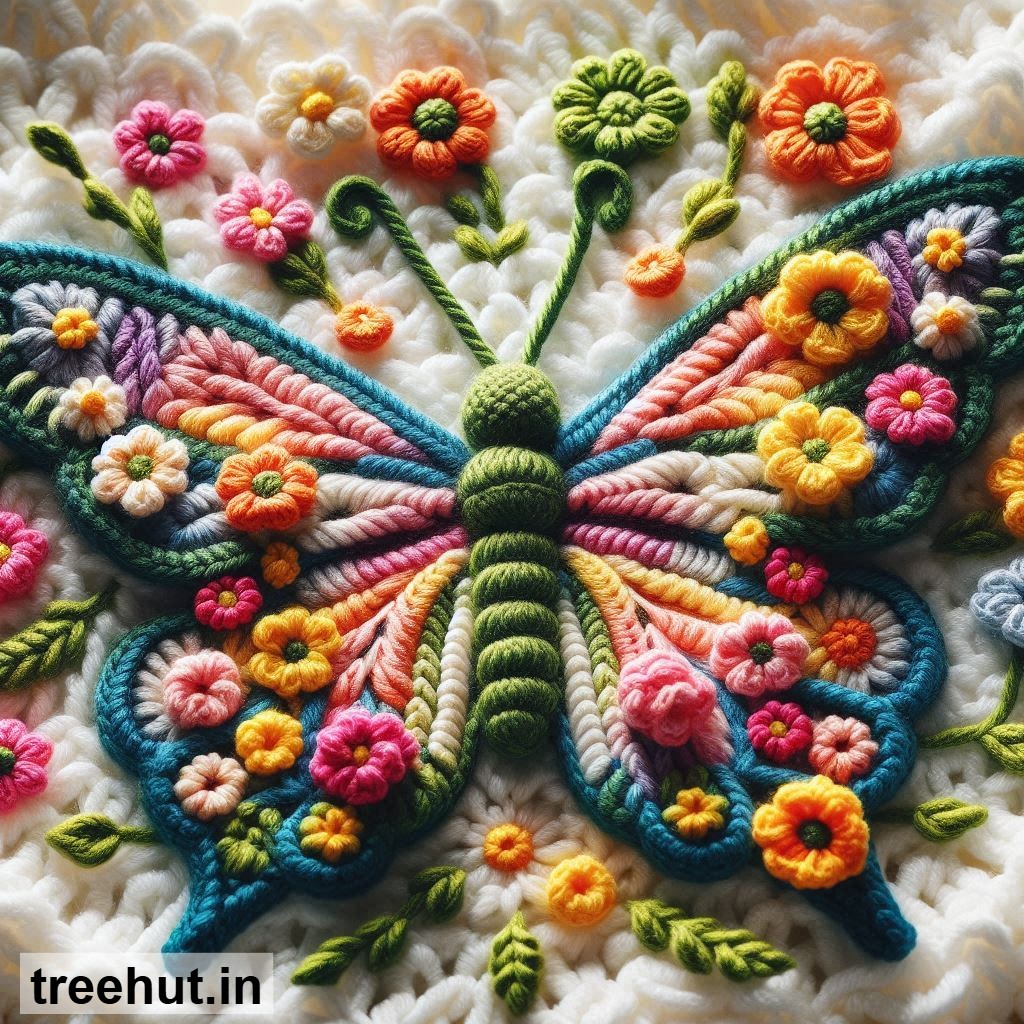
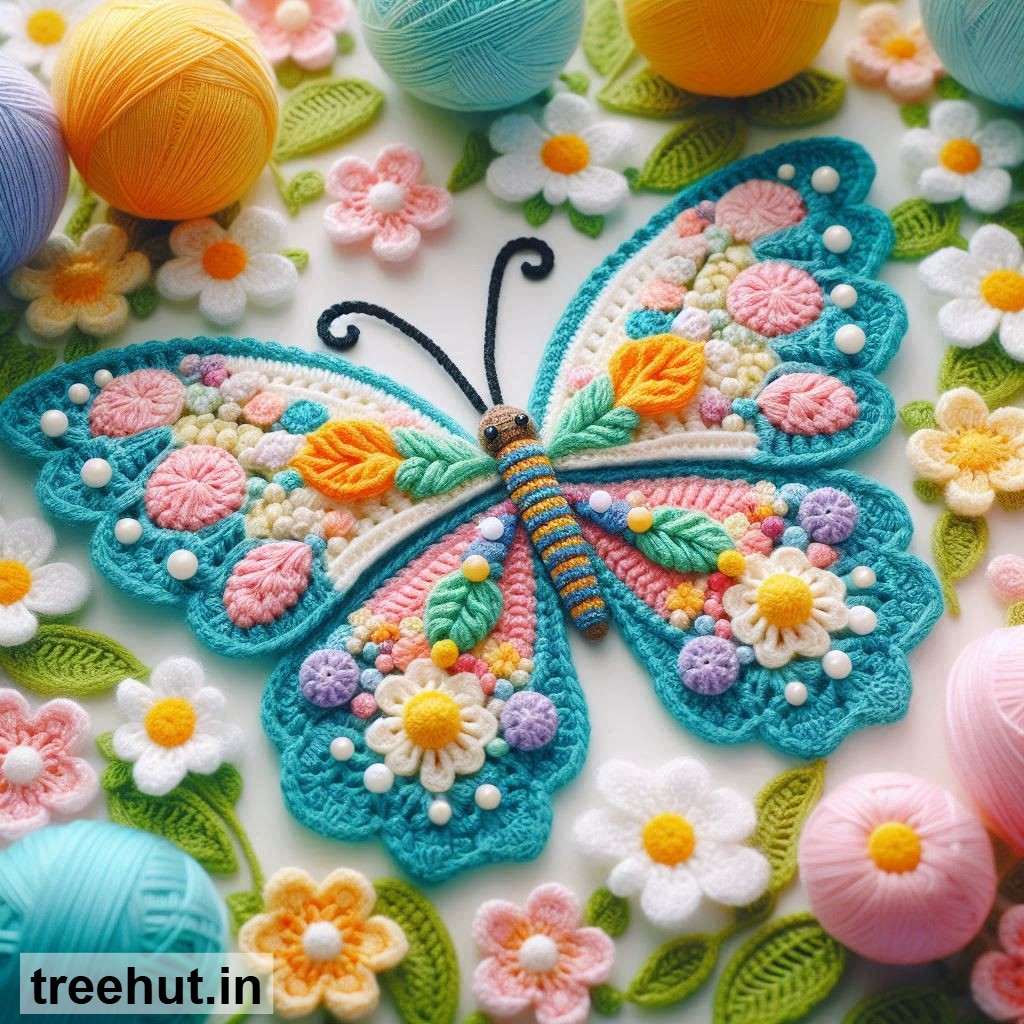
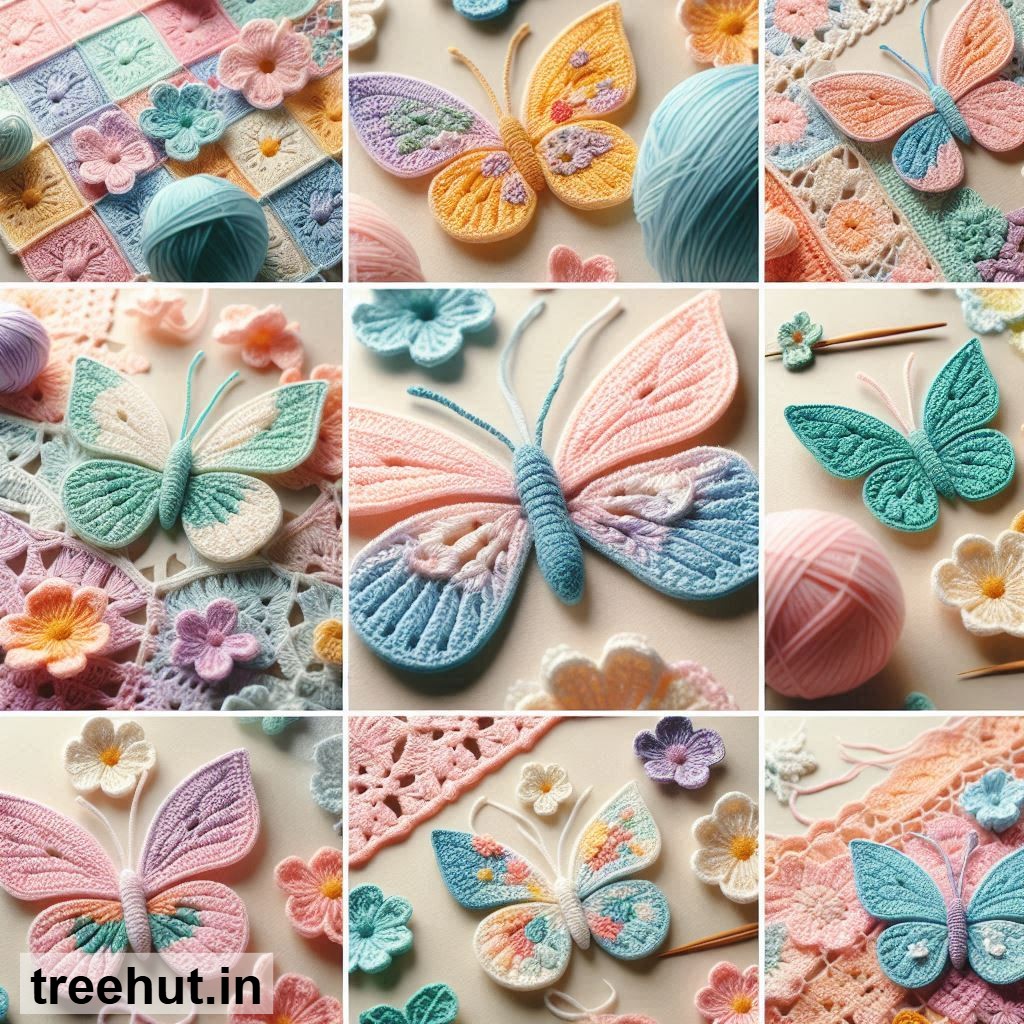
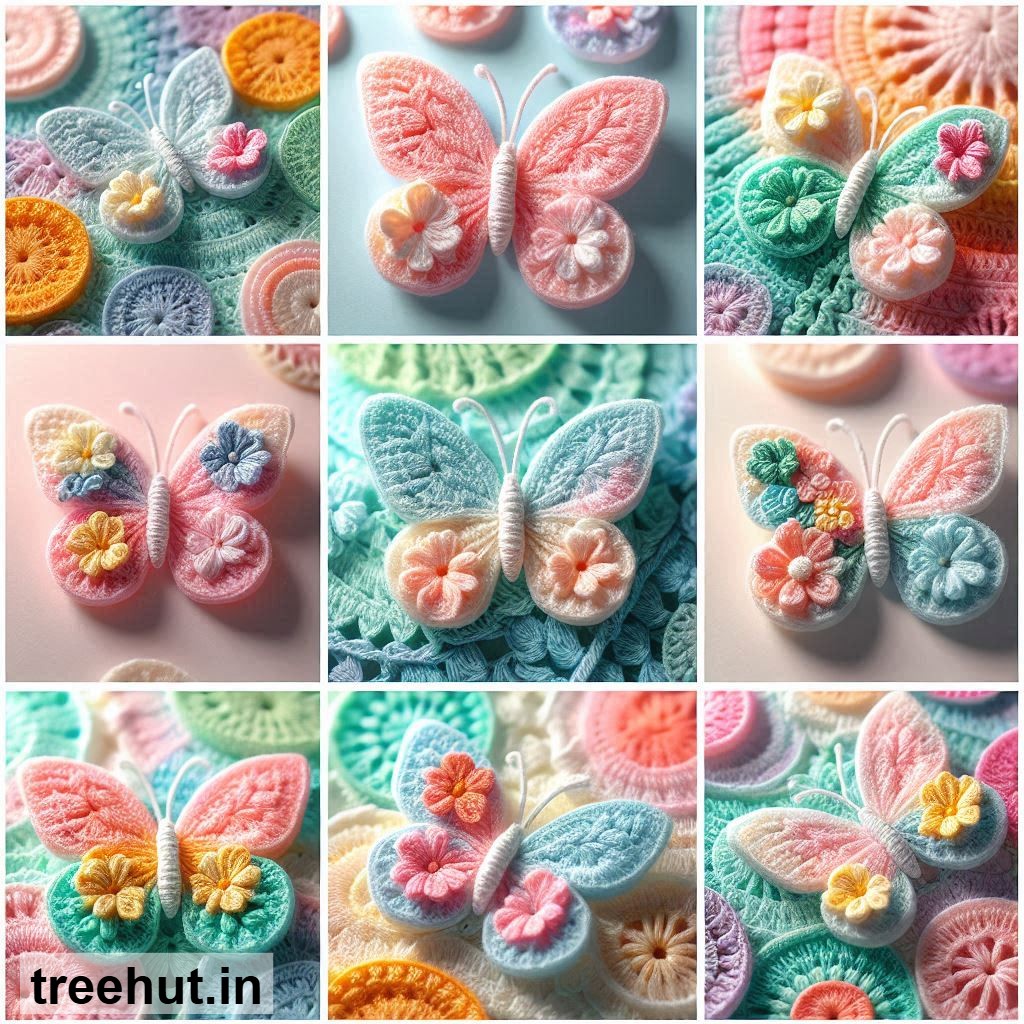
Spring Crochet Butterfly Appliqué Ideas
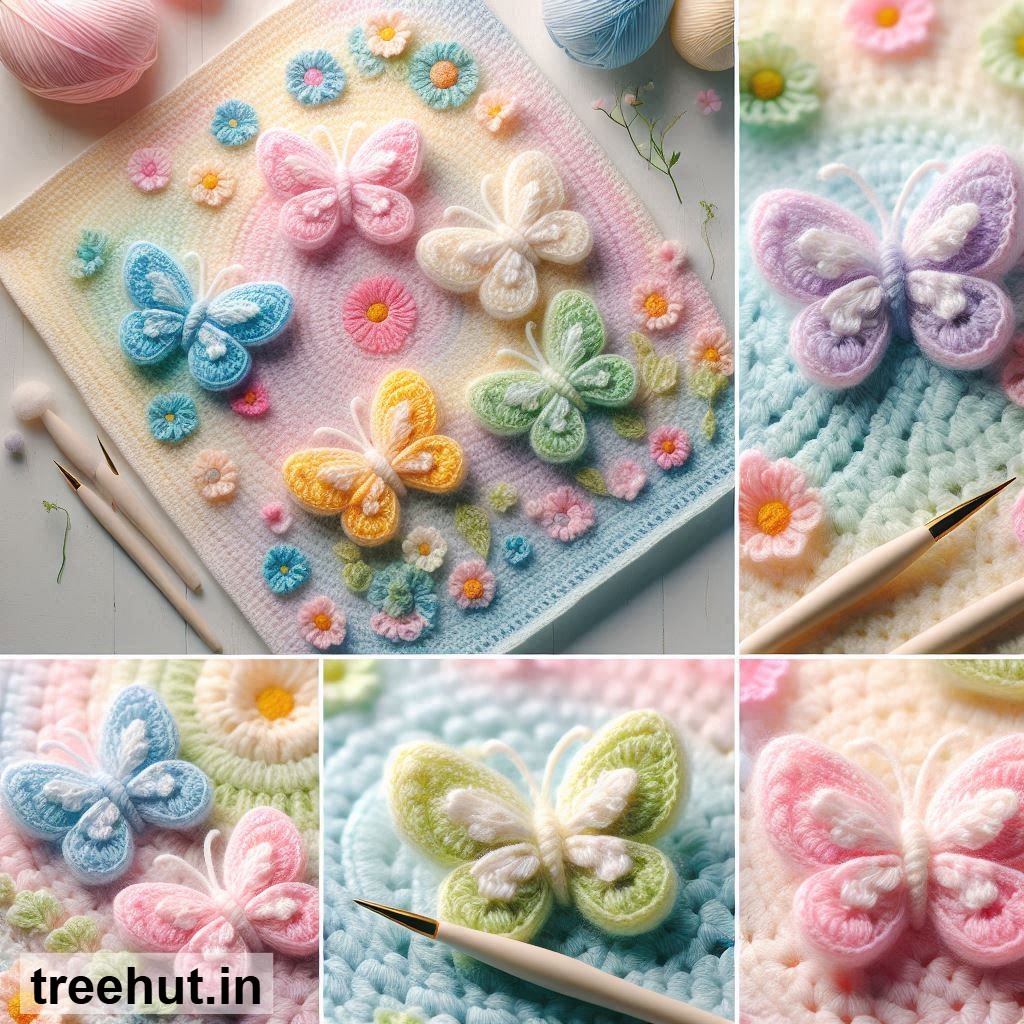
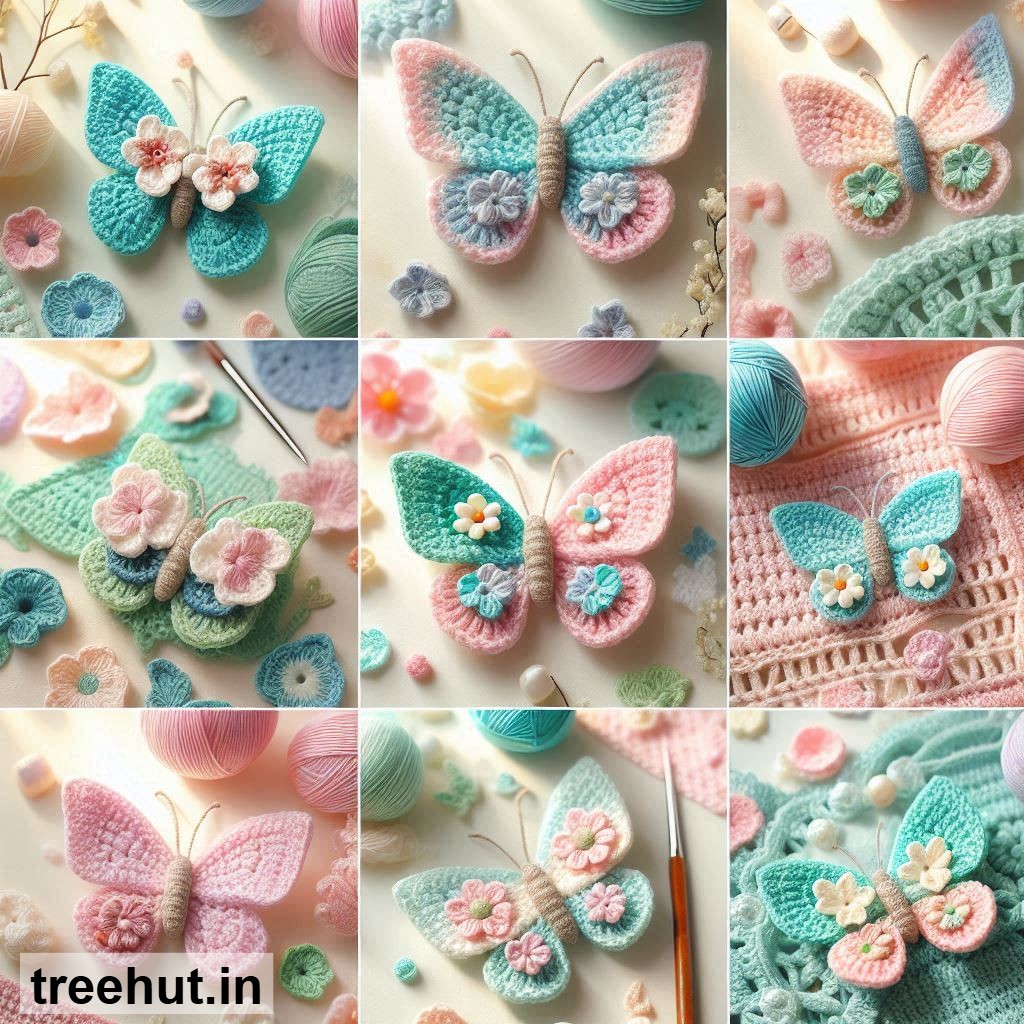
Classic Butterfly Appliqué: Use two or more colors to create simple butterfly shapes with defined wings. Perfect for decorating bags, hats, or clothing.
Pastel Mini Butterflies: Make small butterflies in soft spring shades like baby pink, mint, and lavender. Great for adding delicate accents to projects.
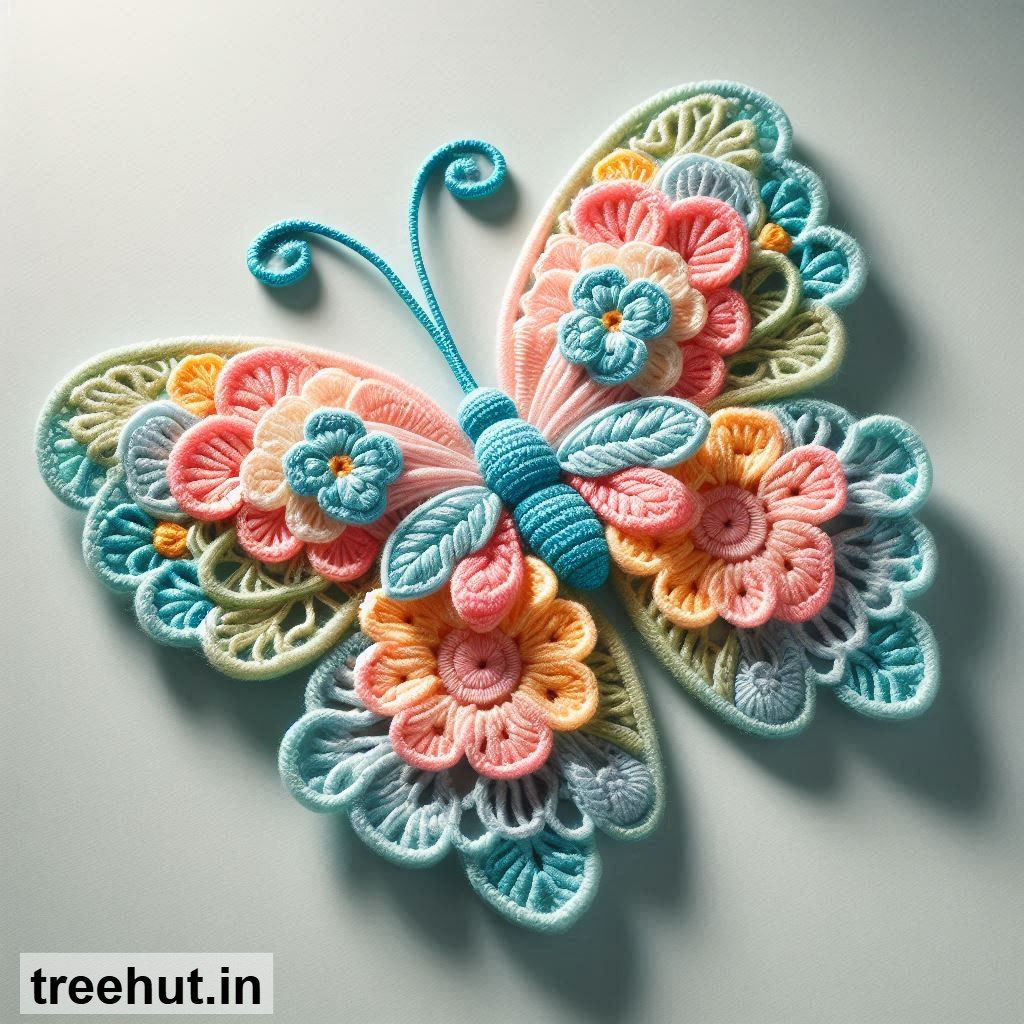
Layered Butterfly: Crochet two separate wing layers and stack them for a 3D effect that adds depth and texture.
Lace Butterfly: Use chain spaces and open stitches to create a light, airy butterfly design that feels elegant and spring-like.
Beaded Butterfly: Add small beads to the wings or body for a subtle sparkle and decorative touch.
Butterfly Garland Pieces: Create multiple butterflies and join them into a garland for spring home décor.
How to Make a Basic Crochet Butterfly Appliqué
Materials: Lightweight cotton yarn, small crochet hook (2–3 mm), yarn needle, scissors, and optional beads.
Step 1 - Foundation: Start with a magic ring or a small chain loop to form the center of the butterfly.
Step 2 - Upper Wings: Work a combination of double crochet stitches, chains, and slip stitches into the ring to form the top wings.
Step 3 - Lower Wings: Add smaller stitches like half double crochet or single crochet with chains to shape the bottom wings.
Step 4 - Body: Chain a few stitches and slip stitch back to create the butterfly body extending from the center.
Step 5 - Antennae: Chain a few stitches at the top and secure to form delicate antennae.
Step 6 - Finishing: Weave in ends and gently shape the wings. You can lightly block the appliqué for a neater finish.
Tips: Keep stitches tight for a clean shape, use contrasting colors for wings and body, and experiment with different stitch combinations.
Customization Ideas: Add embroidery details, combine multiple colors in one butterfly, or sew them onto garments, accessories, or home décor items for a spring theme.