




Spring Crochet bucket hats Ideas and how to make them
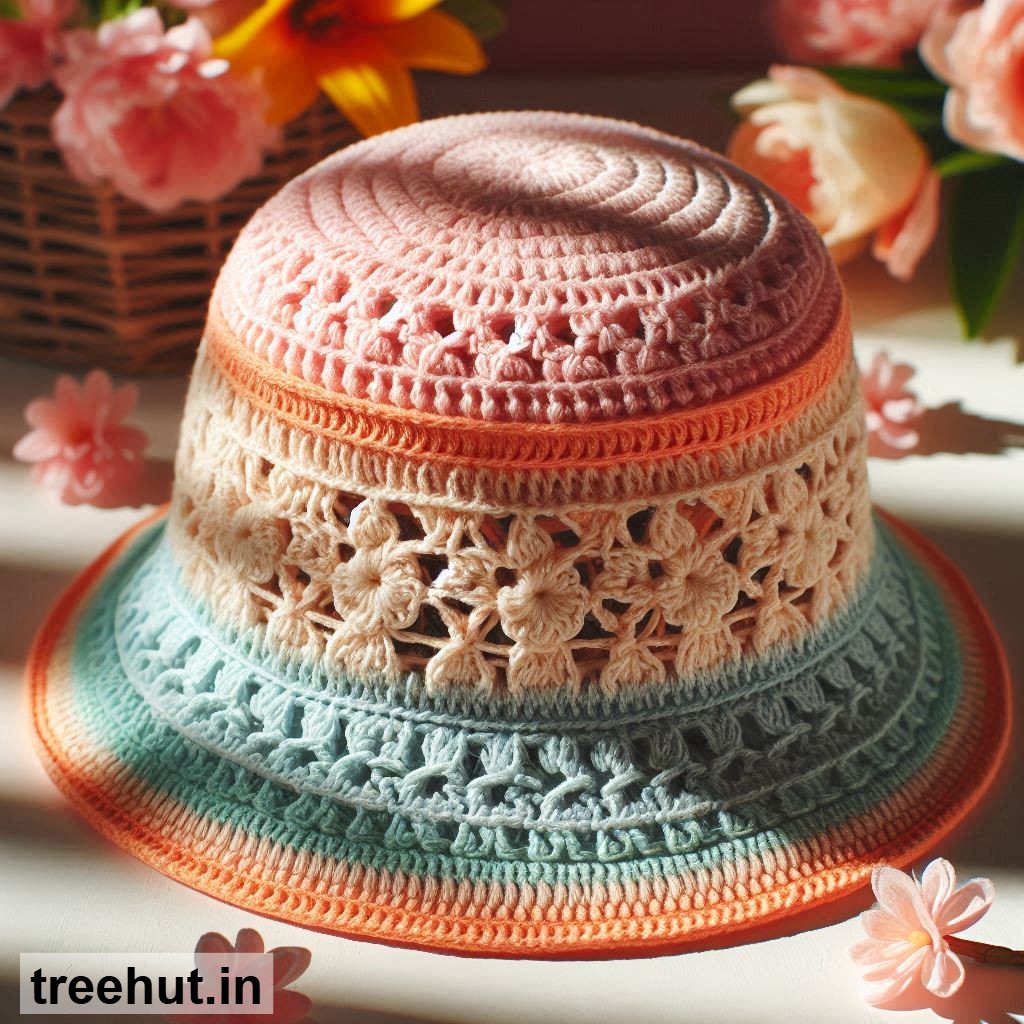
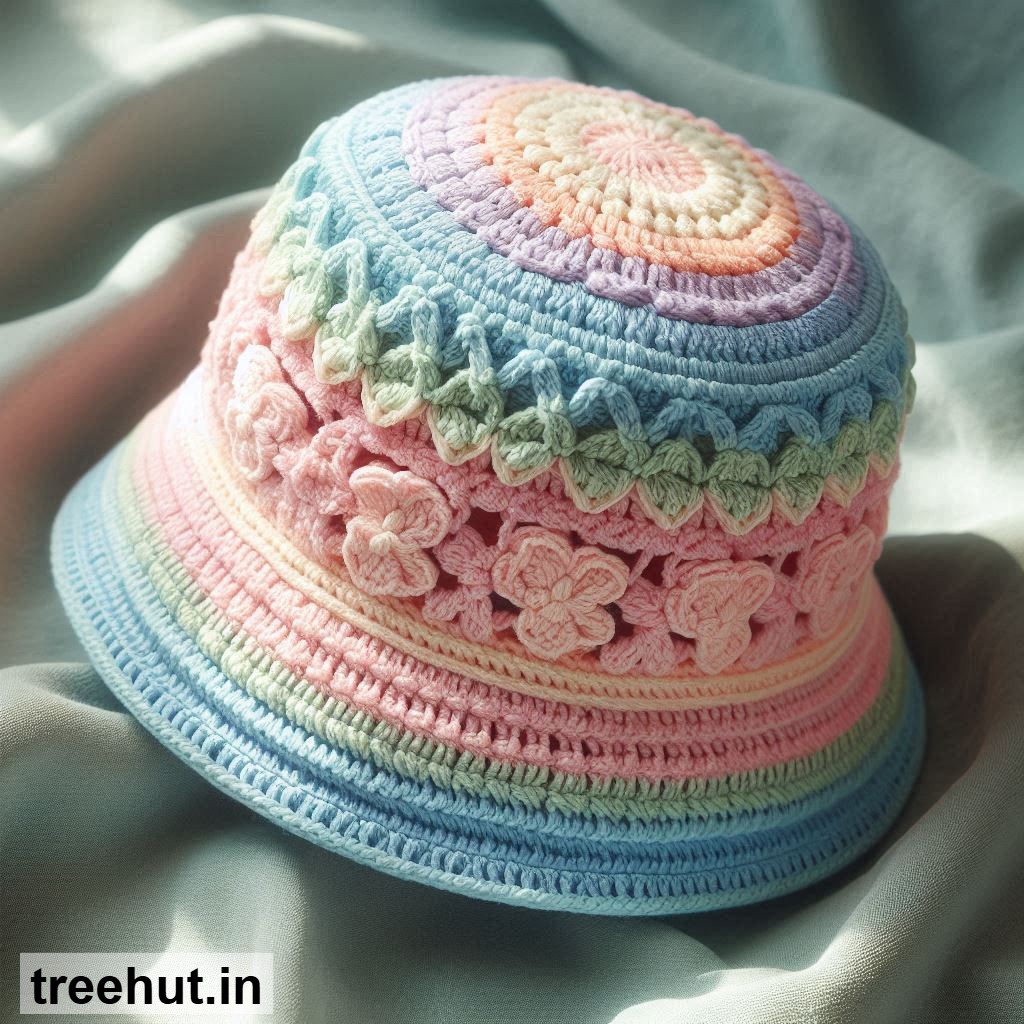
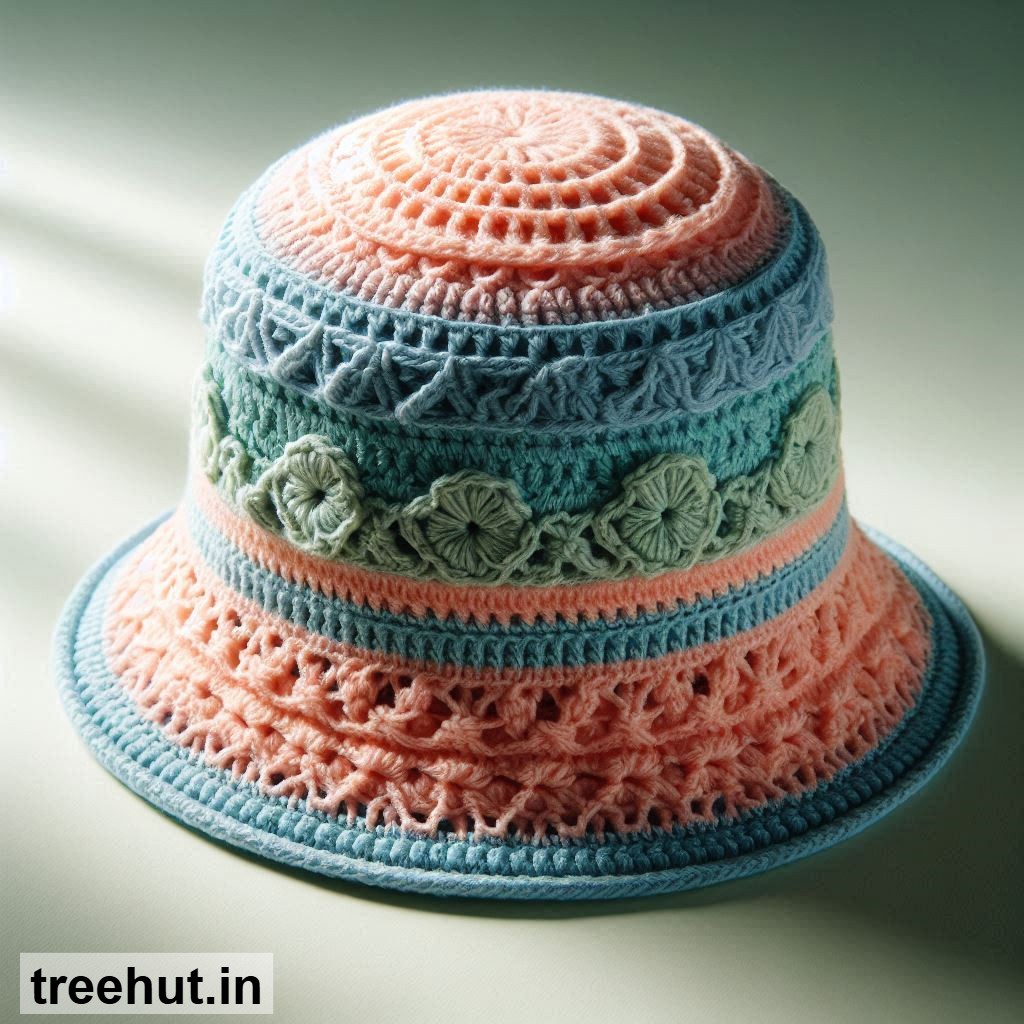
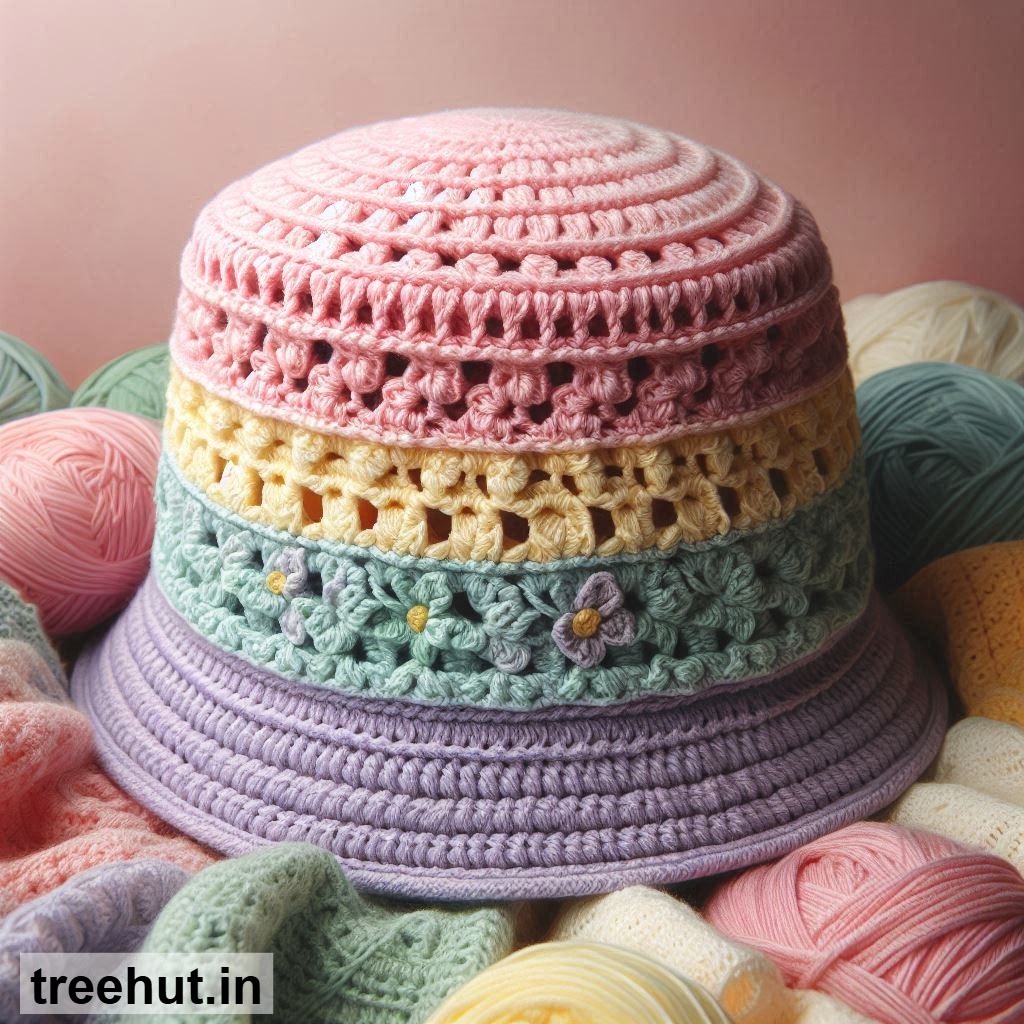
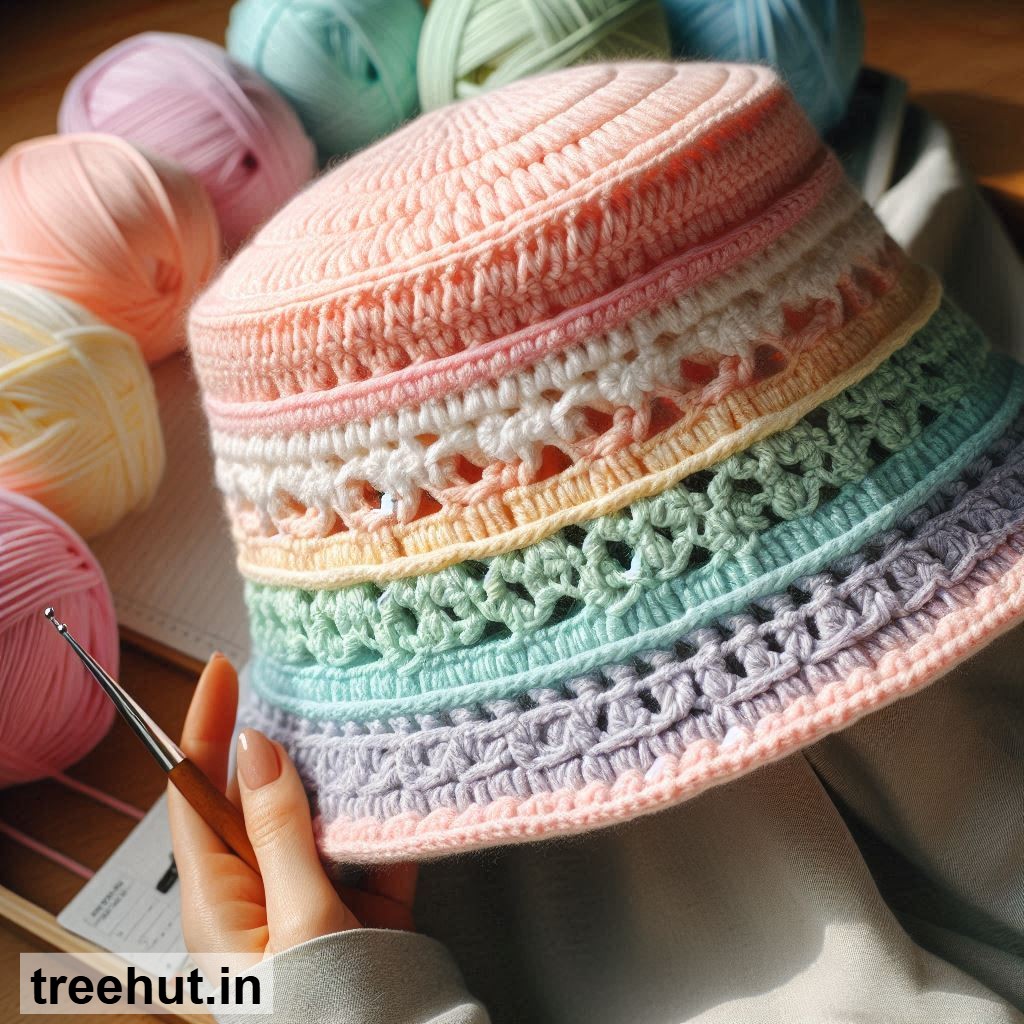
Spring Crochet Bucket Hat Ideas
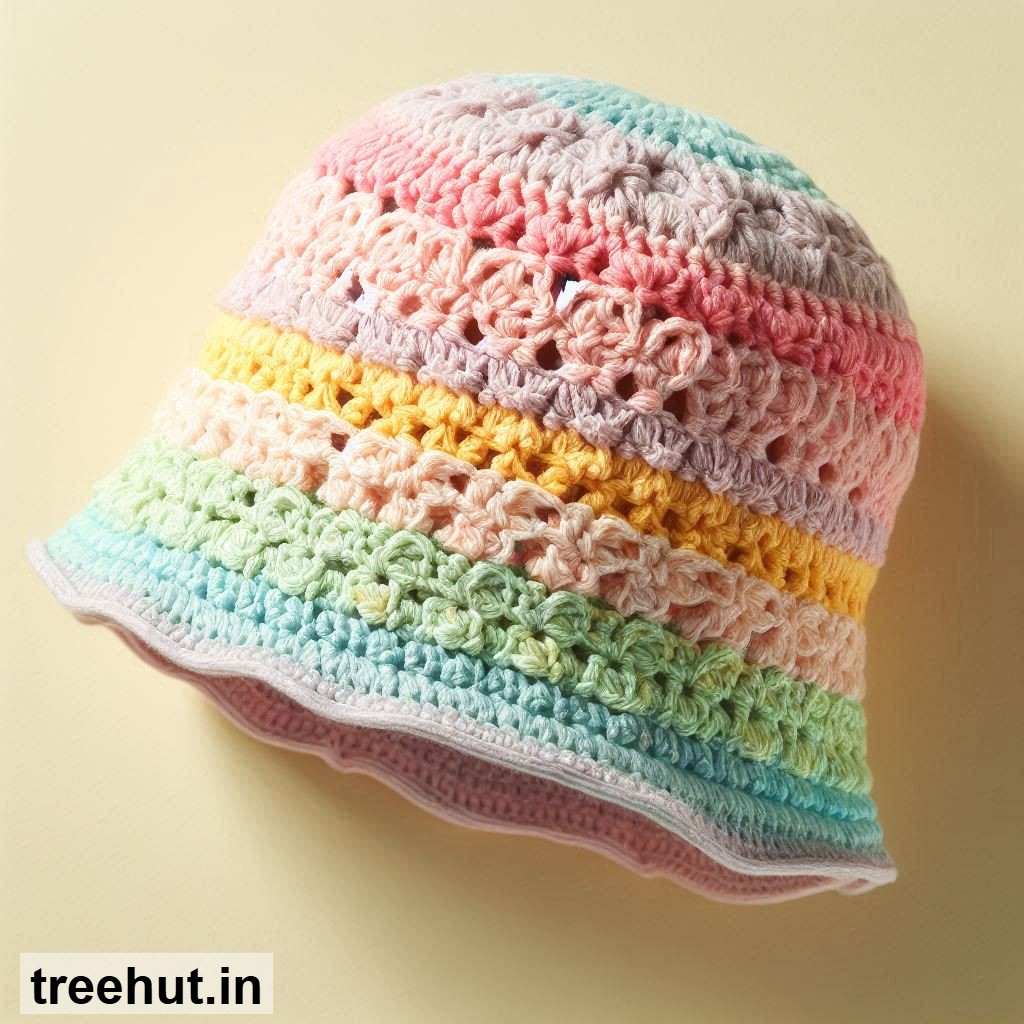
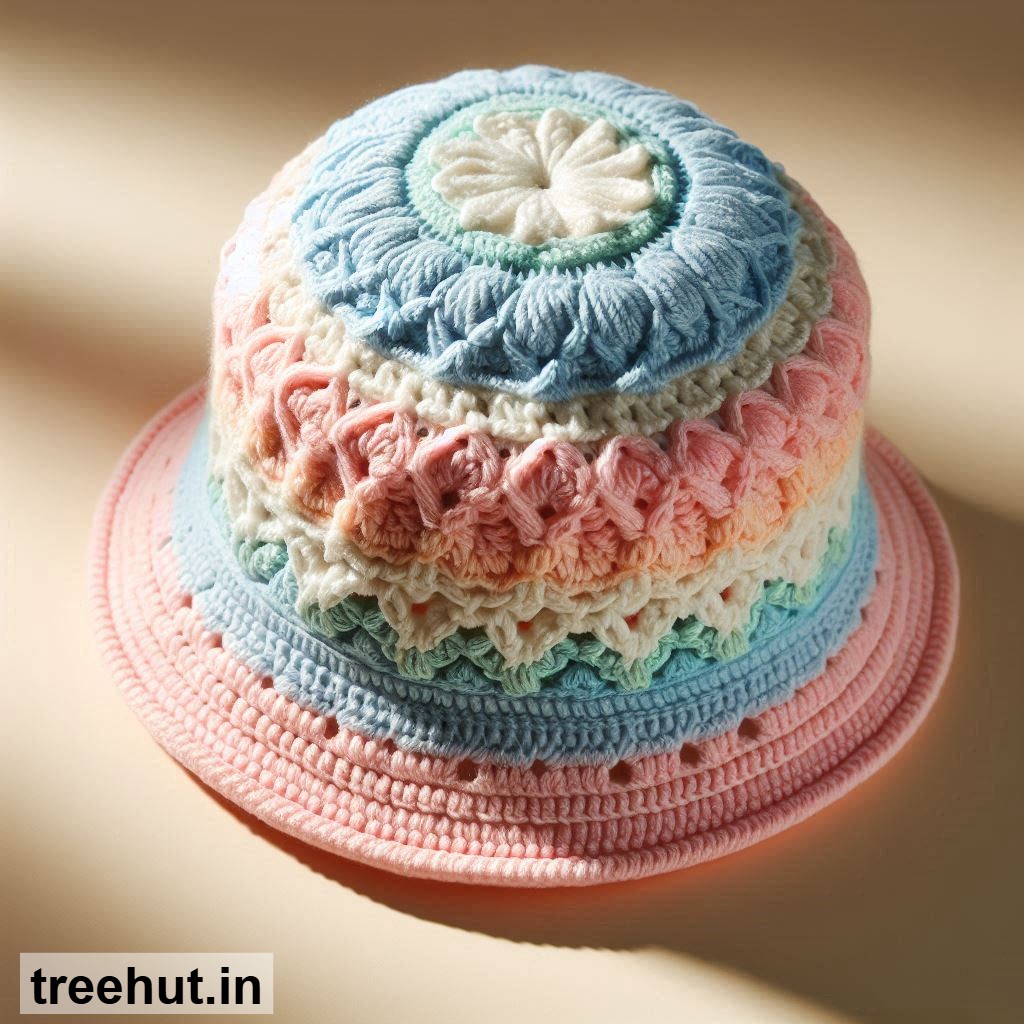
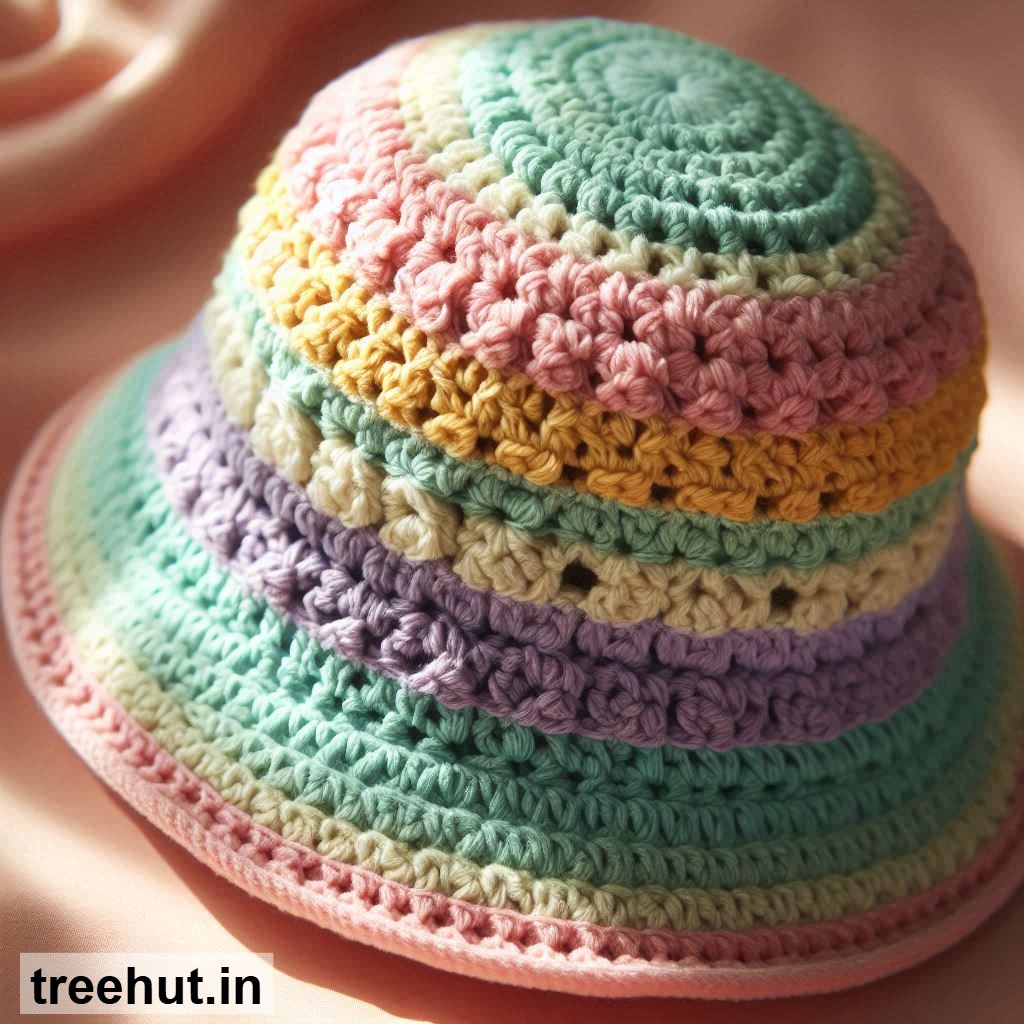
Pastel Bucket Hat: Use soft spring shades like lavender, mint, peach, and baby blue. A simple design with clean stitches makes it easy to wear with any outfit.
Floral Bucket Hat: Add crocheted flowers or daisy motifs around the hat for a cheerful spring look.
Striped Bucket Hat: Alternate colors to create fun stripes. Use bright or pastel tones for a fresh seasonal vibe.
Lace Stitch Bucket Hat: Use open, airy stitches to make a breathable hat perfect for mild spring weather.
Reversible Bucket Hat: Crochet two layers in different colors or patterns and join them for a versatile, two-in-one style.
Boho Fringe Bucket Hat: Add small fringe details or textured stitches for a relaxed, bohemian feel.
How to Make a Basic Crochet Bucket Hat
Materials: Cotton yarn, crochet hook (4–5 mm), stitch marker, yarn needle, and scissors.
Step 1 - Crown (Top Circle): Start with a magic ring and work in the round. Begin with 6–8 stitches, then increase evenly in each round until the circle fits the top of your head.
Step 2 - Hat Body: Stop increasing and crochet one stitch in each stitch around. Continue until the hat reaches just above your ears.
Step 3 - Brim: Increase stitches slightly in each round to create a flared brim. Continue until you reach your desired brim width.
Step 4 - Texture (Optional): Add variety using stitches like half double crochet, back loop only stitches, or shell patterns.
Step 5 - Edging: Finish the brim with a firm edge using slip stitch or single crochet to help it hold shape.
Step 6 - Finishing: Weave in loose ends and lightly shape the hat if needed.
Tips: Use cotton yarn for structure and breathability, keep tension consistent, and try the hat on as you work to ensure a good fit.
Customization Ideas: Add a decorative band, sew on small flowers or patches, or mix colors for a unique spring design.