Spring Crochet boho tops Ideas and how to make them
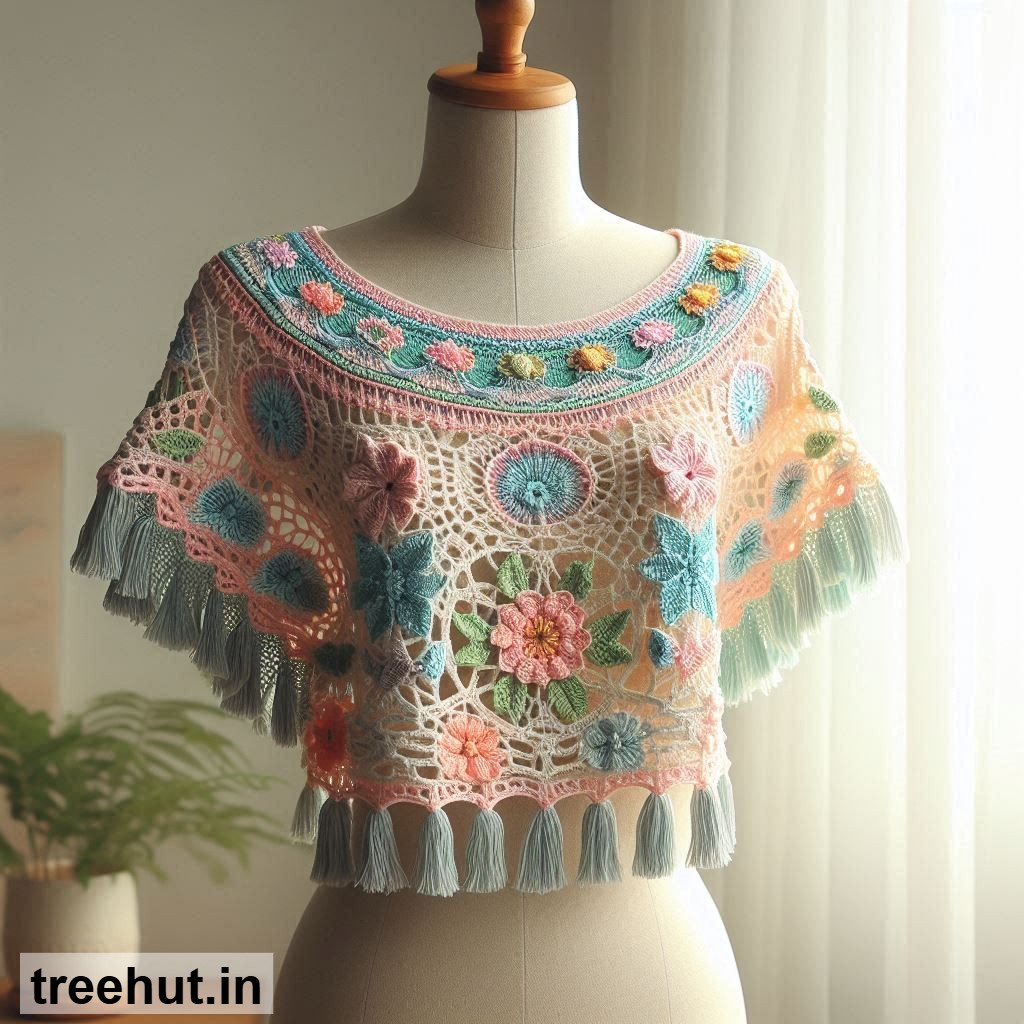
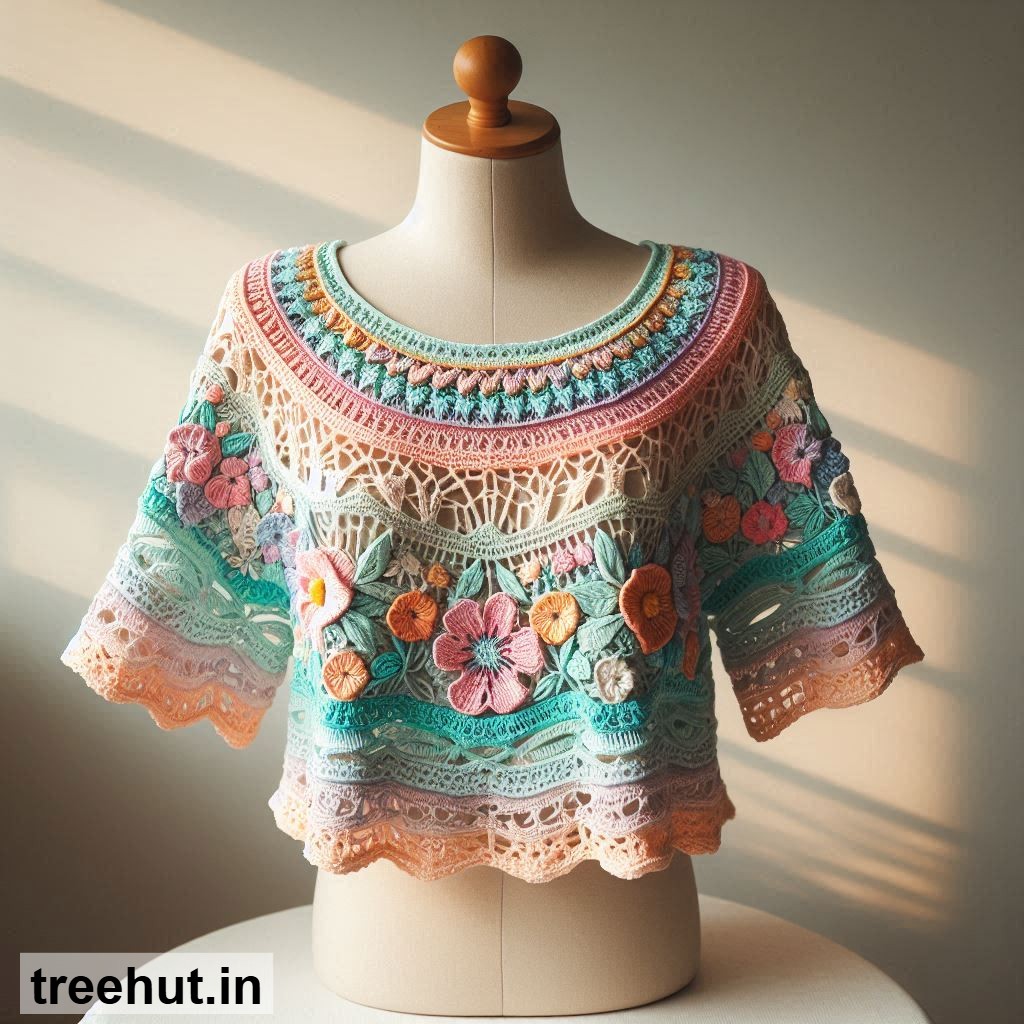
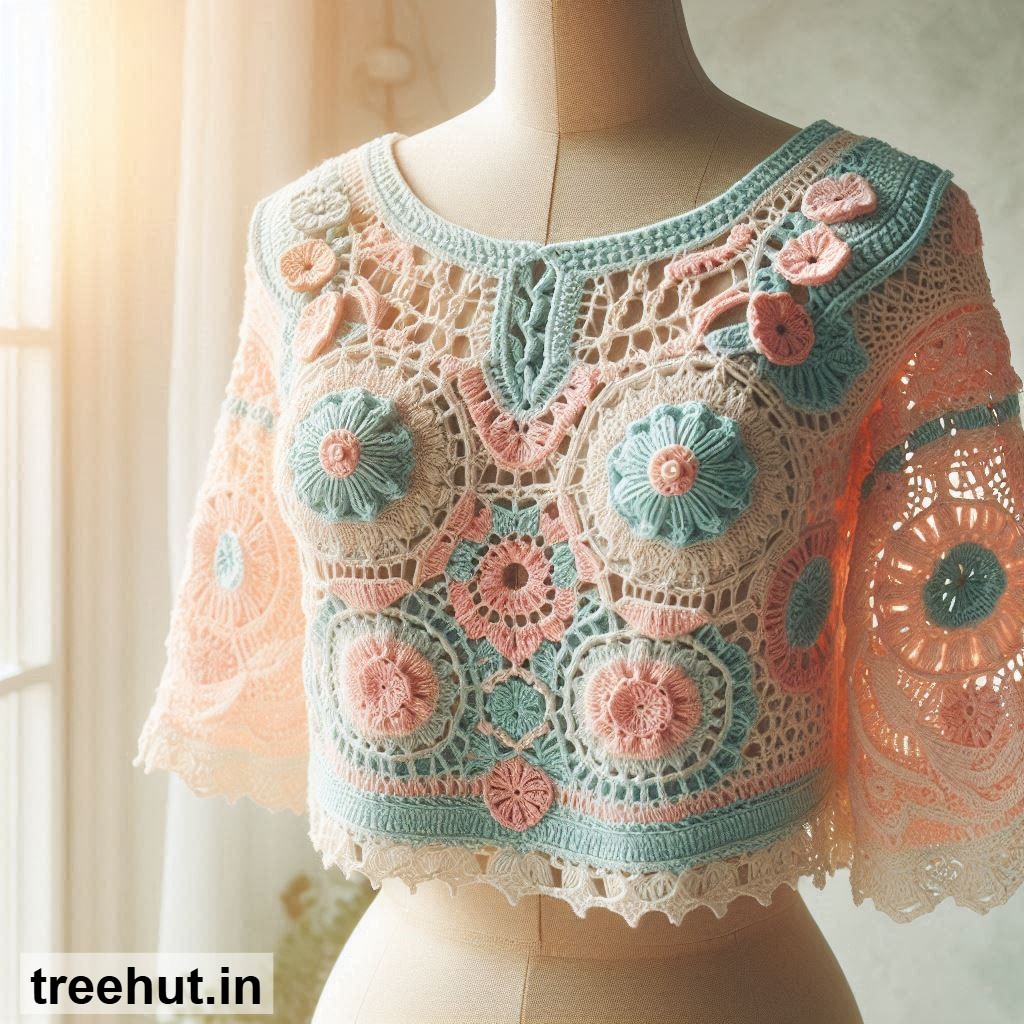
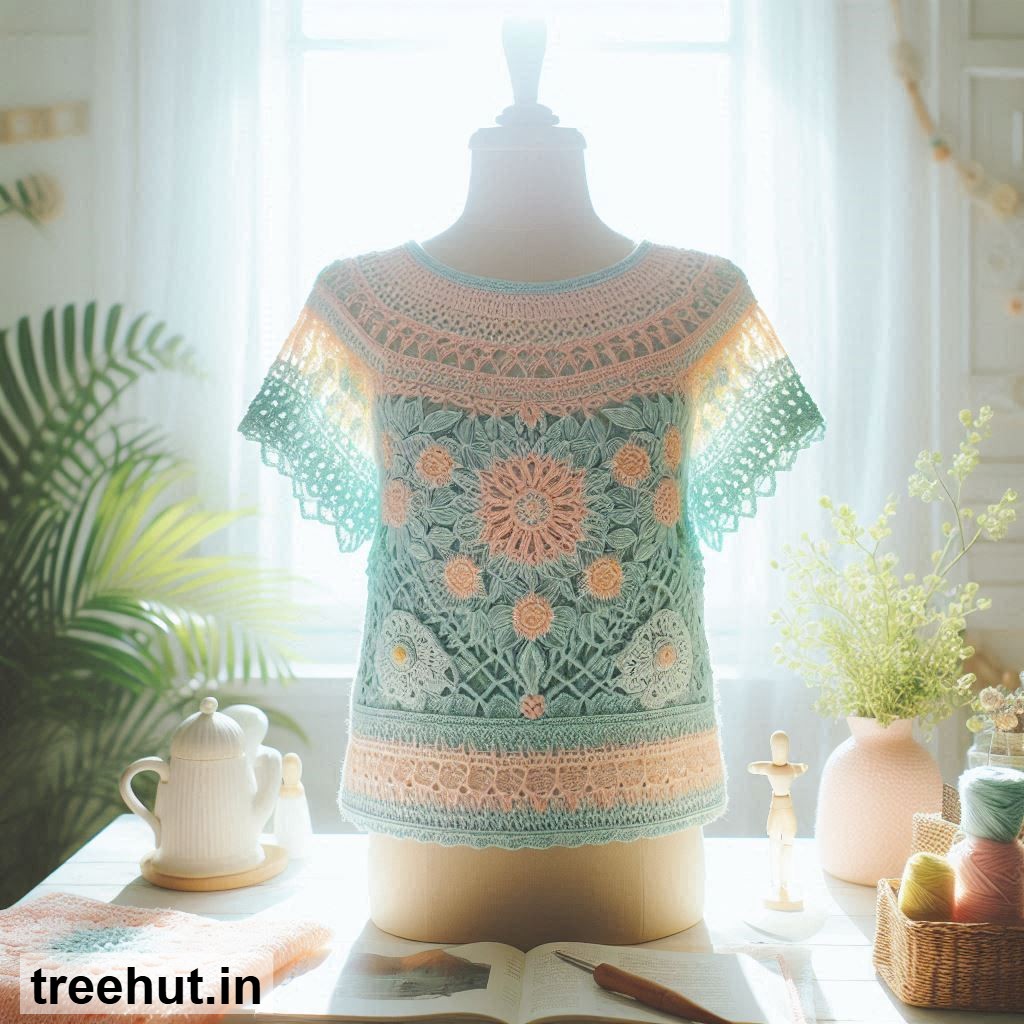
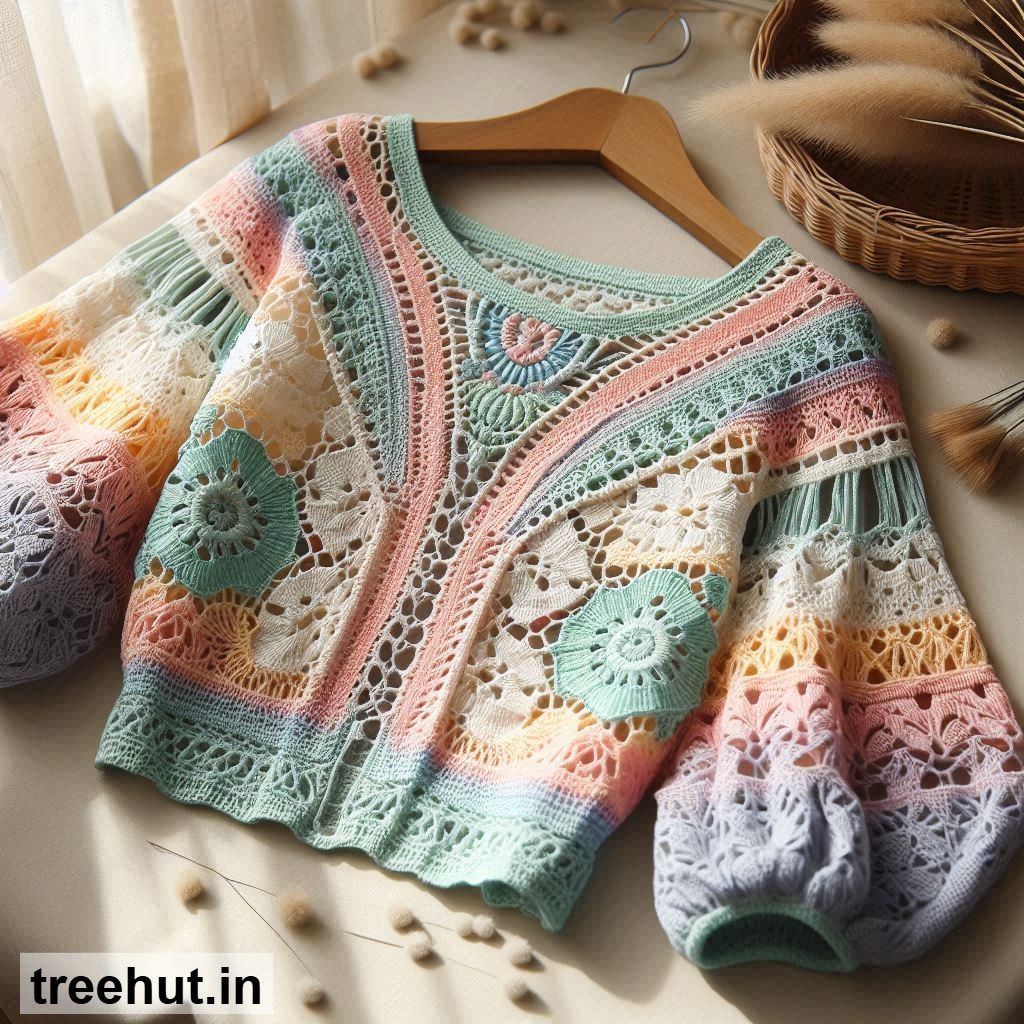
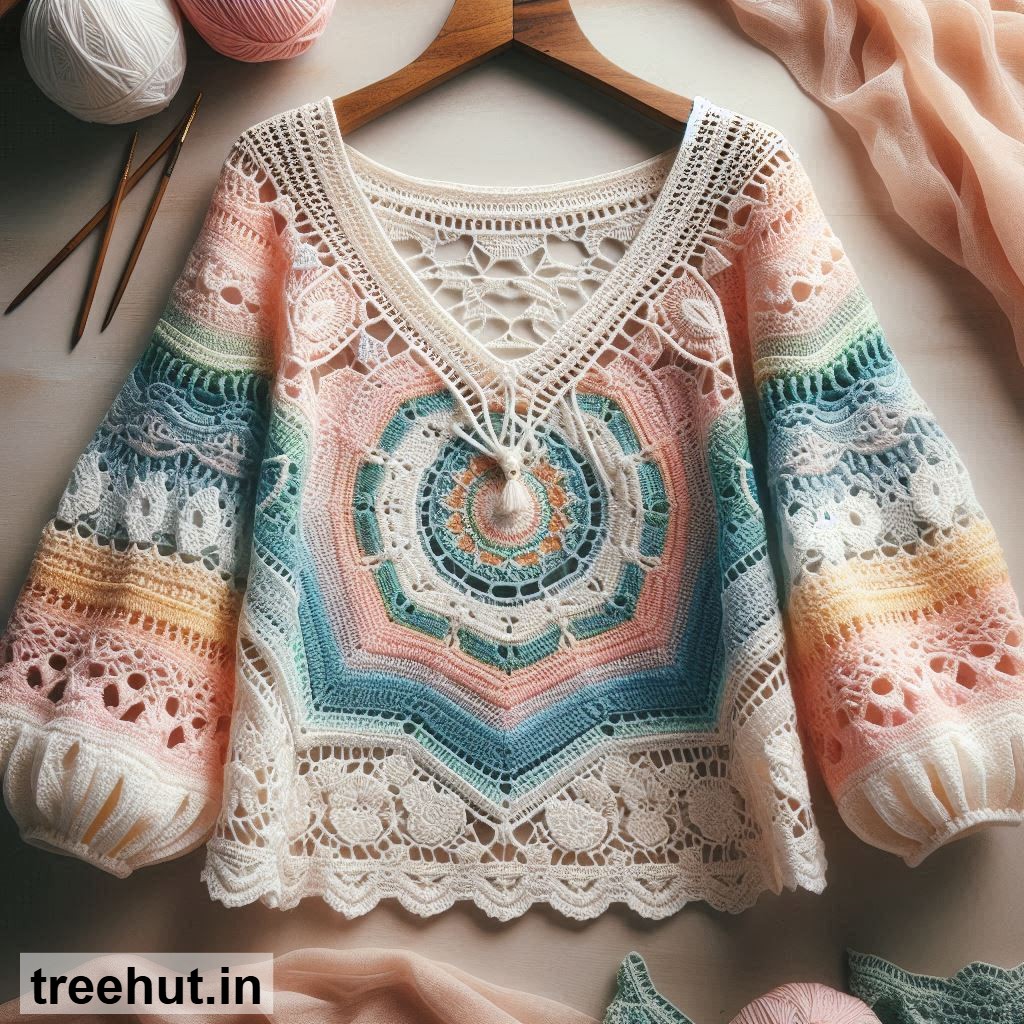
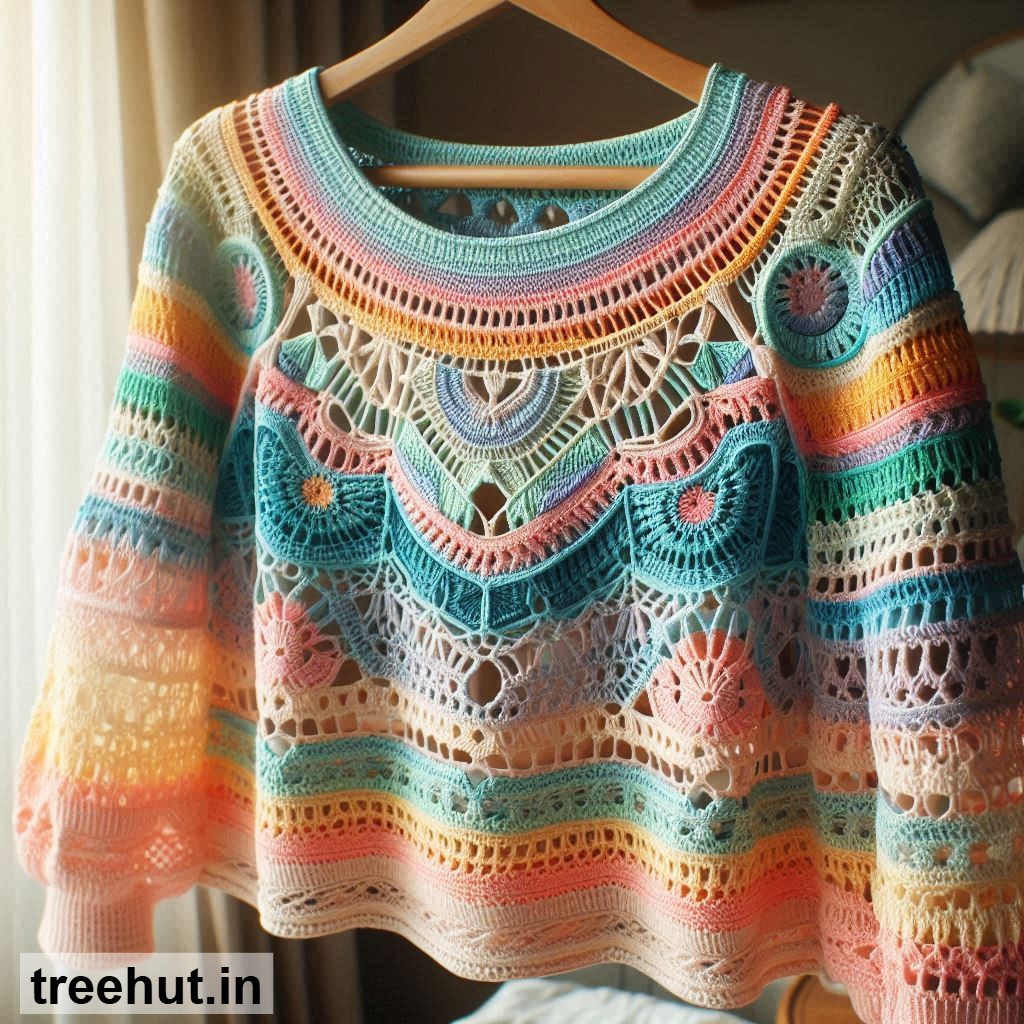
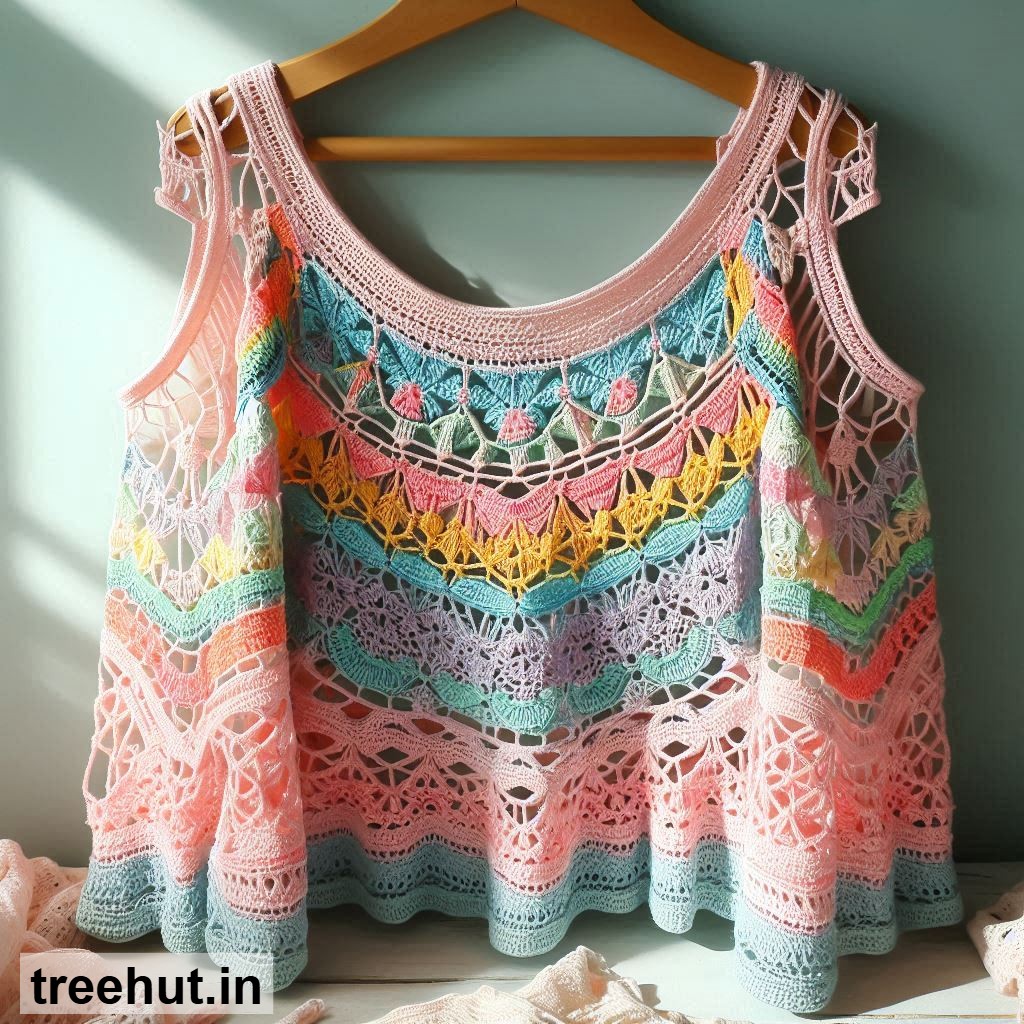
Spring Crochet Boho Top Ideas
Granny Square Boho Top: Create a top by joining colorful granny squares together. Use soft pastel or earthy tones for a fresh spring bohemian look.
Halter Neck Boho Top: A sleeveless design that ties behind the neck. Perfect for warm spring days and easy to customize with lacy or solid stitches.
Off-Shoulder Boho Blouse: A loose, flowy top that sits below the shoulders. Use lightweight yarn and openwork stitches for a soft, airy feel.
Crop Top with Fringe: A short boho top finished with fringe along the bottom edge. Adds movement and a relaxed festival-style vibe.
Lace Panel Top: Combine simple stitches with lace sections for a delicate and stylish spring outfit.
Kimono Style Boho Top: An open-front design with wide sleeves, ideal for layering over tanks or dresses.
How to Make a Basic Crochet Boho Top
Materials: Lightweight cotton yarn, crochet hook (3.5–5 mm), stitch markers, yarn needle, and scissors.
Step 1 - Measurements: Measure bust, waist, and desired length. Decide if you want a fitted or loose style.
Step 2 - Foundation: Make a foundation chain that matches your bust width or slightly larger for a relaxed fit.
Step 3 - Body: Work in rows or rounds using stitches like double crochet, half double crochet, or mesh/lace patterns. Continue until you reach the desired length.
Step 4 - Shaping: Create armholes by leaving spaces or splitting into front and back panels. Join shoulders using slip stitch or sewing.
Step 5 - Neckline and Straps: Add straps, halter ties, or shape the neckline as desired. You can create thin chains or thicker bands for support.
Step 6 - Edging: Finish edges with decorative stitches like picot, shell, or scalloped borders for a boho touch.
Step 7 - Finishing: Weave in ends and lightly block the top to shape it properly.
Tips: Use soft, breathable yarn for comfort, try the top on as you work for a better fit, and use stitch markers to keep track of shaping.
Customization Ideas: Add fringe, tassels, beads, or mix colors for a unique design. Experiment with different stitch patterns and lengths to match your personal boho style.