






Brush Embroidery Cookie Decorating Ideas and Recipes with Flavor Combinations
How to Make and Decorate Cookies at Home
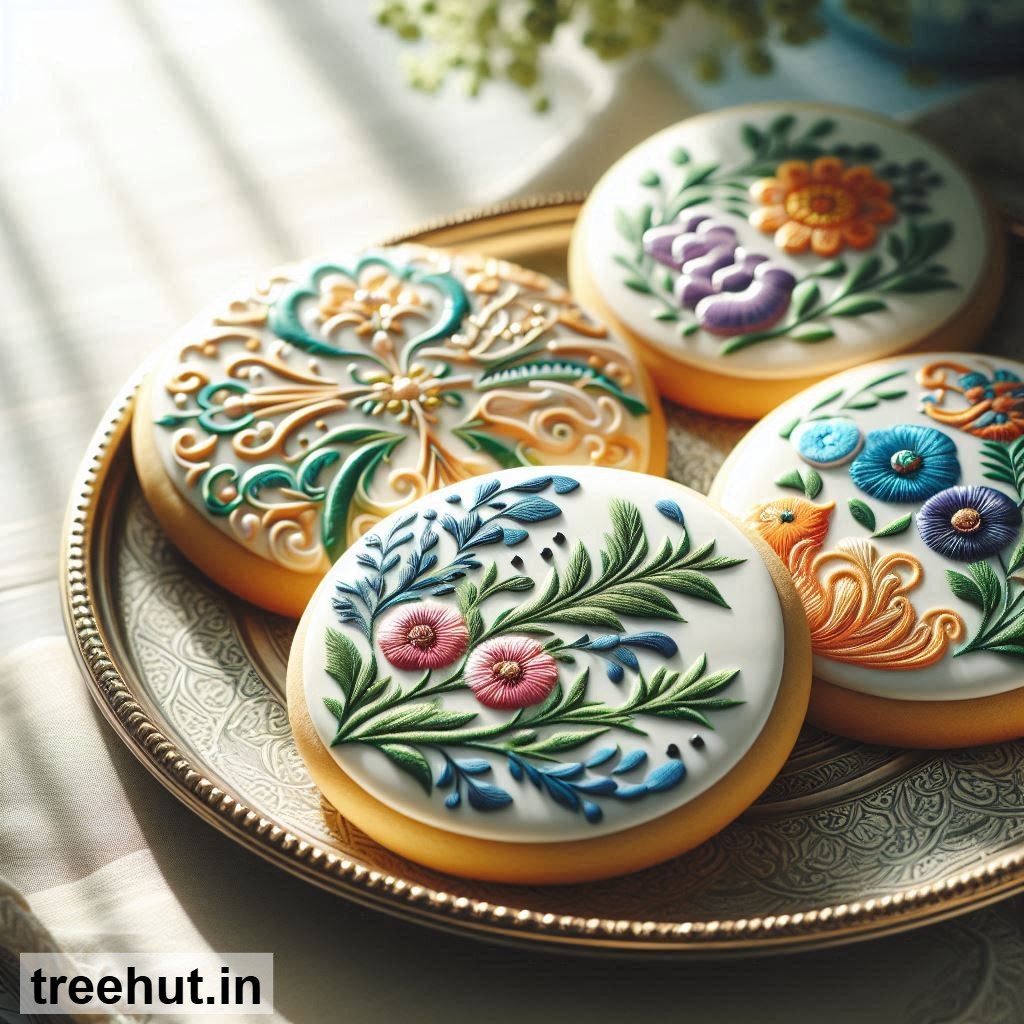
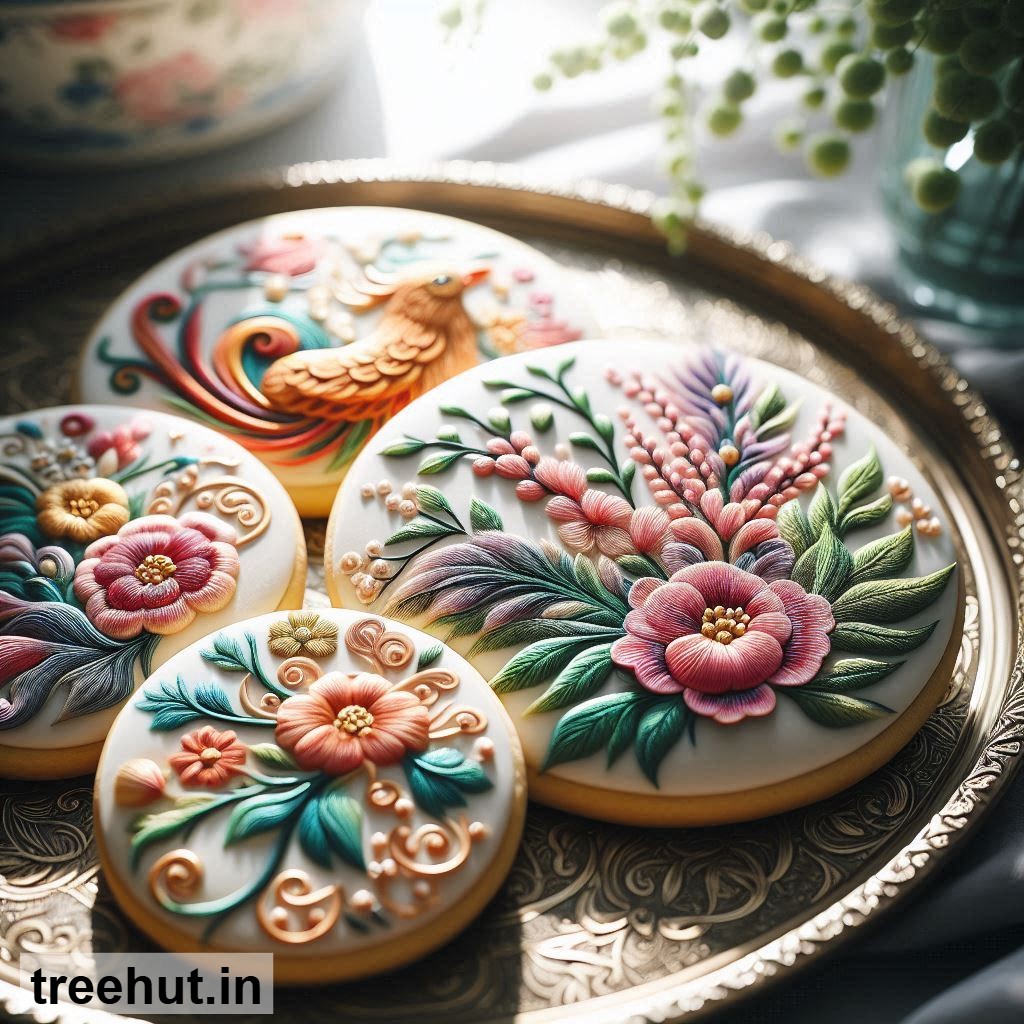
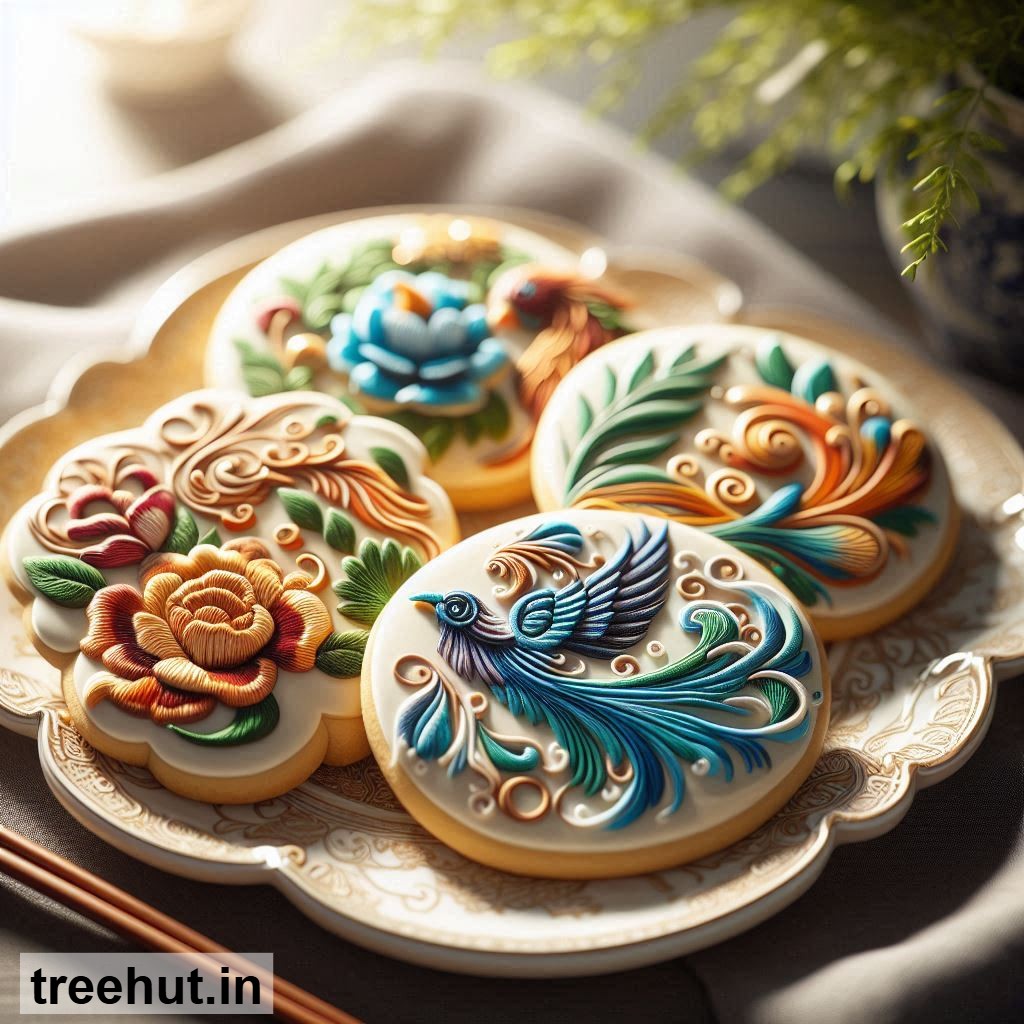
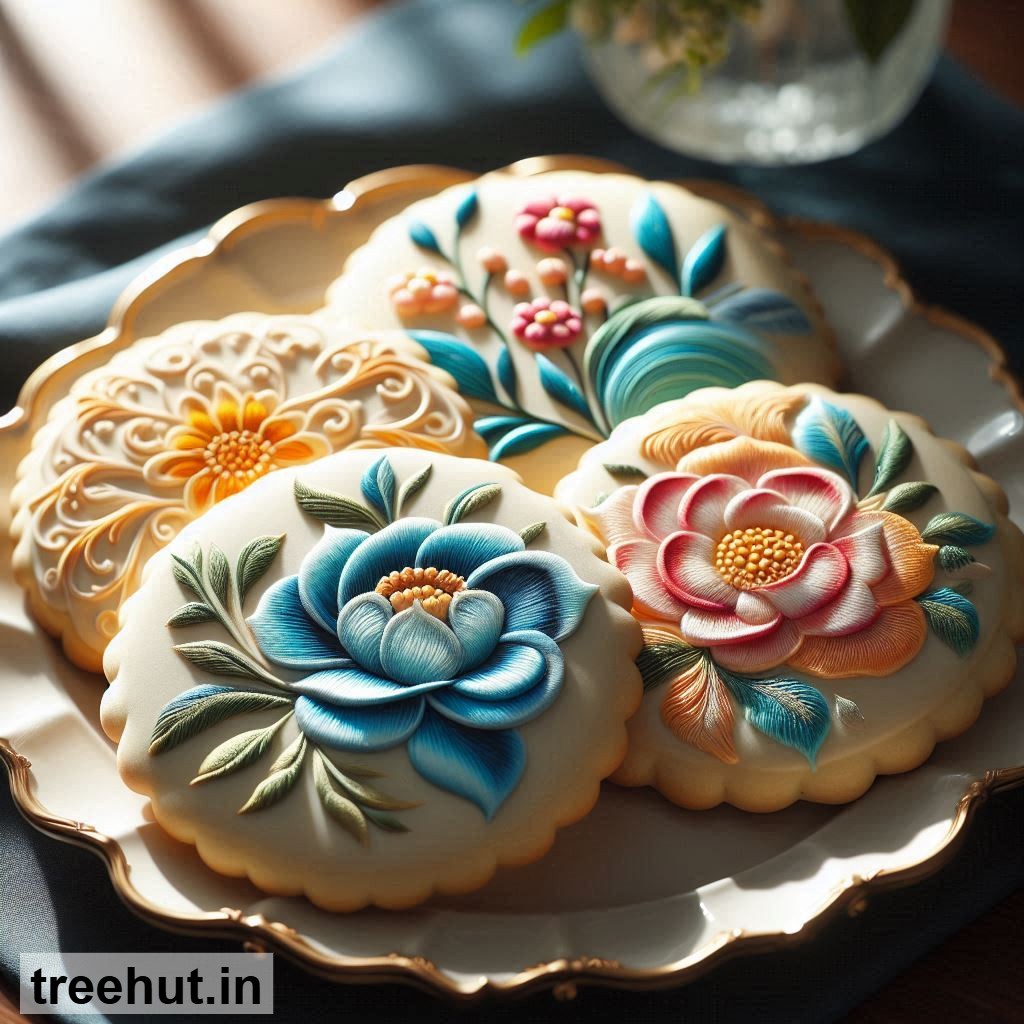
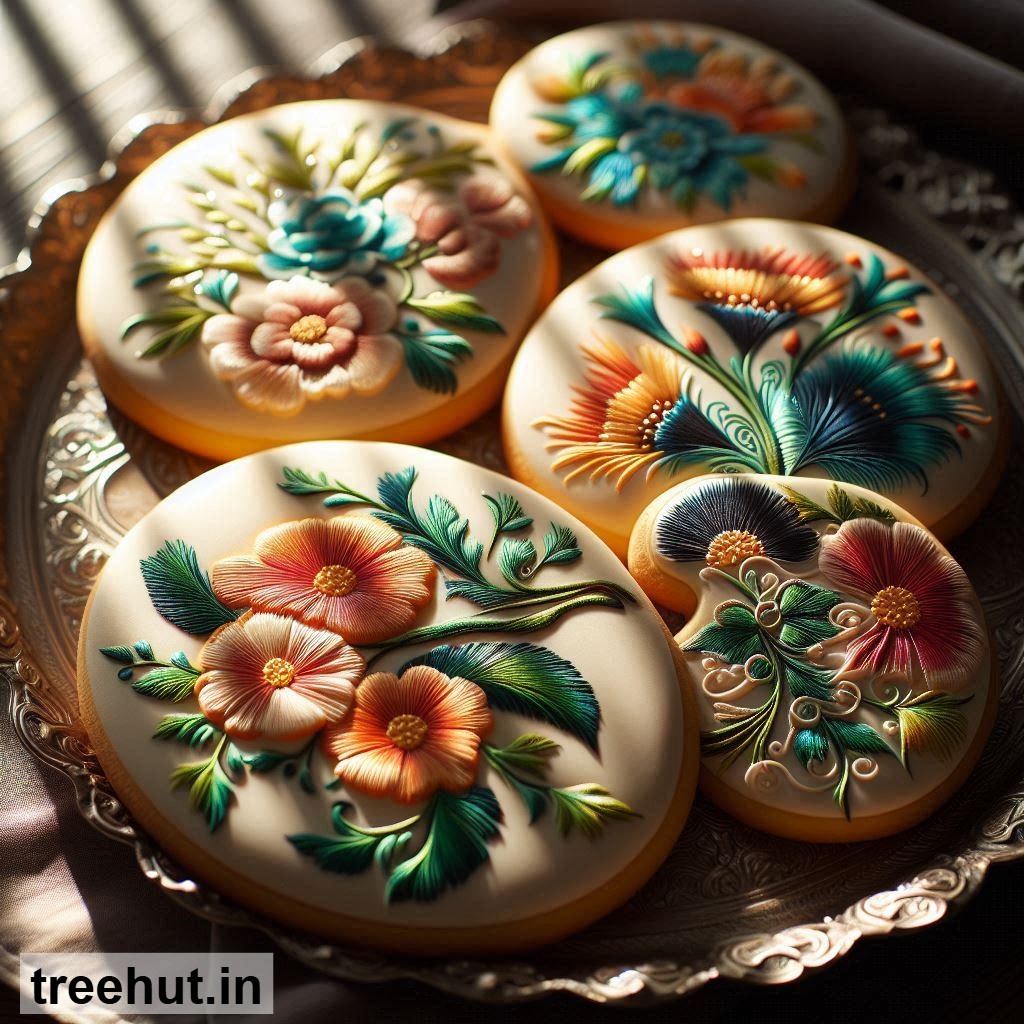
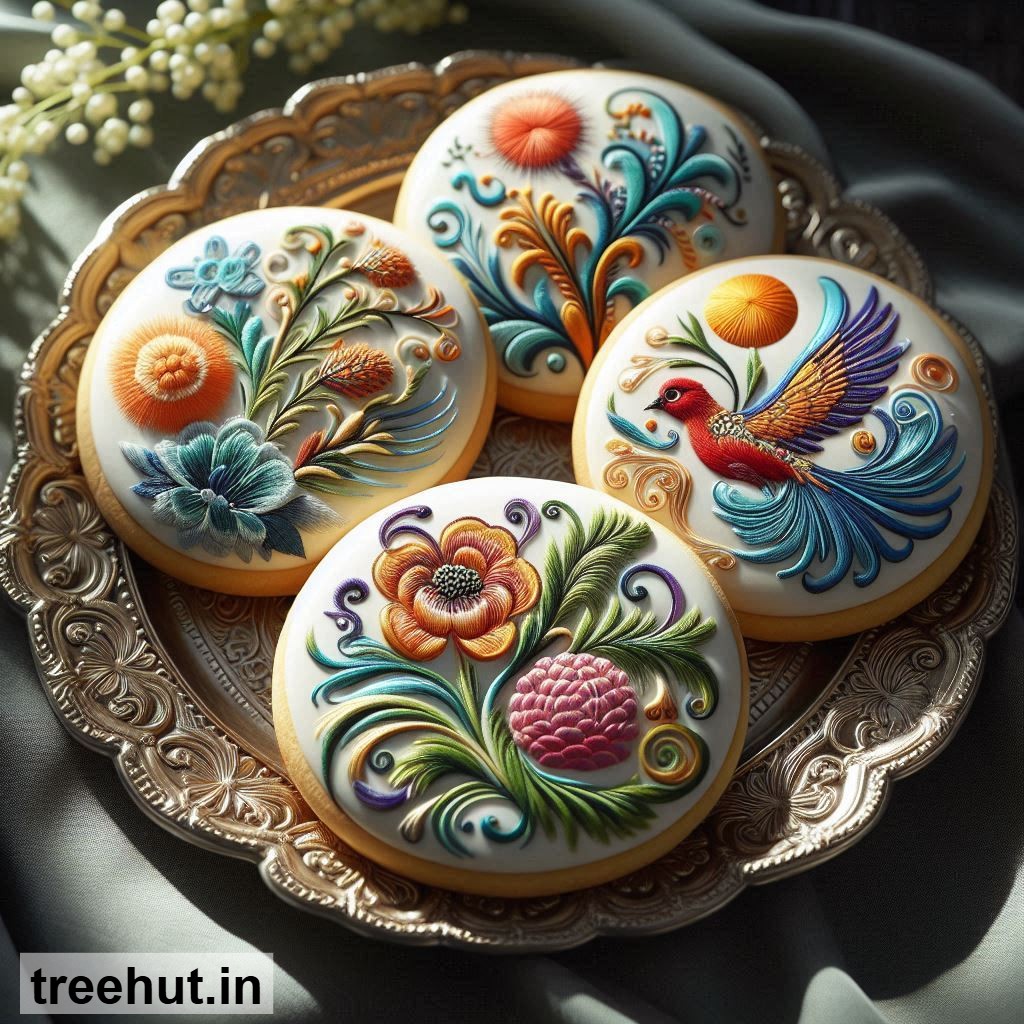
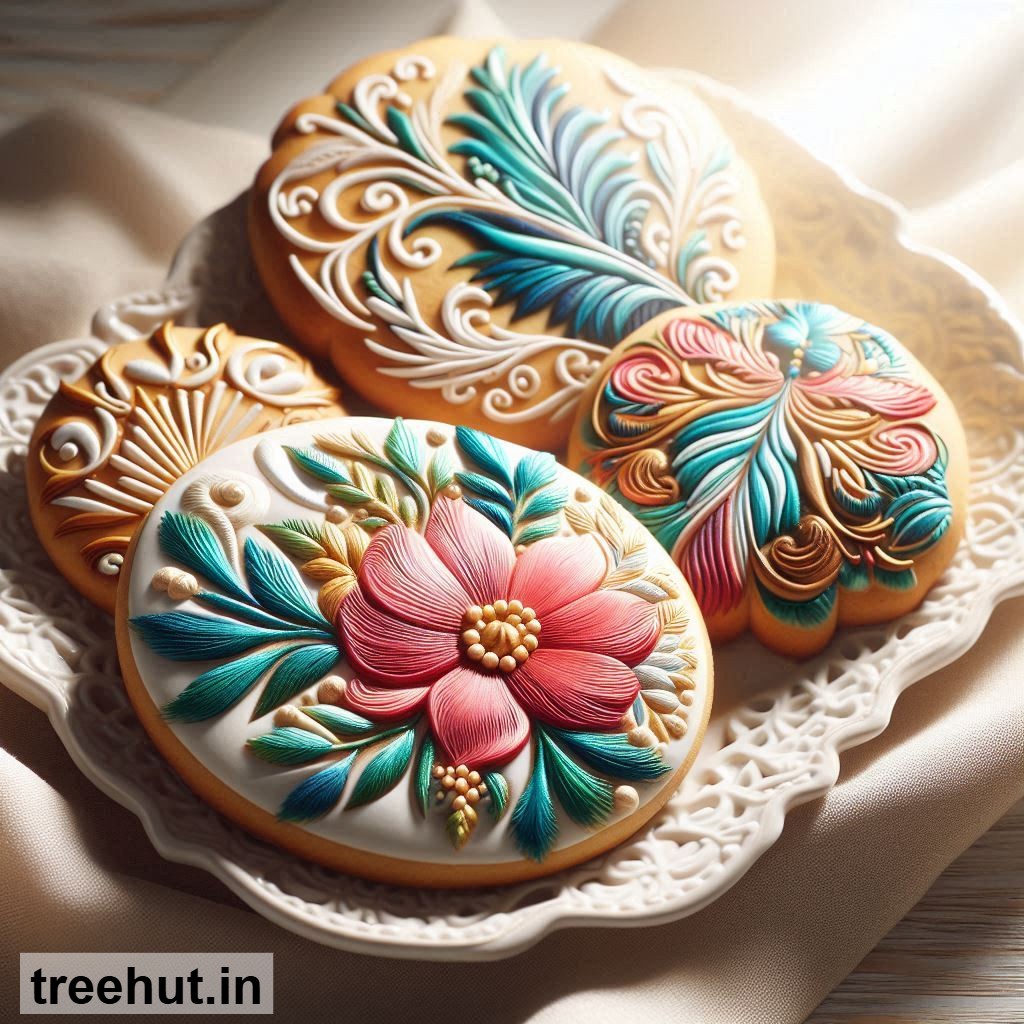
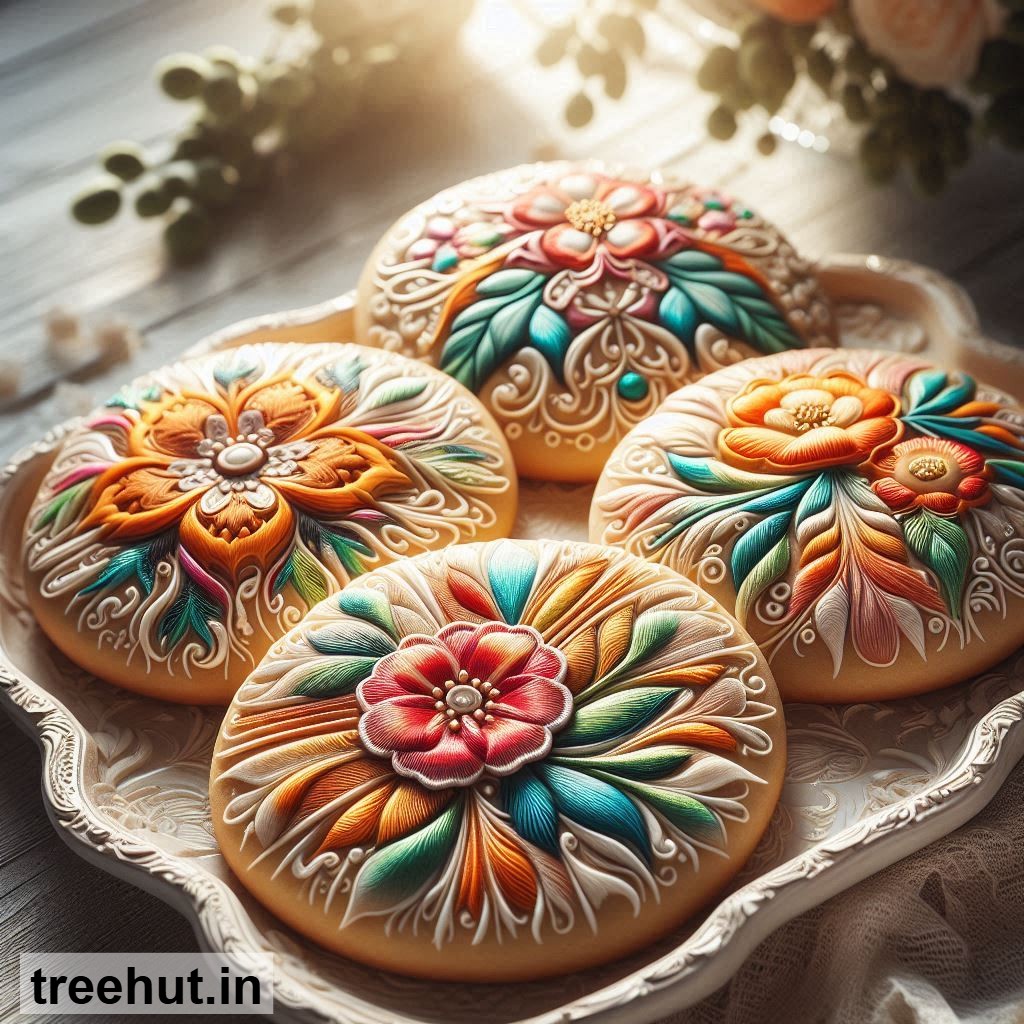
Brush Embroidery Cookie Decorating Ideas
Classic Floral Brush Embroidery: Use royal icing and a damp food-safe brush to paint delicate flowers, petals, and leaves directly onto flooded cookies.
Layered Petal Technique: Apply thick royal icing in layers and use a small brush to pull and shape the icing to create textured petals and realistic blooms.
Gradient or Ombre Flowers: Mix two shades of a color and brush from dark to light to create a soft gradient effect on petals.
Fine Line Details: Use a thin brush to add fine veins, stems, or accents on leaves and petals for realistic detail.
Seasonal Designs: Use brush embroidery to create poinsettias, holly, and other holiday-inspired motifs.
Wet-on-Wet Brush Embroidery: Add subtle highlights or additional colors while the base icing is still slightly wet for soft blended effects.
Minimalist Brush Embroidery: Paint small flowers or abstract strokes for a modern, elegant look on a neutral background.
Flavor-Infused Icing: Mix natural extracts like vanilla, lemon, almond, or strawberry into royal icing to complement the cookie flavor.
Classic Sugar Cookie Recipe for Brush Embroidery:
Ingredients: Unsalted butter 3/4 cup softened, granulated sugar 3/4 cup, eggs 2 large, vanilla extract 1 tsp, all-purpose flour 2 cups, baking powder 1/2 tsp, salt 1/4 tsp.
Method: Preheat oven to 350°F (175°C) and line a baking tray. Cream butter and sugar until light and fluffy. Add eggs and vanilla extract, mixing well. Combine flour, baking powder, and salt in a separate bowl. Gradually mix dry ingredients into wet ingredients to form dough. Chill dough for 30 minutes. Roll dough to 1/4 inch thickness and cut desired shapes. Bake for 10–12 minutes until edges are lightly golden. Cool completely before decorating.
Royal Icing for Brush Embroidery:
Ingredients: Powdered sugar 2 cups, meringue powder 1 1/2 tbsp, water 2–3 tbsp, food coloring as desired.
Method: Mix powdered sugar and meringue powder. Gradually add water until a thick, pipeable consistency is achieved. Flood the cookies with base icing and allow to set slightly. Use a small, damp food-safe brush to pull and shape small sections of icing to create flowers, leaves, or patterns.
Flavor Combinations for Brush Embroidery Cookies:
Lemon and Blueberry: Lemon-flavored cookies painted with blueberry-colored icing for soft floral accents.
Vanilla and Almond: Classic vanilla cookies with almond-flavored brush embroidery for subtle elegance.
Strawberry and Cream: Strawberry-flavored icing brushed onto vanilla cookies for a soft, pastel look.
Chocolate and Coffee: Chocolate cookies decorated with coffee-flavored brush embroidery for a sophisticated twist.
Tips for Perfect Brush Embroidery:
Brush Type: Use small, soft-tipped food-safe brushes for precision and smooth strokes.
Consistency: Thick icing holds shape; thin icing spreads too much.
Layering: Allow each layer to dry slightly before adding new strokes for dimension.
Practice: Practice strokes on parchment paper before applying to cookies to perfect the technique.
Drying: Allow cookies to dry completely for several hours or overnight before stacking or packaging.