

Crochet Christmas Bottle Cover Ideas for Christmas Decoration Gifts or Selling
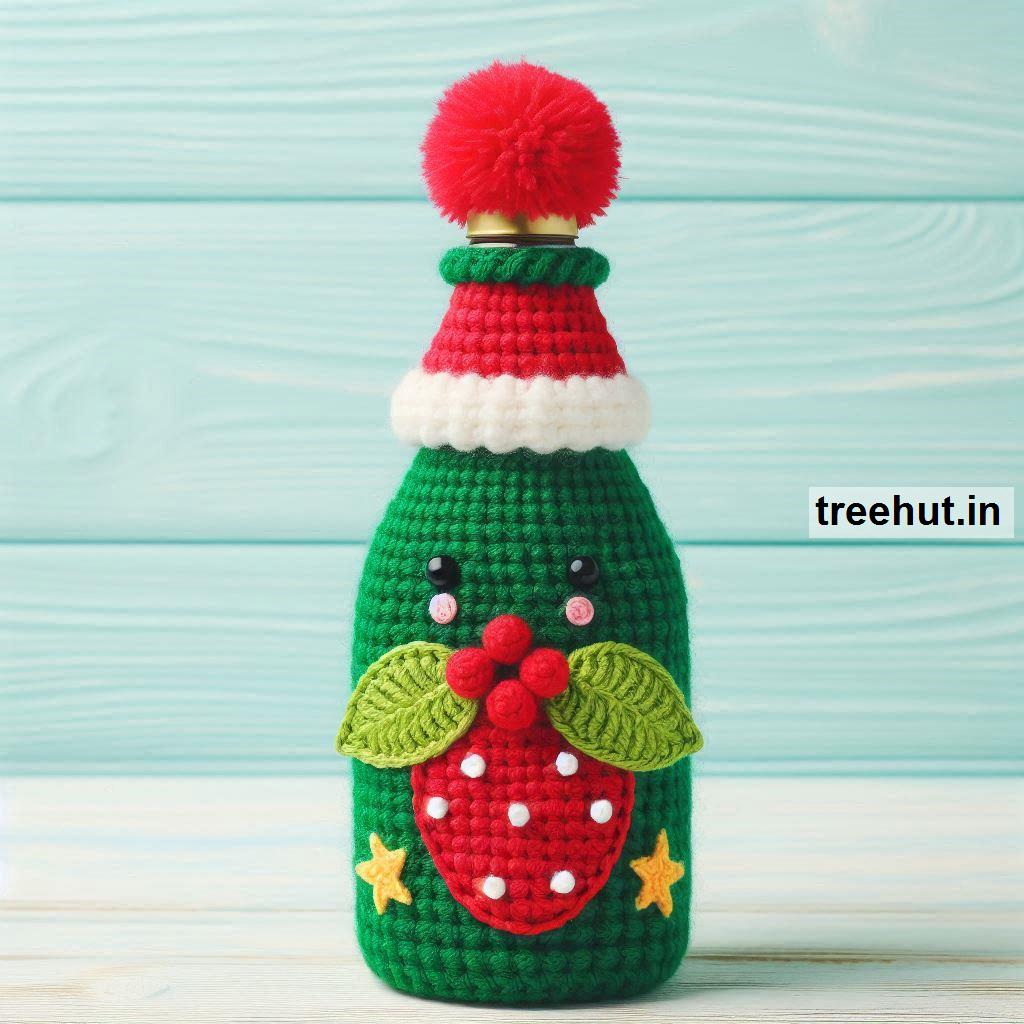
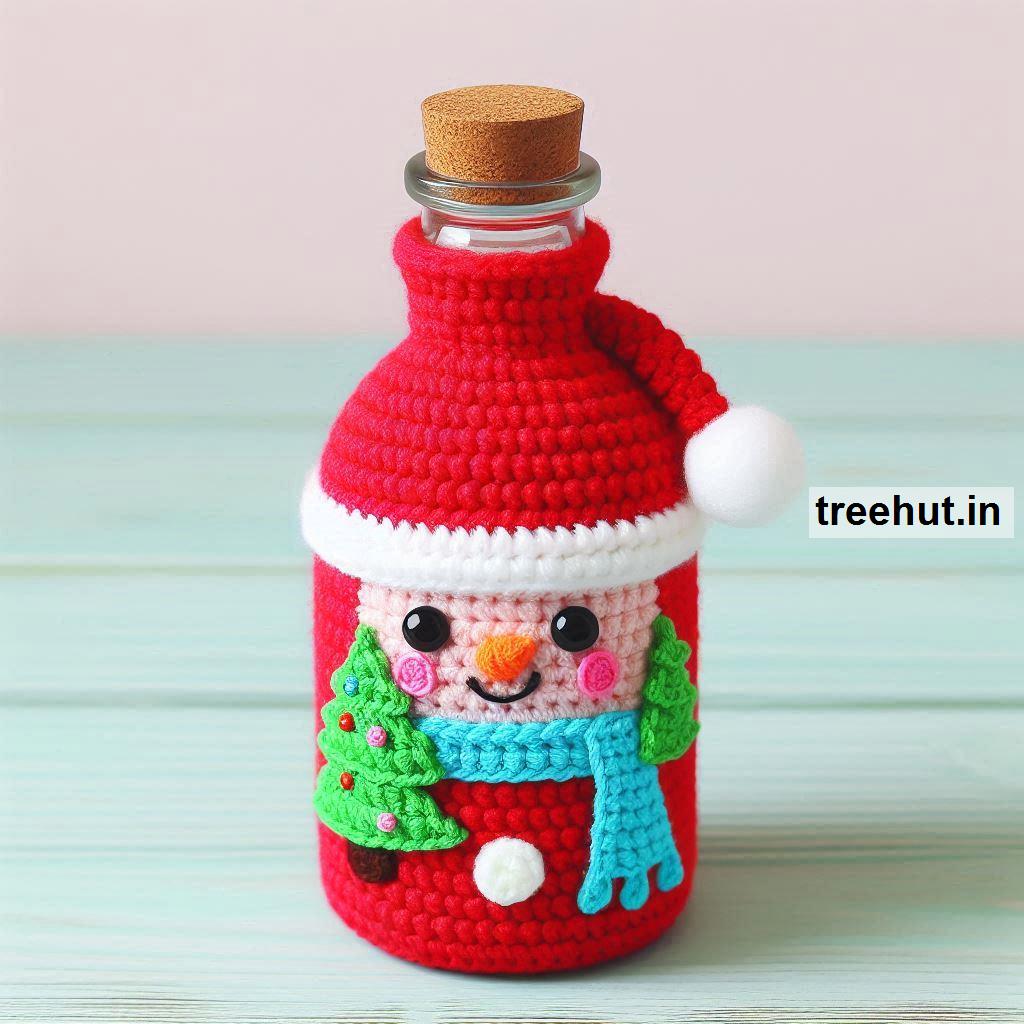
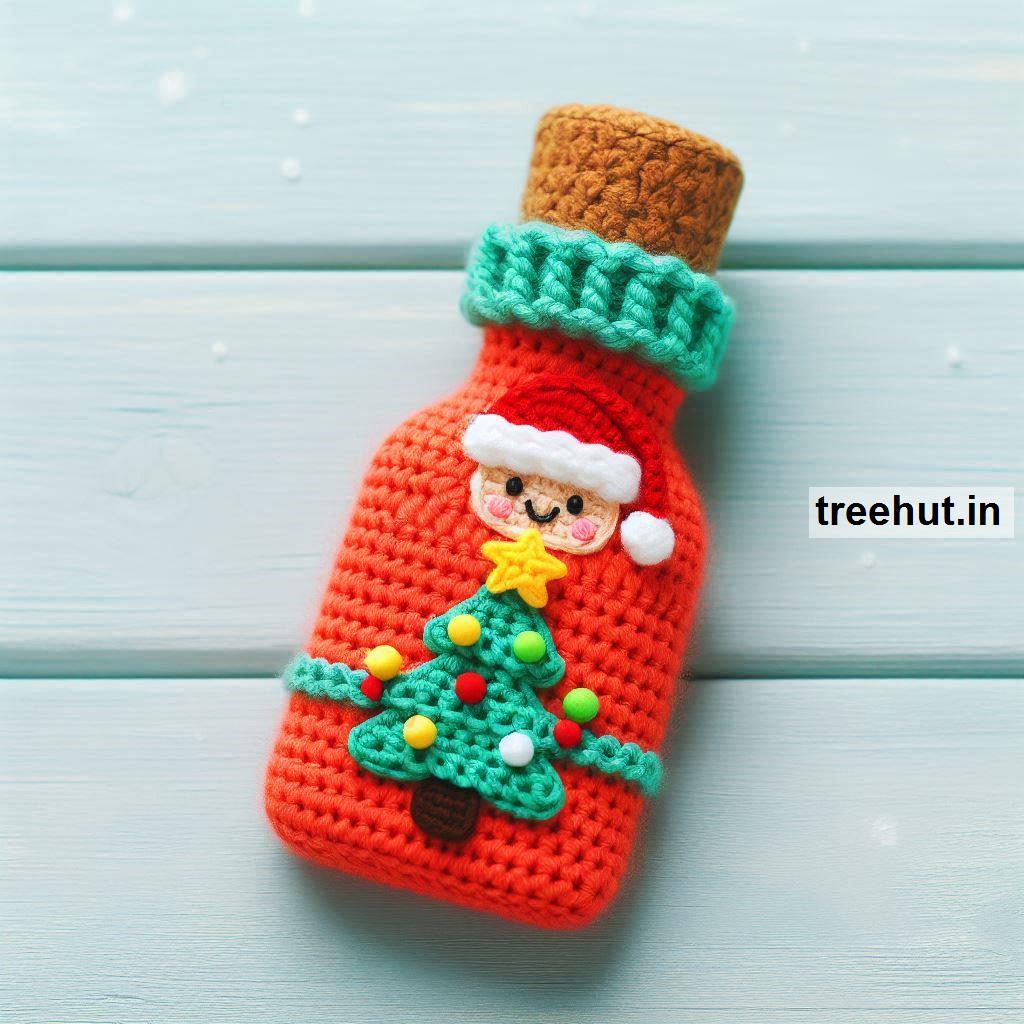
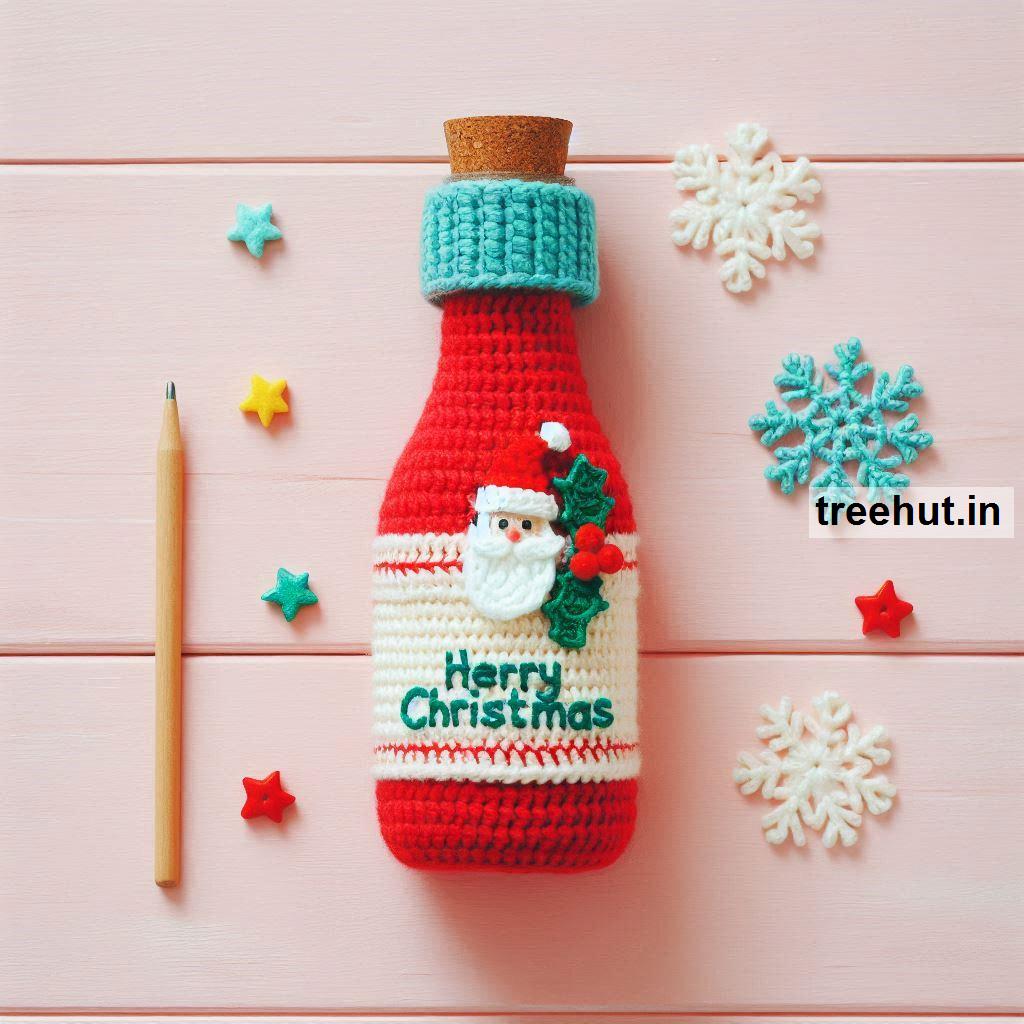
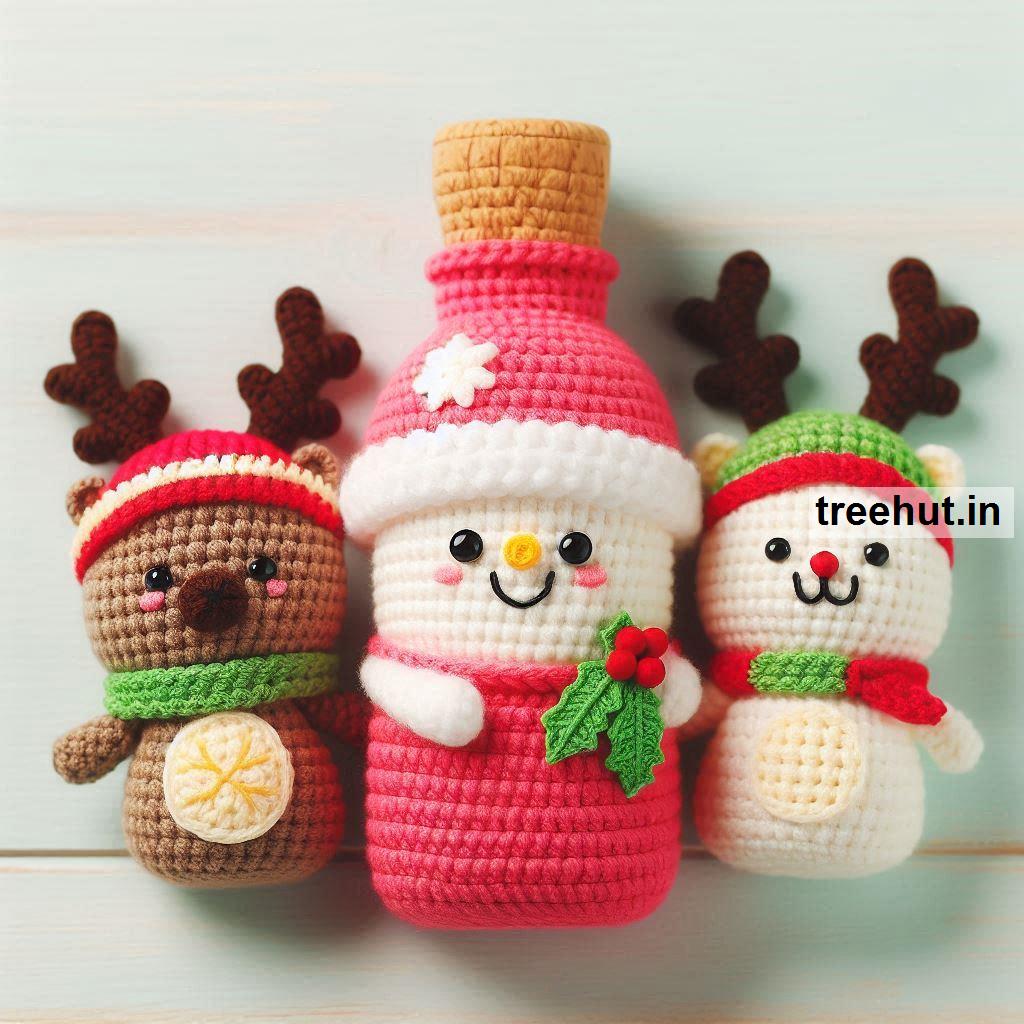
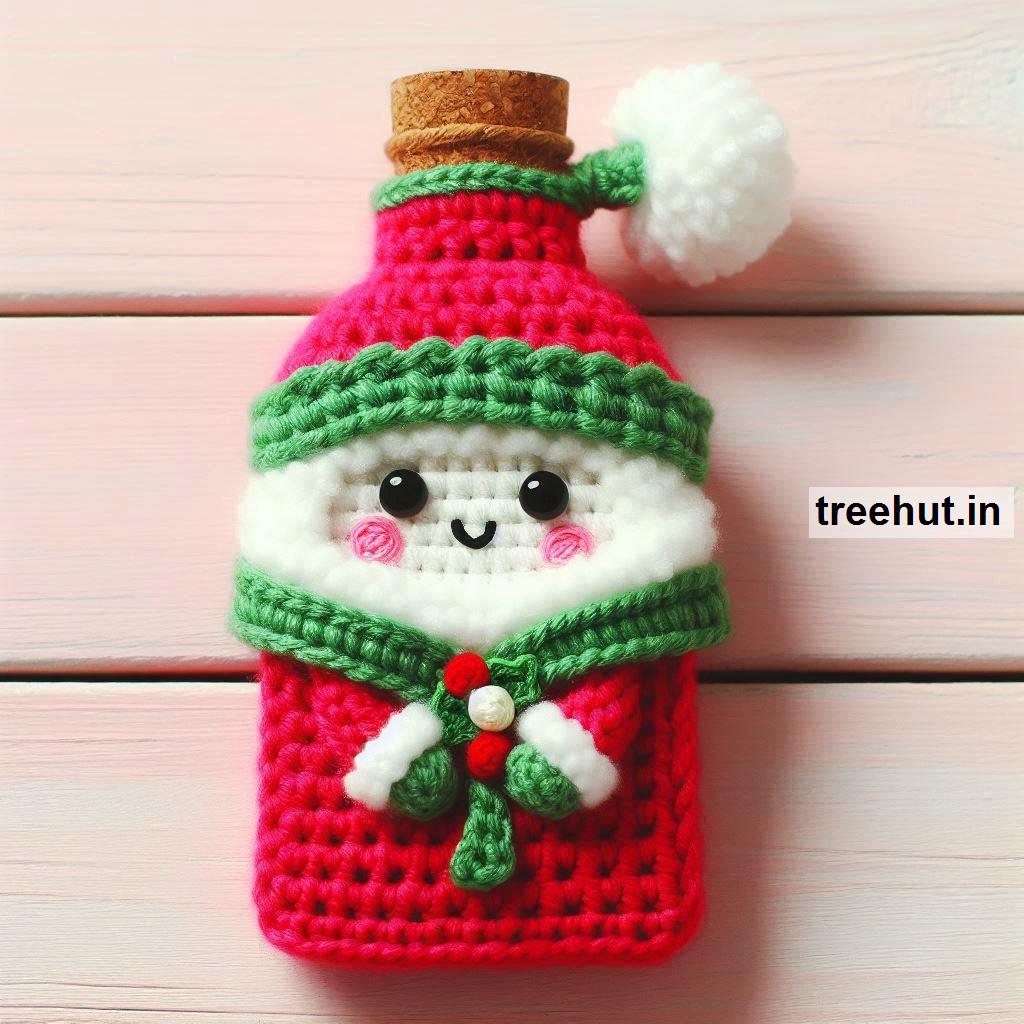
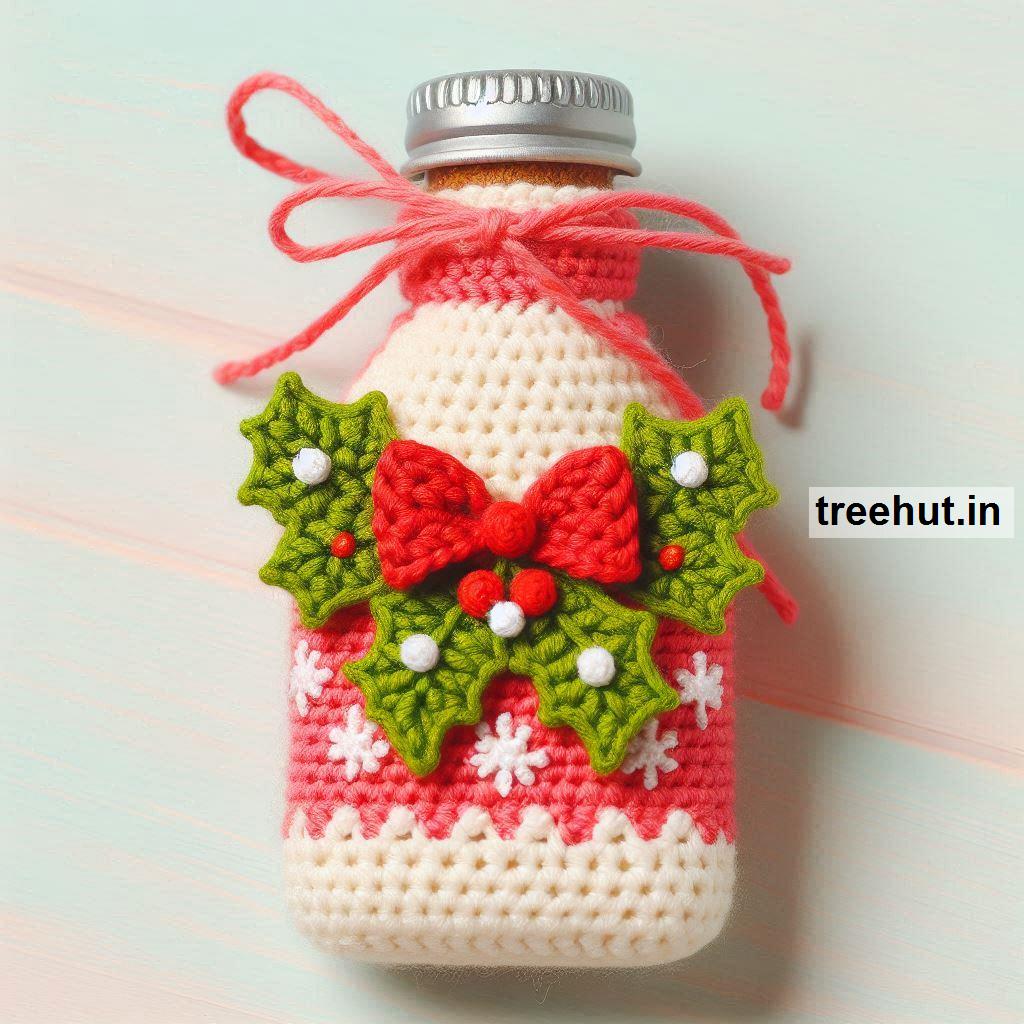
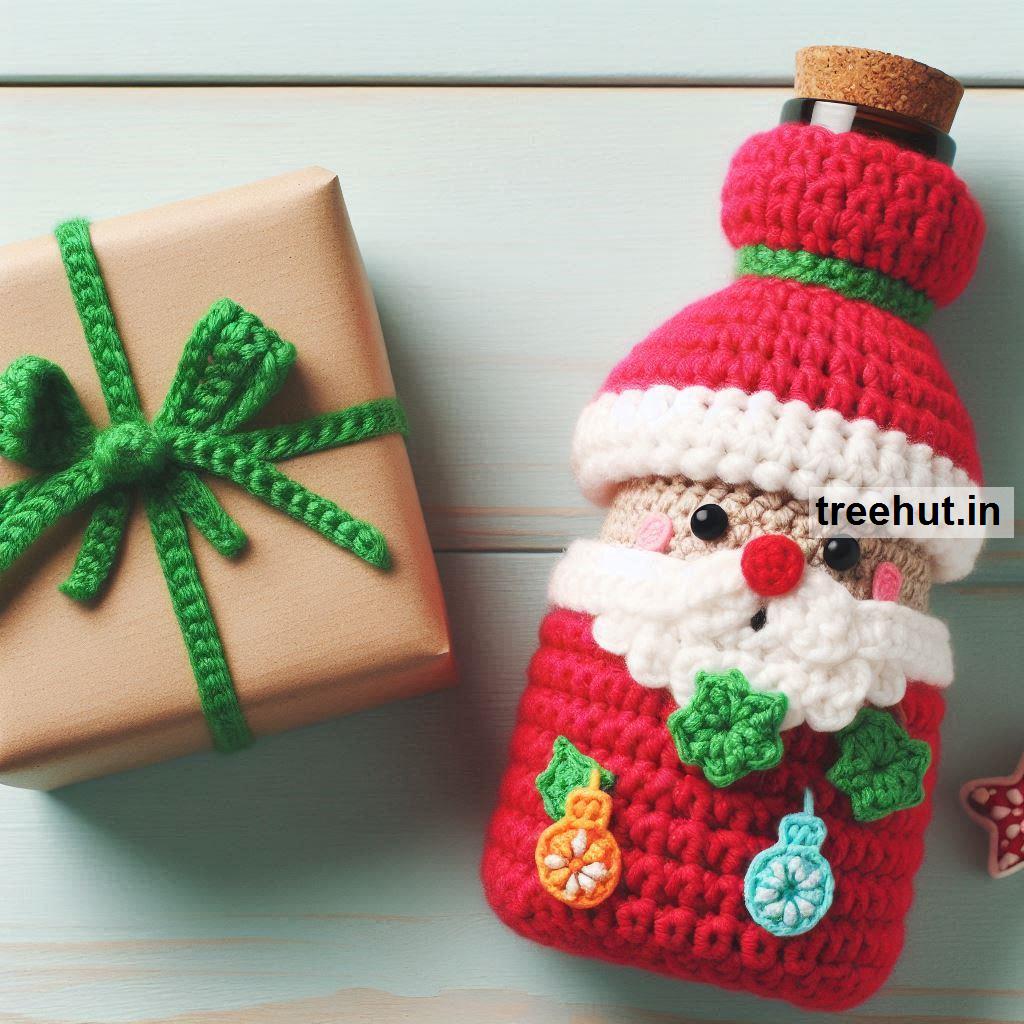
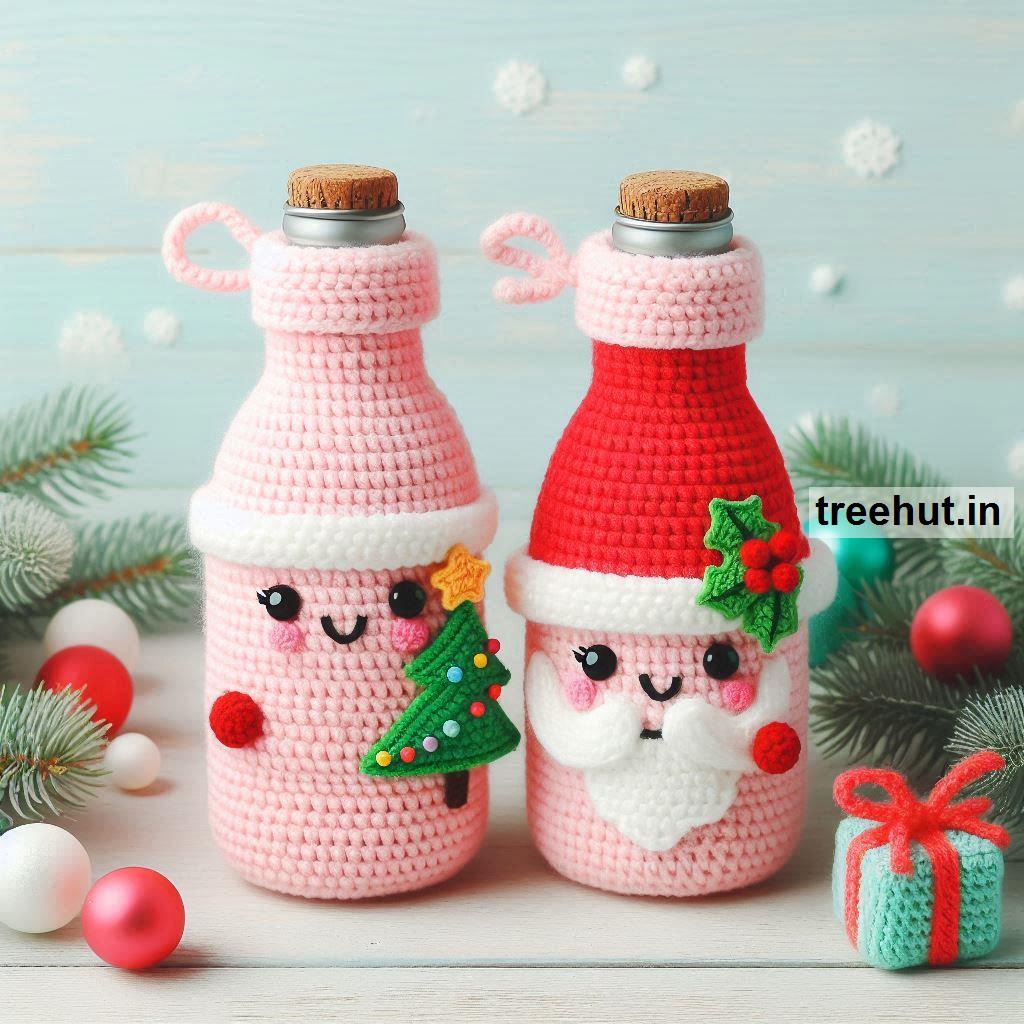
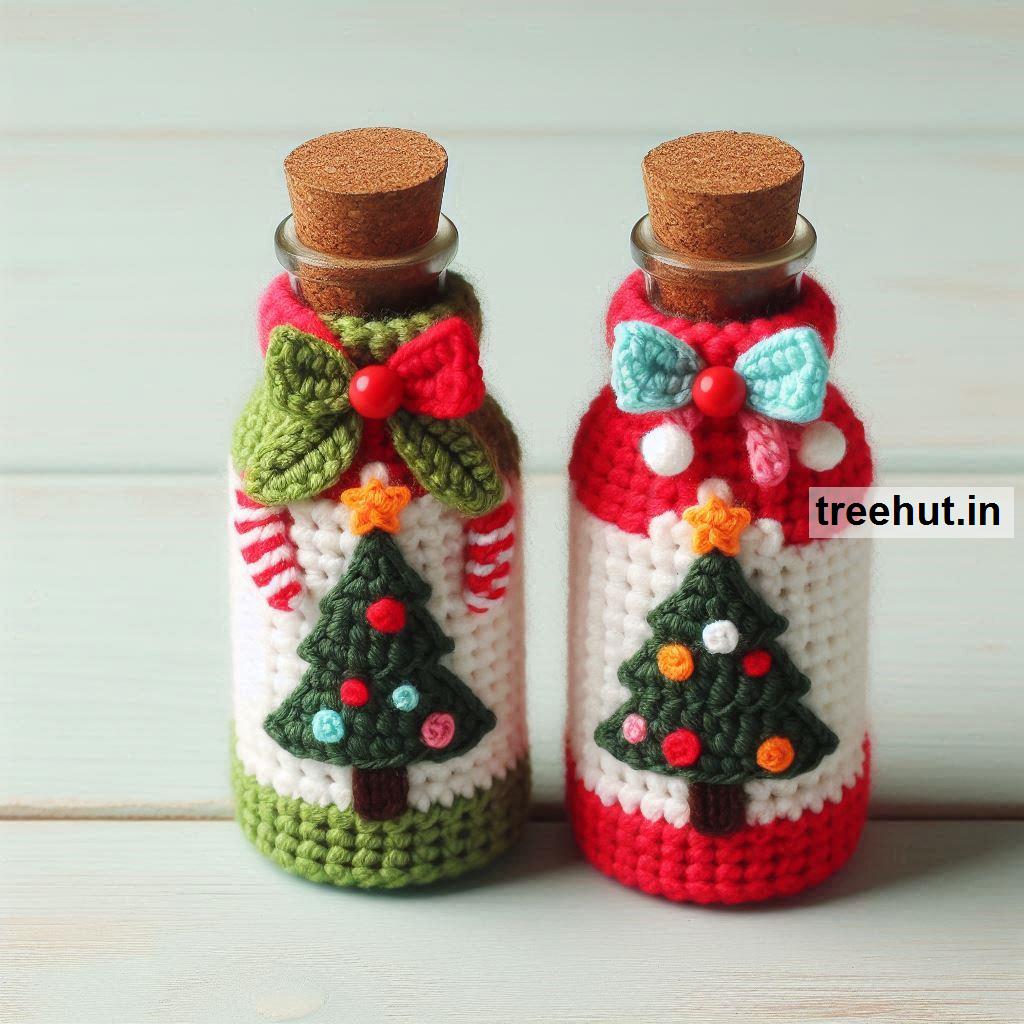
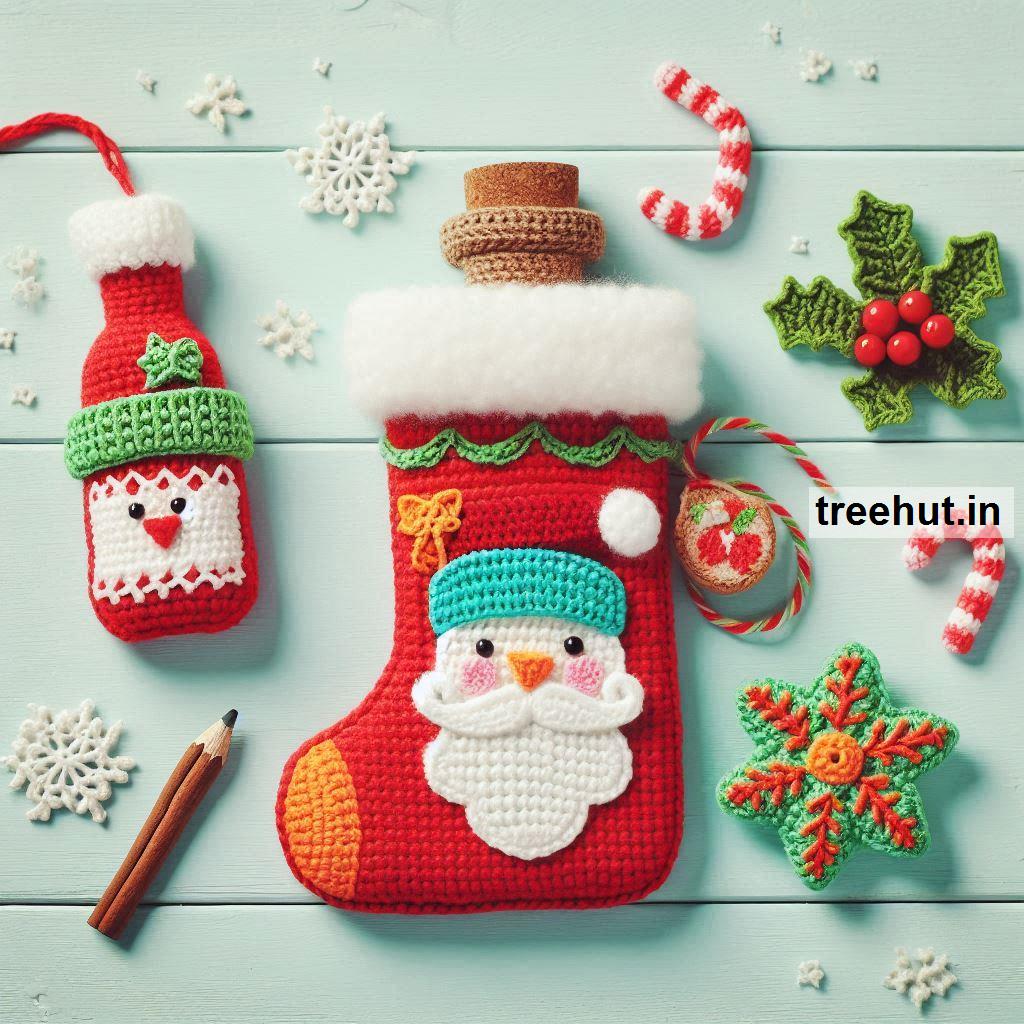
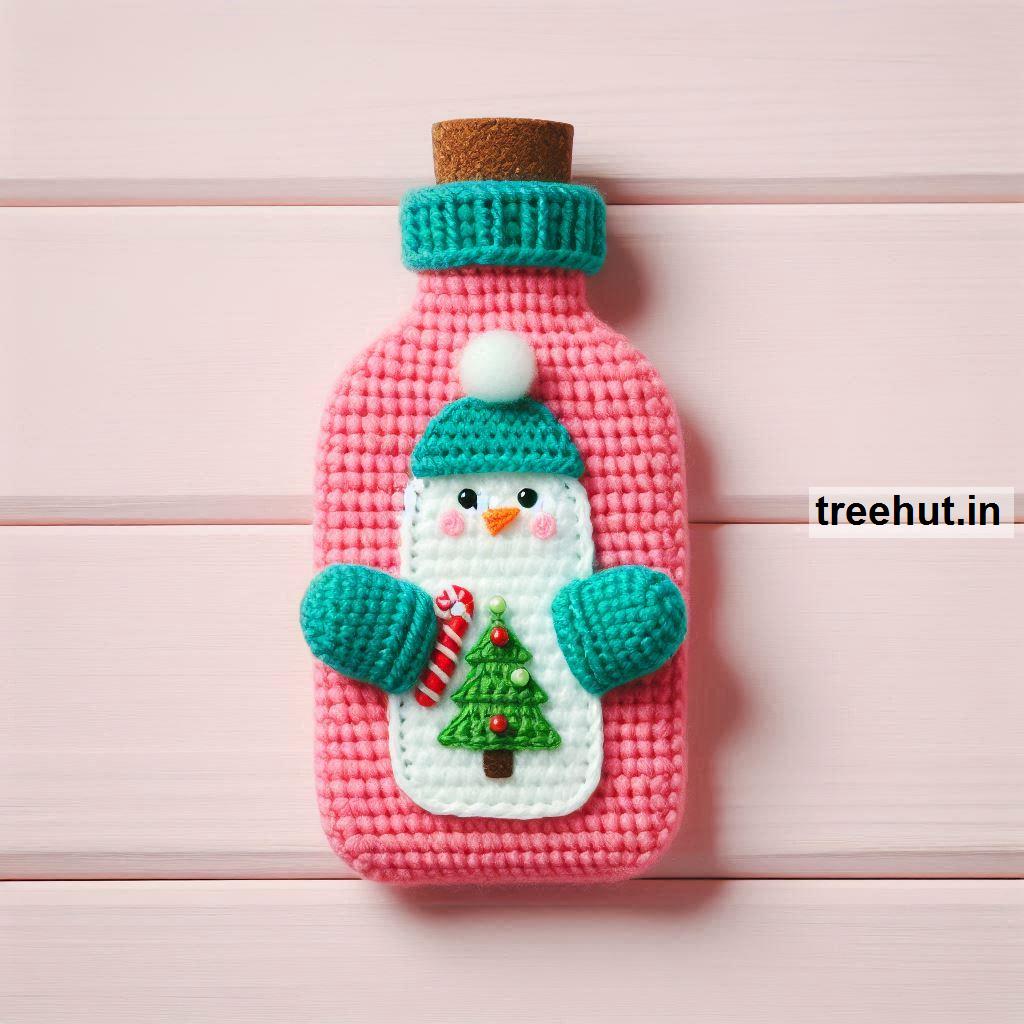
A Christmas bottle cover is a charming and practical way to dress up wine, champagne, or any beverage bottle during the holiday season. It's a great way to add a personal touch to your holiday décor, gift-giving, or party table settings. Here are some ideas, tips, and techniques to help you crochet the perfect Christmas bottle cover:
Christmas Bottle Cover Ideas:
-
Santa Claus Bottle Cover: Create a jolly Santa-themed bottle cover complete with a red hat, a white beard, and a belt. You can crochet the main body of the bottle cover in red, with a black belt and a golden buckle. For the hat, use white for the trim and a pom-pom at the top.
-
Snowman Bottle Cover: A snowman bottle cover is a fun and whimsical option. Crochet a snowman with a white body and black buttons down the front. Add a carrot-shaped orange nose, a colorful scarf, and a little black top hat. You can make the scarf out of a small piece of fabric or crochet it too.
-
Christmas Tree Bottle Cover: Crochet a bottle cover that resembles a Christmas tree! Use green yarn to make a conical shape, and decorate it with small, colorful crochet ornaments. You can add a small star at the top using golden or yellow yarn.
-
Reindeer Bottle Cover: A reindeer bottle cover will make your bottle look as if it’s part of Santa’s sleigh team. Create a brown bottle cover, then crochet or felt antlers, a red nose, and eyes for a fun reindeer look.
-
Gift Wrap Bottle Cover: For a minimalist, yet festive design, crochet a bottle cover that looks like a wrapped Christmas gift. Choose yarn in bright colors like red or green and add a bow on top. You could even include a label with a special holiday message.
-
Elf Bottle Cover: A whimsical elf bottle cover is an adorable choice. Crochet a body with striped legs and a pointed hat. Add some buttons or a bell to the hat for an extra festive touch.
-
Candy Cane Bottle Cover: Use white and red yarn to create a crochet bottle cover resembling a candy cane. You can crochet in a spiral pattern to mimic the iconic candy stripe. Add a bow or small crocheted peppermint motifs to finish it off.
-
Nativity Scene Bottle Cover: For a more religious touch, create a bottle cover with a nativity scene. You can crochet tiny figures like Mary, Joseph, and baby Jesus to attach to the cover, or simply add a star and a manger design.
-
Christmas Stocking Bottle Cover: Crochet a bottle cover that resembles a Christmas stocking. This is a fun way to gift a bottle of wine or champagne during the holiday season. Use red yarn for the body and white for the top, adding a crocheted loop for hanging.
-
Winter Wonderland Bottle Cover: Create a serene winter wonderland design with a white or light blue bottle cover. Add little snowflakes, crochet trees, and tiny snowmen to give it a peaceful, snowy vibe.
Techniques for Making a Christmas Bottle Cover:
-
Basic Bottle Cover Shape: Start by measuring the height and width of the bottle you wish to cover. Make a foundation chain that matches the circumference of the bottle and crochet in rounds until you reach the height. You can either work in a solid color or use stripes, motifs, or other decorative patterns.
-
Crochet Stitches to Use:
- Single Crochet (sc): Great for a tight, sturdy fabric, perfect for the body of the cover.
- Half Double Crochet (hdc): Provides a bit of texture and a looser fabric.
- Double Crochet (dc): Adds more open space, ideal if you want a looser, flowy look.
- Granny Squares: Use granny squares or motifs to create a patchwork look, like a Christmas quilt.
- Popcorn or Bobble Stitches: Add texture, such as for snowflakes, ornaments, or a fuzzy Santa beard.
-
Joining Pieces: If you are working in separate pieces (like for a snowman body, hat, and scarf), join them together with a slip stitch or whip stitch. Be sure to securely fasten all loose ends.
-
Adding Details: Once you have the basic bottle cover completed, it's time to add fun details like eyes, noses, scarves, buttons, and belts. You can use embroidery, buttons, or crochet appliqué pieces. For example, make small black buttons for the snowman or a pom-pom for the Santa hat.
-
Finish with a Bow or Tassel: To complete your bottle cover, add a bow on top of a gift-wrap cover, or a small tassel at the top of a Santa hat. This adds a final touch of charm and makes it feel more festive.
Step-by-Step Process to Crochet a Simple Christmas Bottle Cover:
Materials:
- Yarn: Choose yarn in colors of your choice (red, green, white, black, yellow, etc.)
- Crochet Hook: Choose the appropriate size hook based on your yarn (typically 4mm to 5mm for worsted weight yarn)
- Yarn Needle: For weaving in ends and attaching details
- Scissors
Instructions:
-
Start with the Base: Make a foundation chain that matches the circumference of the bottle. Work in a continuous round, using single crochet or half double crochet for a solid, firm texture. Continue working in rounds until you reach the desired height. The bottom of the bottle cover is open to slip in the bottle.
-
Form the Neck and Top: To shape the top of the bottle cover, work a few rows of decrease stitches to narrow the opening (this will fit around the neck of the bottle). Once you’ve reached the neck, work a few rows of single crochet or other stitches for the top portion.
-
Add Decorative Elements: If you’re making a Santa bottle cover, crochet a white band near the top for his beard. If making a snowman, crochet a small orange carrot nose and black buttons. Add a little crocheted scarf or a hat with a pom-pom.
-
Finishing Touches: Use a yarn needle to attach any embellishments (such as buttons, bows, or a star). Weave in any loose ends to keep the cover neat.
-
Place the Bottle: Once finished, simply slide the bottle into the crochet cover. If desired, add a decorative loop at the top to hang the cover or a tag to personalize the gift.
Extra Tips:
- Customizing the Size: If your bottle cover doesn't fit perfectly, adjust the foundation chain and the height of the cover to match the size of the bottle. You may need to adjust the number of rounds or stitches to get the right fit.
- Use Thick Yarn: If you want your bottle cover to be more sturdy and insulated (especially for hot beverages), consider using thicker yarn, like bulky yarn or even two strands of worsted weight yarn.
- Creative Embellishments: Consider using buttons, beads, or sequins for extra sparkle. You can even add LED lights to the bottle cover for an extra festive touch!
Crocheting a Christmas bottle cover is a fun and creative way to add a personal touch to your holiday decorations or gifts. Whether you're making Santa, snowman, or tree designs, the possibilities are endless. With simple crochet stitches, some festive yarn, and a bit of imagination, you can create delightful covers that bring extra joy to your Christmas celebrations!