




Seal Paper Craft Ideas for Winter Classroom Activities
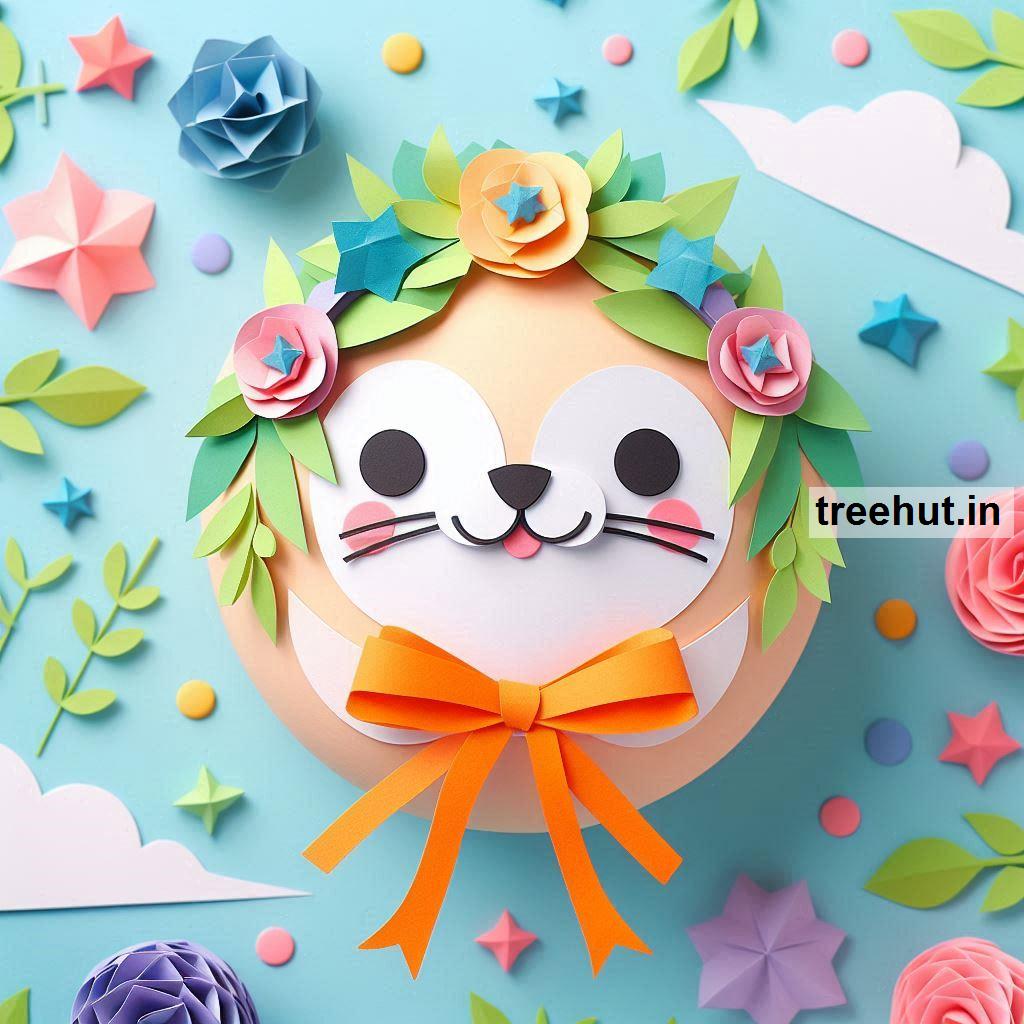
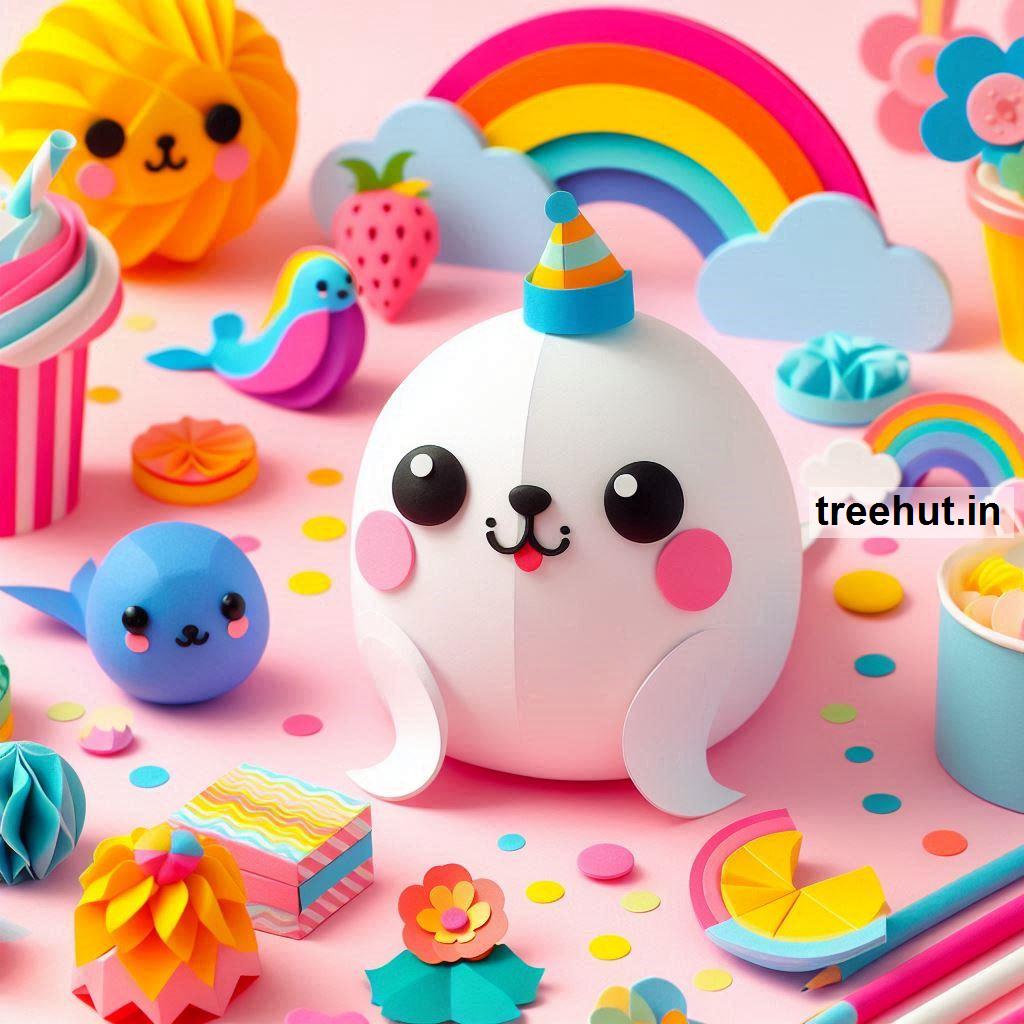


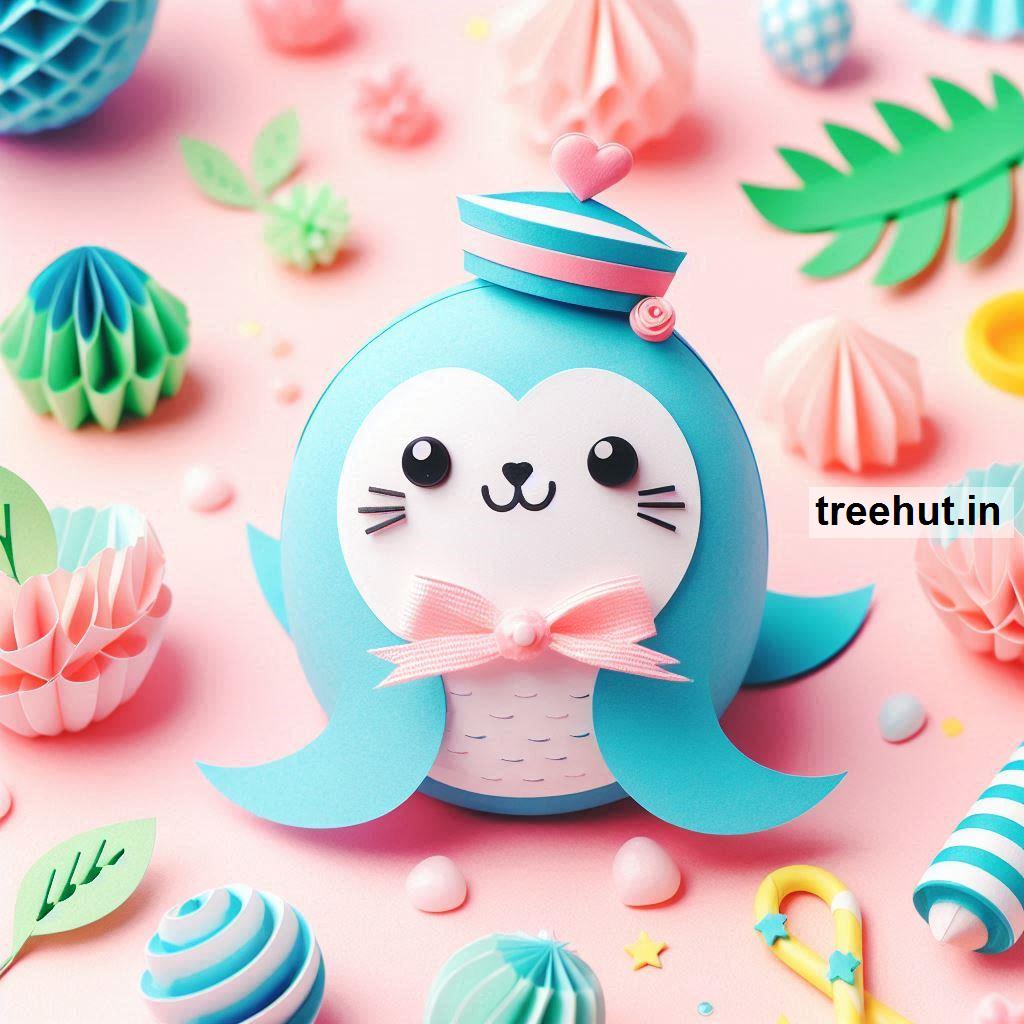
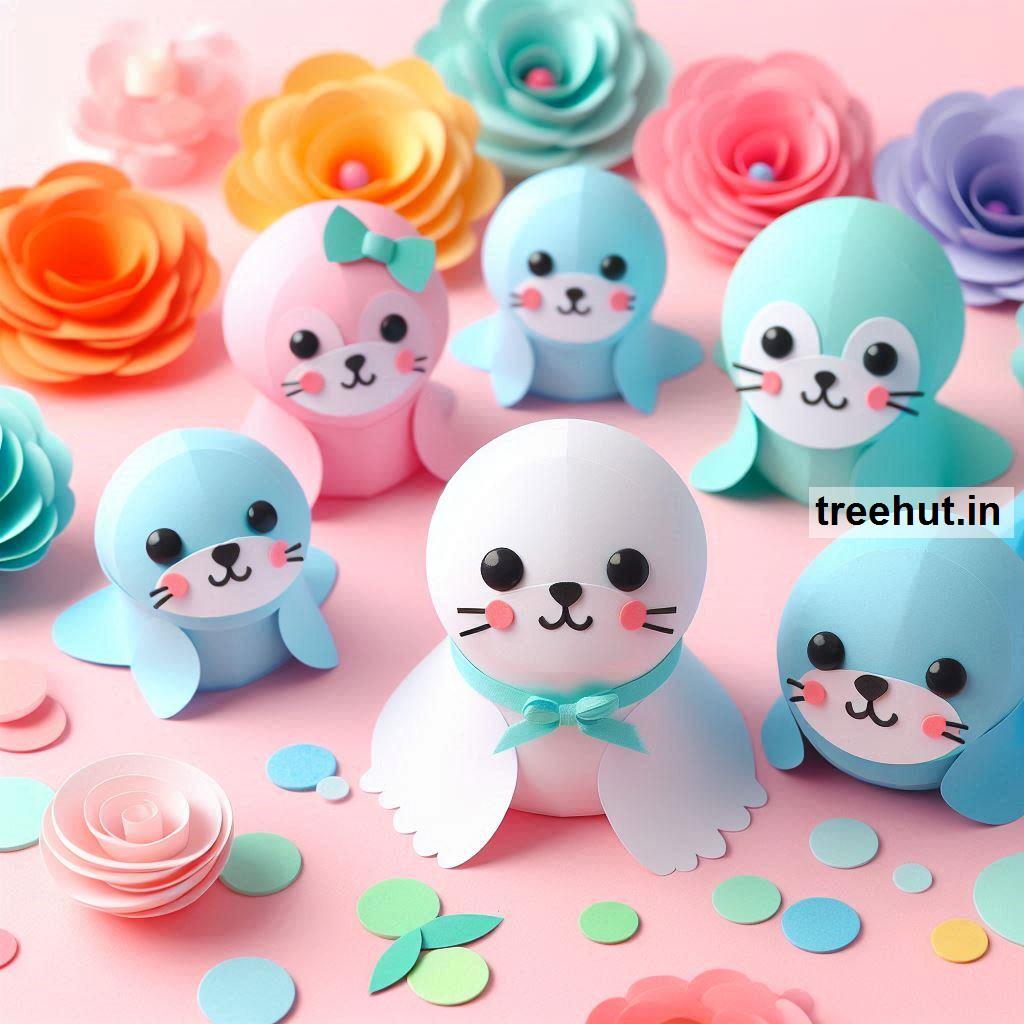
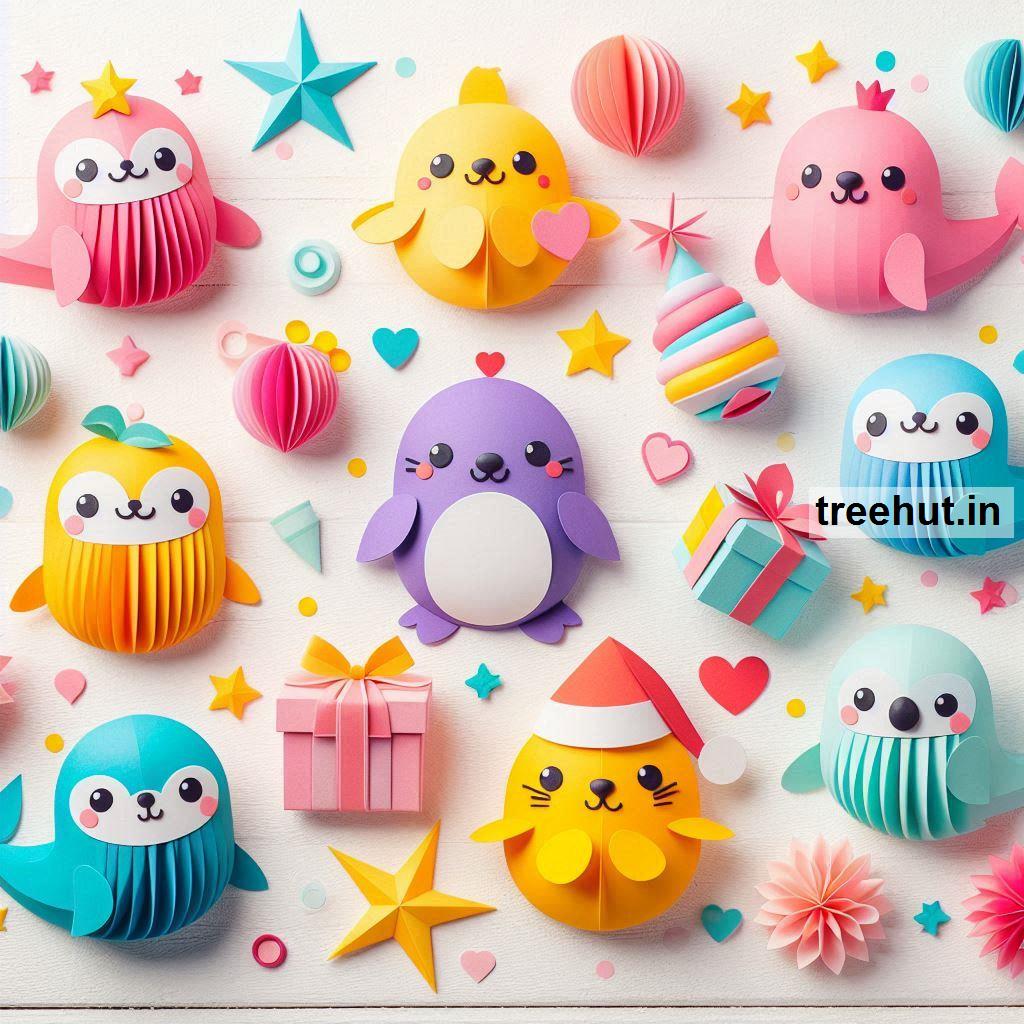
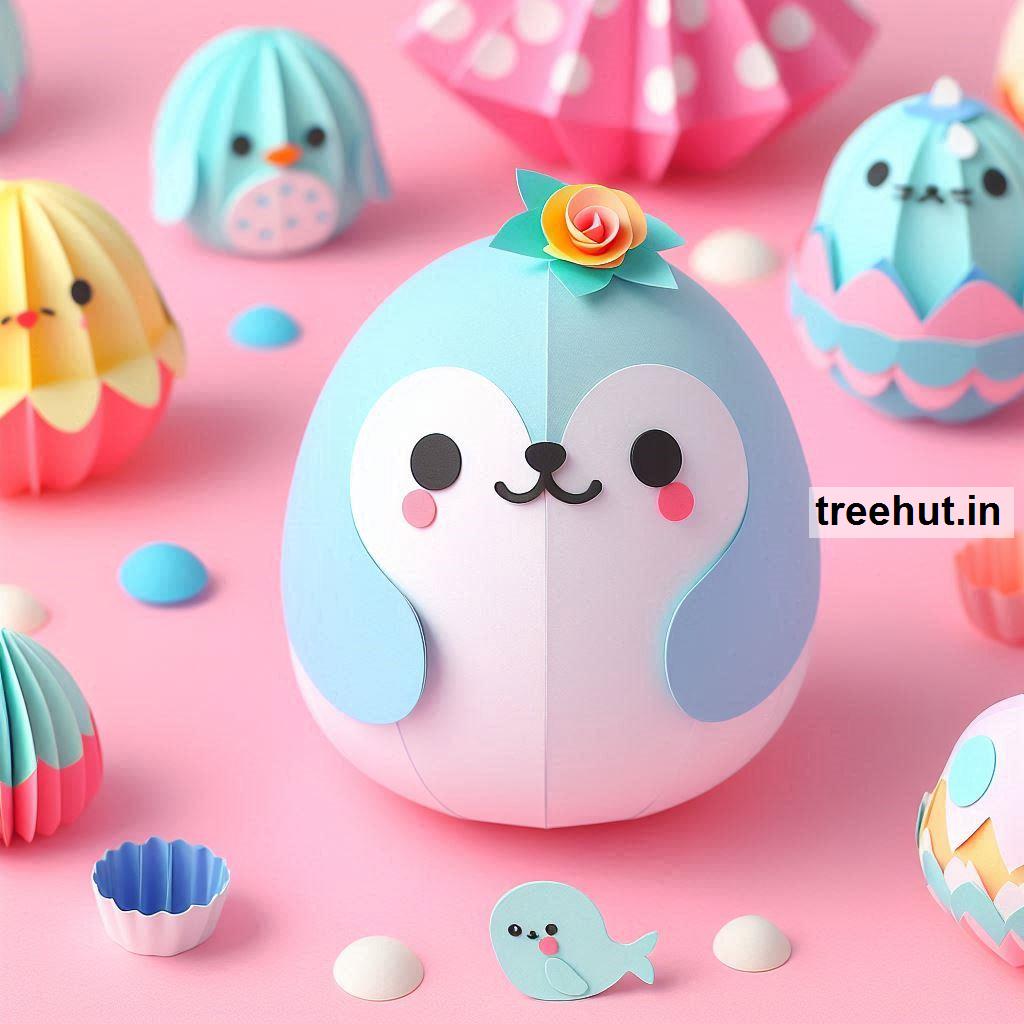
Seal paper craft ideas for winter classroom activities
1. 3D Seal on Ice
- Materials: Construction paper, scissors, glue, cotton balls
- How-To:
- Cut out a seal body shape from gray paper.
- Fold and glue paper to create a 3D effect for the seal's flippers.
- Use white paper to make an ice floe and cotton balls for snow.
- Add googly eyes and a cute smile to the seal.
- Tip: Let students add small fish shapes around the seal for an extra touch.
2. Handprint Seal Craft
- Materials: Gray and white paper, markers, scissors, glue
- How-To:
- Trace and cut out handprints on gray paper to use as the seal’s body and flippers.
- Cut an oval for the head and add features with markers or googly eyes.
- Glue the pieces together on a white background with "snow" details.
- Tip: Use glitter glue for a frosty effect.
3. Arctic Scene with Seals
- Materials: Blue paper, white paper, gray paper, crayons, glue
- How-To:
- Create a blue background and draw waves with crayons.
- Cut out seal shapes from gray paper and ice floes from white paper.
- Arrange and glue seals onto the ice, adding snowy details with white crayon or chalk.
- Tip: Students can write fun facts about seals on their creations.
4. Origami Seal
- Materials: Origami paper, markers
- How-To:
- Provide step-by-step instructions for folding a seal using gray origami paper.
- Draw eyes, a nose, and whiskers with markers.
- Let students create an ocean backdrop for their seals.
- Tip: Use blue glitter to mimic icy water.
5. Seal Puppet Craft
- Materials: Paper bags, gray paper, glue, markers
- How-To:
- Decorate a paper bag as a seal's body using gray paper cutouts for the face and flippers.
- Draw a cute expression and add whiskers with black paper strips.
- Students can use their puppets for storytelling.
- Tip: Create a short classroom play featuring the seals.
6. Peekaboo Seal Card
- Materials: White cardstock, gray paper, markers, scissors
- How-To:
- Fold a card and cut a small slit to create a "peekaboo" hole.
- Draw a seal’s face on a circle of gray paper and attach it behind the slit so it peeks out.
- Decorate the card with winter-themed elements like snowflakes or "Happy Winter" messages.
- Tip: Let students write a winter wish inside.
7. Paper Plate Seal
- Materials: Paper plate, gray paint, construction paper, markers
- How-To:
- Paint a paper plate gray to make the seal’s body.
- Cut and glue on flippers, a head, and a tail from gray paper.
- Add a face using markers or cutouts for eyes and a nose.
- Tip: Use cotton balls or tissue paper to create a snowy backdrop.
8. Seal Bookmark
- Materials: Gray cardstock, markers, glue
- How-To:
- Cut a rectangle for the bookmark base.
- Add a seal shape at the top, drawing or cutting features from additional paper.
- Decorate with winter details like snowflakes or icy blue accents.
- Tip: Encourage students to use their bookmarks during winter reading sessions.
9. Seal and Igloo Craft
- Materials: White and gray paper, scissors, glue
- How-To:
- Create an igloo by cutting and layering white paper bricks.
- Cut out and decorate a seal to sit outside the igloo.
- Add wintery touches with cotton balls or glitter for snow.
- Tip: Label the craft with a title like "Winter in the Arctic."
10. Movable Seal Craft
- Materials: Gray paper, brads, scissors, markers
- How-To:
- Cut out separate pieces for the seal’s body, flippers, and head.
- Use brads to attach the parts, allowing them to move.
- Students can position the seal in swimming or waving poses.
- Tip: Make a mini Arctic scene to display the movable seals.
These crafts are perfect for combining creativity with a winter-themed educational experience!