






Winter Cap Paper Craft Ideas for Classroom Activities
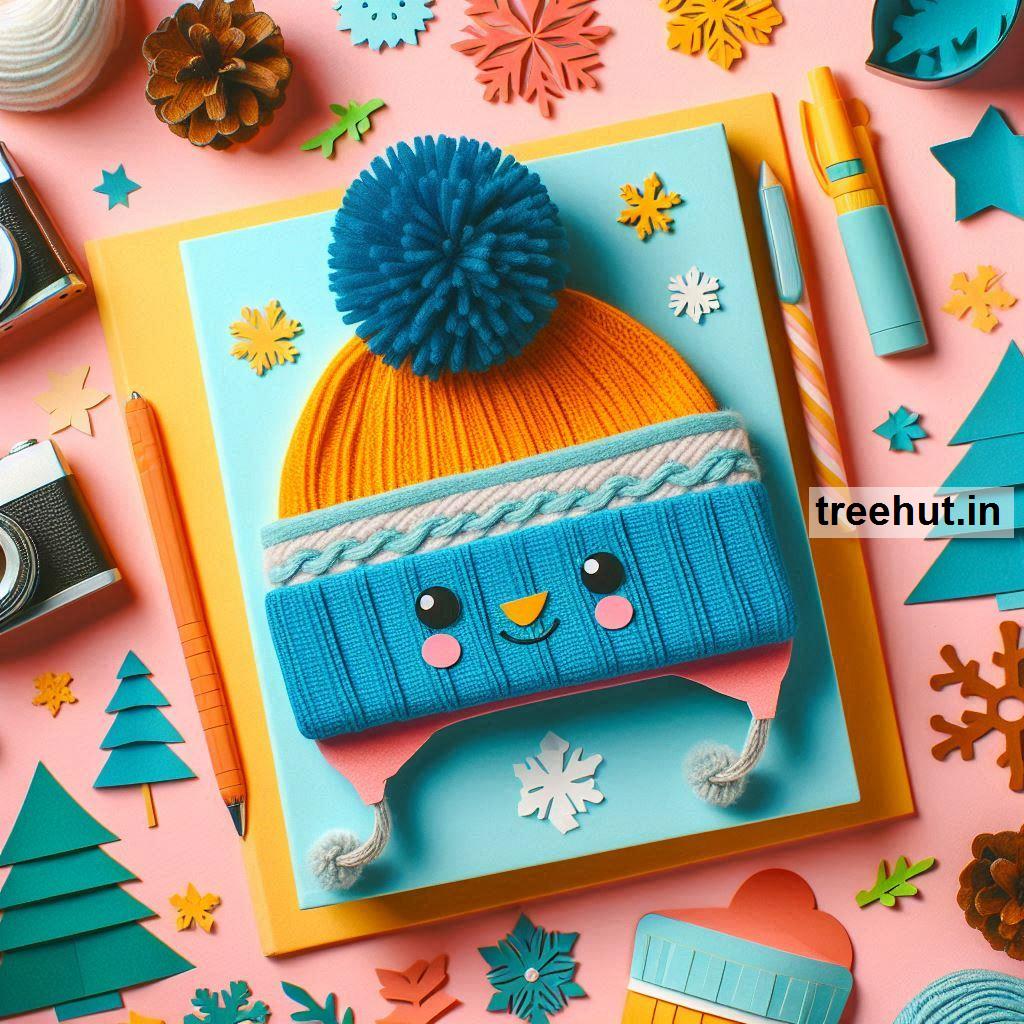
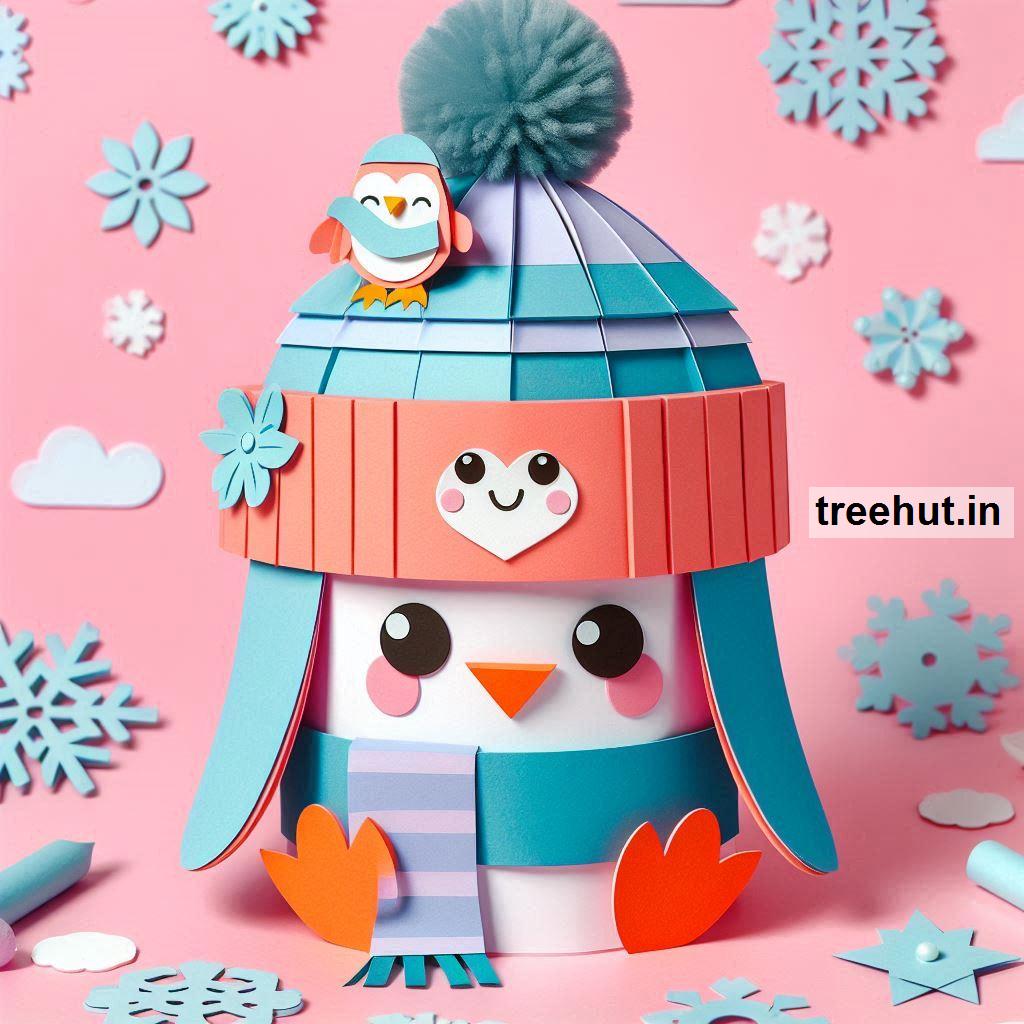
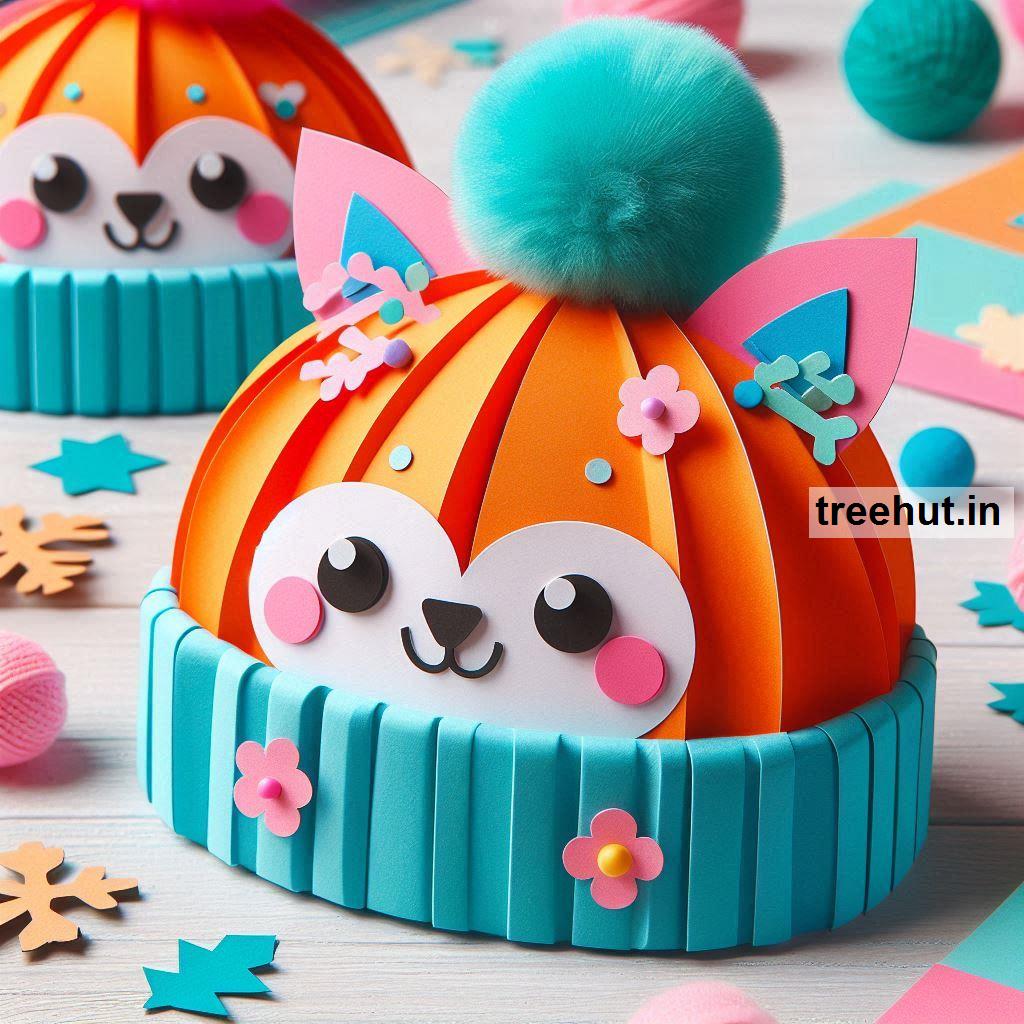
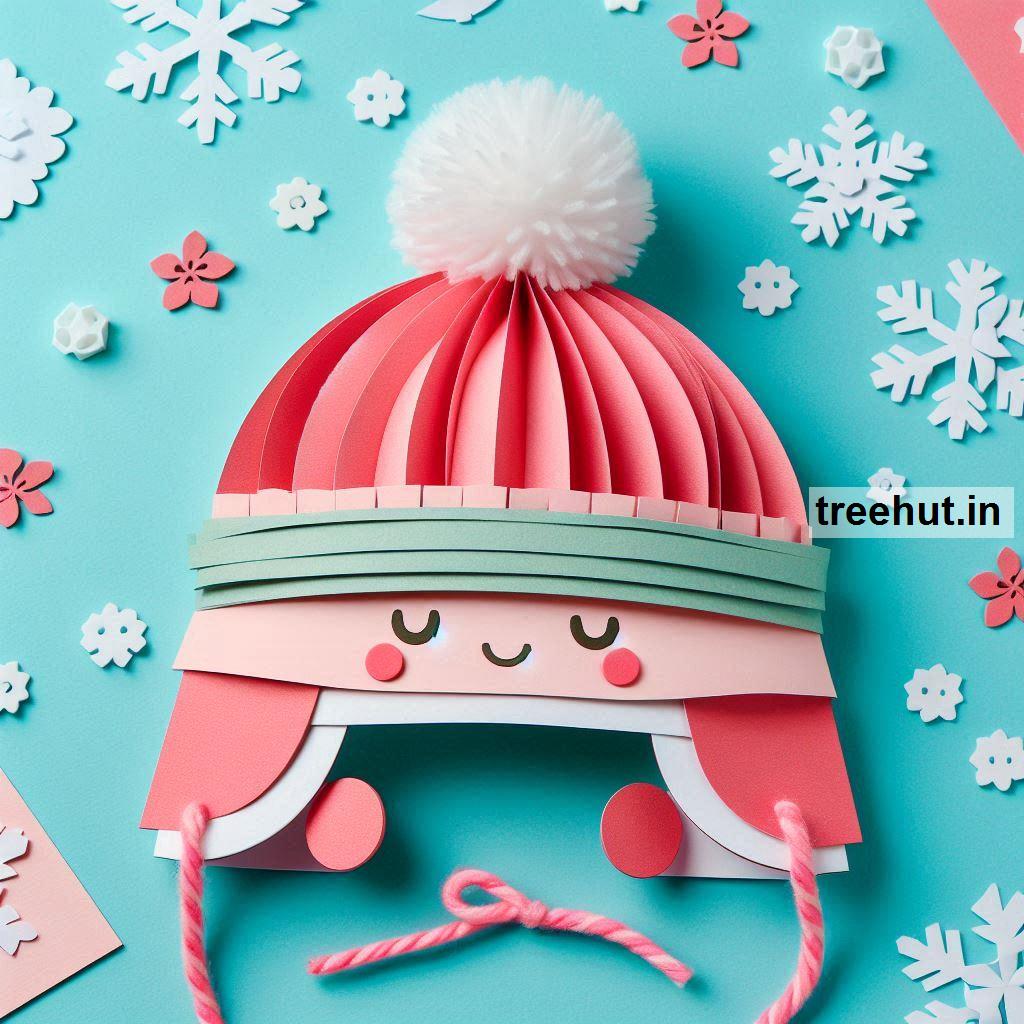
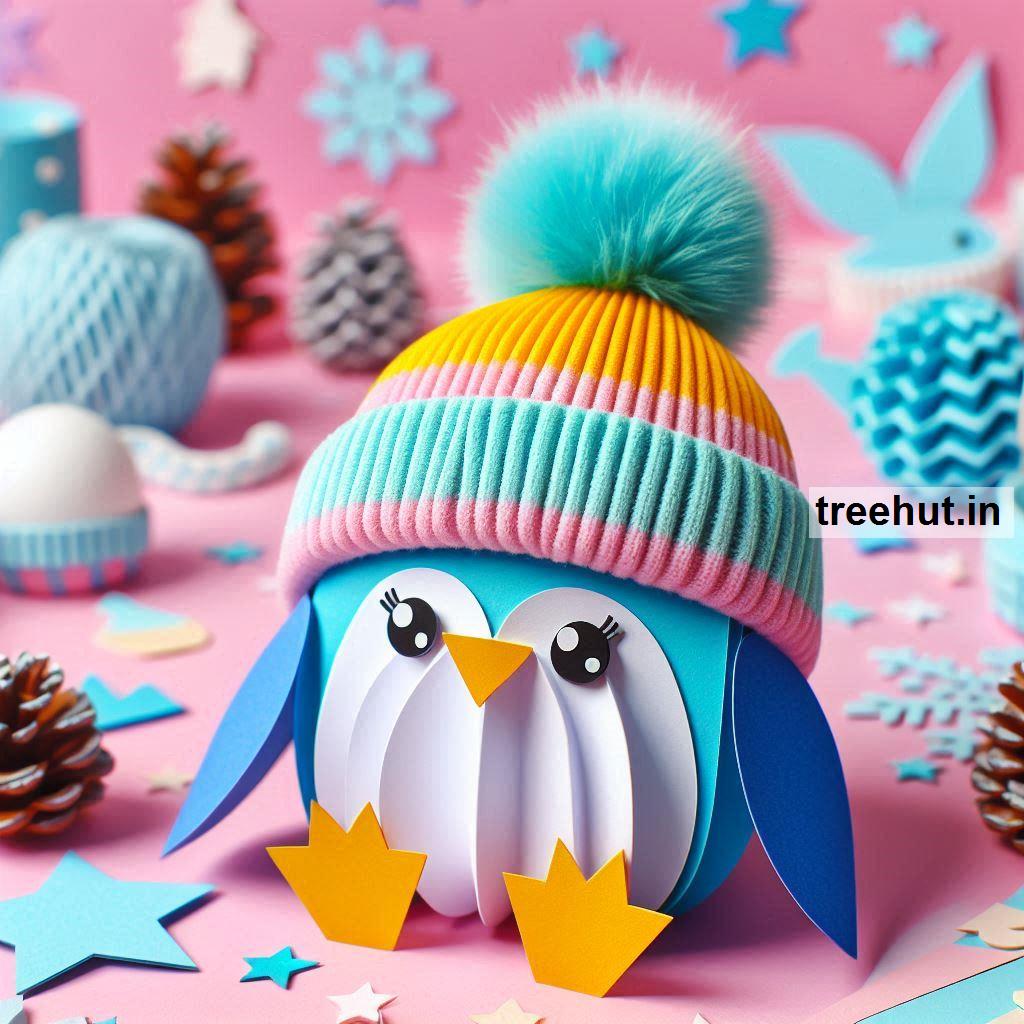
Winter Cap Paper Craft Ideas
1. Paper Winter Cap Garland
- Materials: Colorful construction paper, string, glue, markers, cotton balls
- How-To:
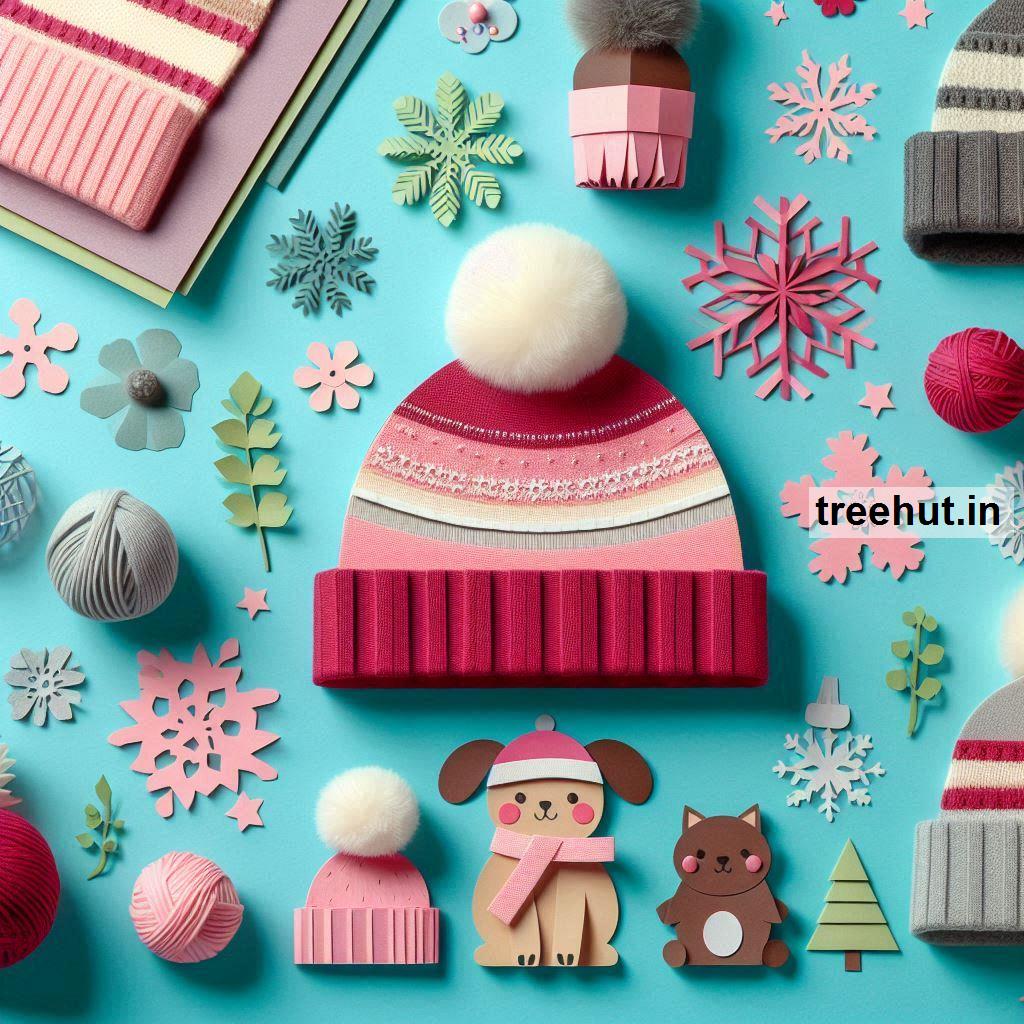
- Cut out several cap shapes from different colors of paper.
- Decorate with stripes, polka dots, or zigzags using markers or colored paper.
- Add cotton balls to the top of the caps for pom-poms and along the bottom for a fluffy trim.
- String the caps together to make a winter-themed garland.
- Tip: Add glitter glue for a frosty effect.
2. 3D Winter Cap
- Materials: Cardstock, scissors, glue, cotton, markers
- How-To:
- Cut two identical cap shapes from cardstock.
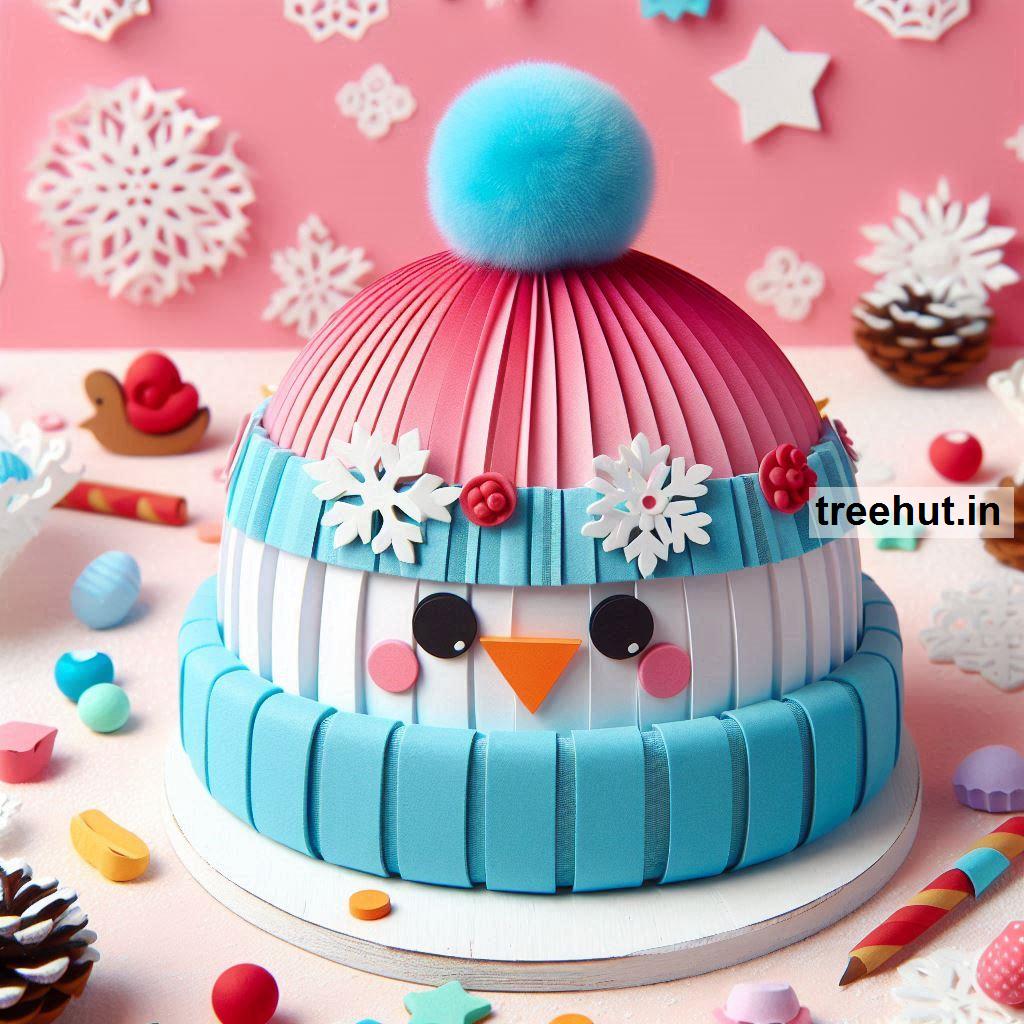
- Attach the sides to form a 3D cap, leaving the bottom open.
- Add decorations like paper patterns or stickers, and glue cotton to the brim and top.
- Tip: Use metallic paper for a shiny, festive touch.
3. Personalized Paper Caps
- Materials: White cardstock, markers, stickers, glitter, glue
- How-To:
- Cut out a blank cap template from white cardstock.
- Allow kids to design their own caps using markers, stickers, or glitter.
- Display all the personalized caps on a bulletin board.
- Tip: Label each cap with the child's name for a personal touch.
4. Winter Cap Bookmark
- Materials: Colorful paper, scissors, glue, markers
- How-To:
- Cut a cap shape and a rectangular strip from paper.
- Attach the strip to the back of the cap to form a clip for the bookmark.
- Decorate with patterns and pom-poms.
- Tip: Laminate for durability.
5. Layered Paper Cap Art
- Materials: Multiple colors of construction paper, scissors, glue
- How-To:
- Cut a cap shape and additional smaller shapes for details like stripes or designs.
- Layer the details on top of the cap base using glue.
- Add cotton or felt for a 3D effect.
- Tip: Frame your cap art for a winter decoration.
6. Pop-Up Winter Cap Card
- Materials: Cardstock, scissors, glue, markers
- How-To:
- Fold a piece of cardstock into a card shape.
- Inside, create a pop-up cap by cutting and folding a cap shape.
- Decorate the cap with colorful patterns, pom-poms, and glitter.
- Tip: Write a winter message on the card.
7. Winter Cap Ornament
- Materials: Cardstock, string, scissors, glue
- How-To:
- Cut out a cap shape from thick paper.
- Decorate with glitter, paper cutouts, or cotton trim.
- Attach a loop of string to hang it as an ornament.
- Tip: Use patterned paper for a festive look.
8. Accordion Fold Winter Cap
- Materials: Paper, scissors, glue
- How-To:
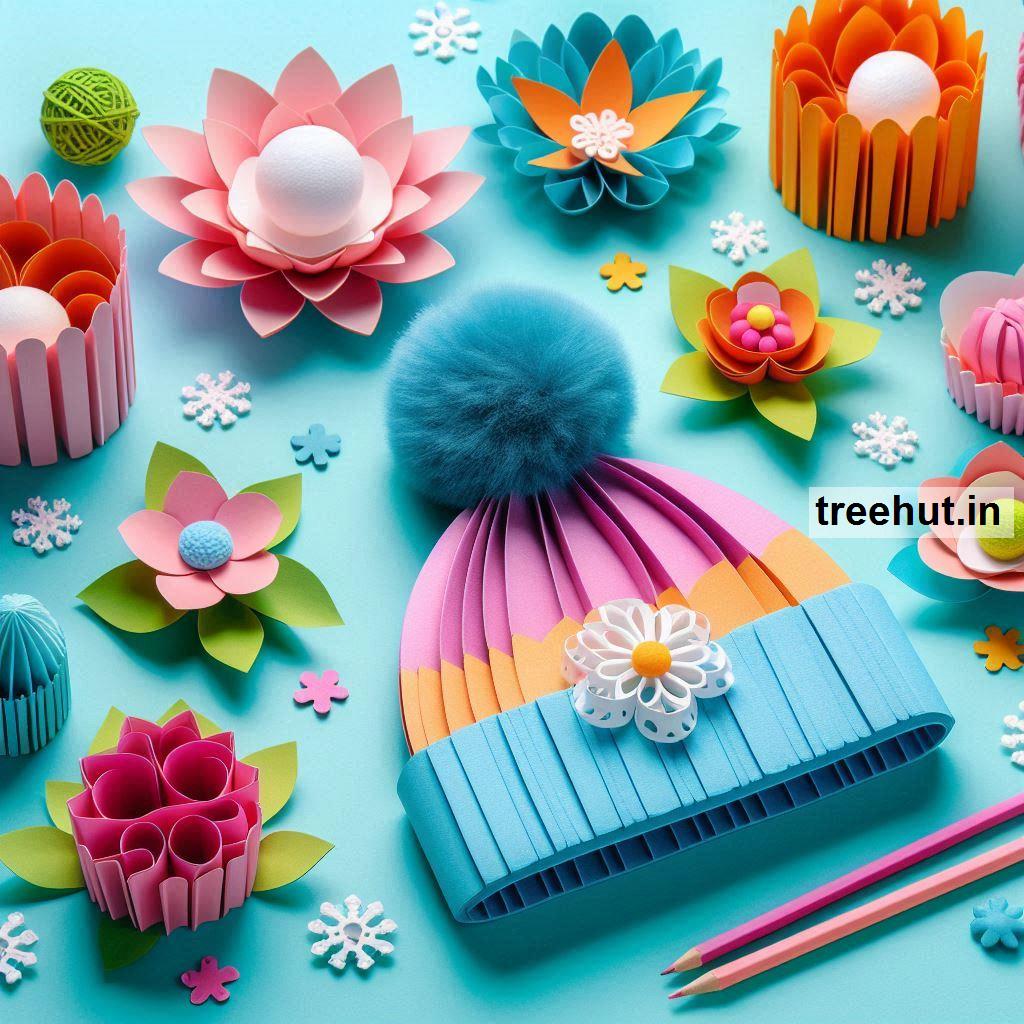
- Create an accordion fold with a long strip of paper for the body of the cap.
- Attach it to a paper brim and add a pom-pom to the top.
- Decorate with stickers or glitter.
- Tip: Use two-tone paper for added texture.
9. Interactive Winter Cap Craft
- Materials: Cardstock, magnets, scissors, markers
- How-To:
- Cut out a cap shape with interchangeable pieces for decoration.
- Add magnets to the cap and decorative pieces to allow customization.
- Tip: Include snowflakes, stars, and hearts as interchangeable decorations.
10. Giant Wall Cap
- Materials: Butcher paper, markers, cotton balls
- How-To:
- Cut out a giant winter cap shape from butcher paper.
- Allow kids to collaboratively decorate it with markers and cotton balls.
- Display it on a classroom wall as a centerpiece for winter decor.
- Tip: Write a seasonal greeting on the cap for added charm.
These paper crafts are perfect for celebrating the coziness of winter while letting creativity shine!