

Christmas Tree Paper Craft Ideas, Christmas Decoration Ideas for Family Activity and Classroom Activity
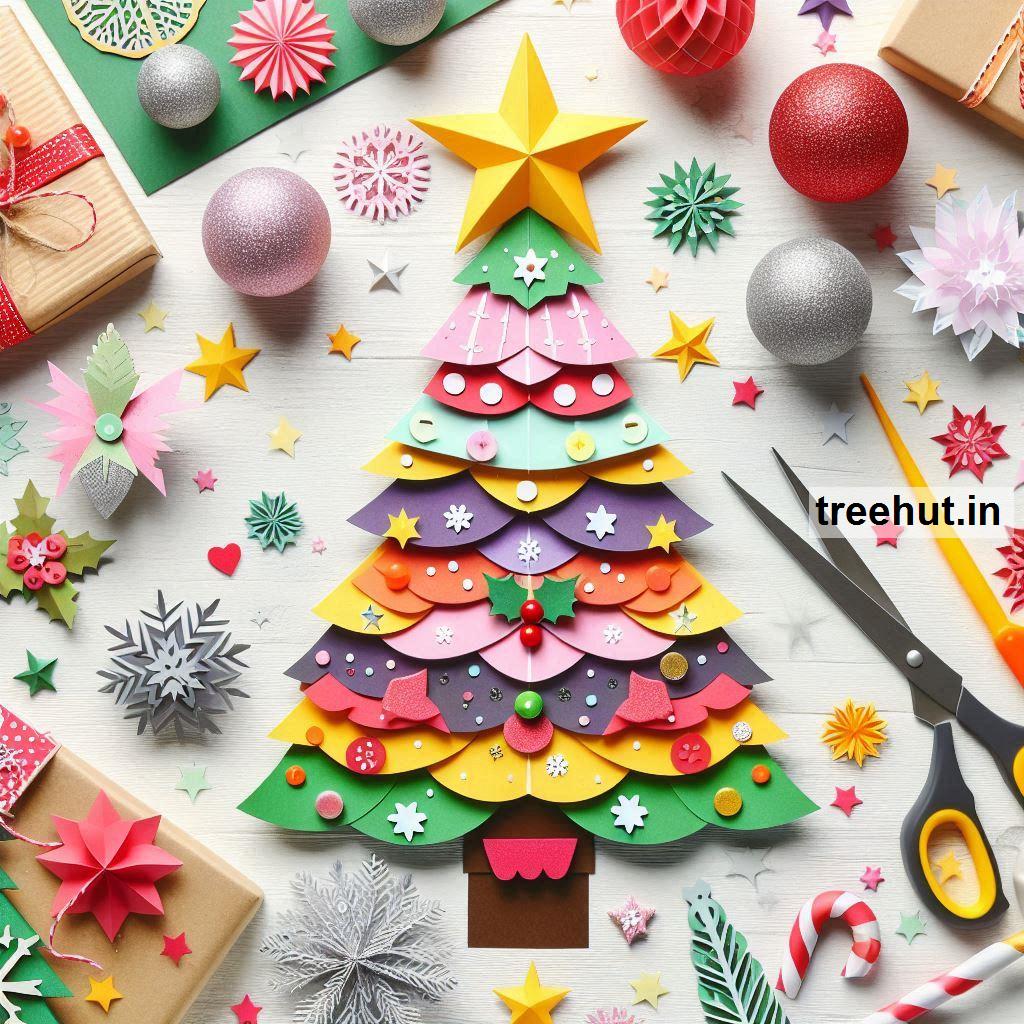
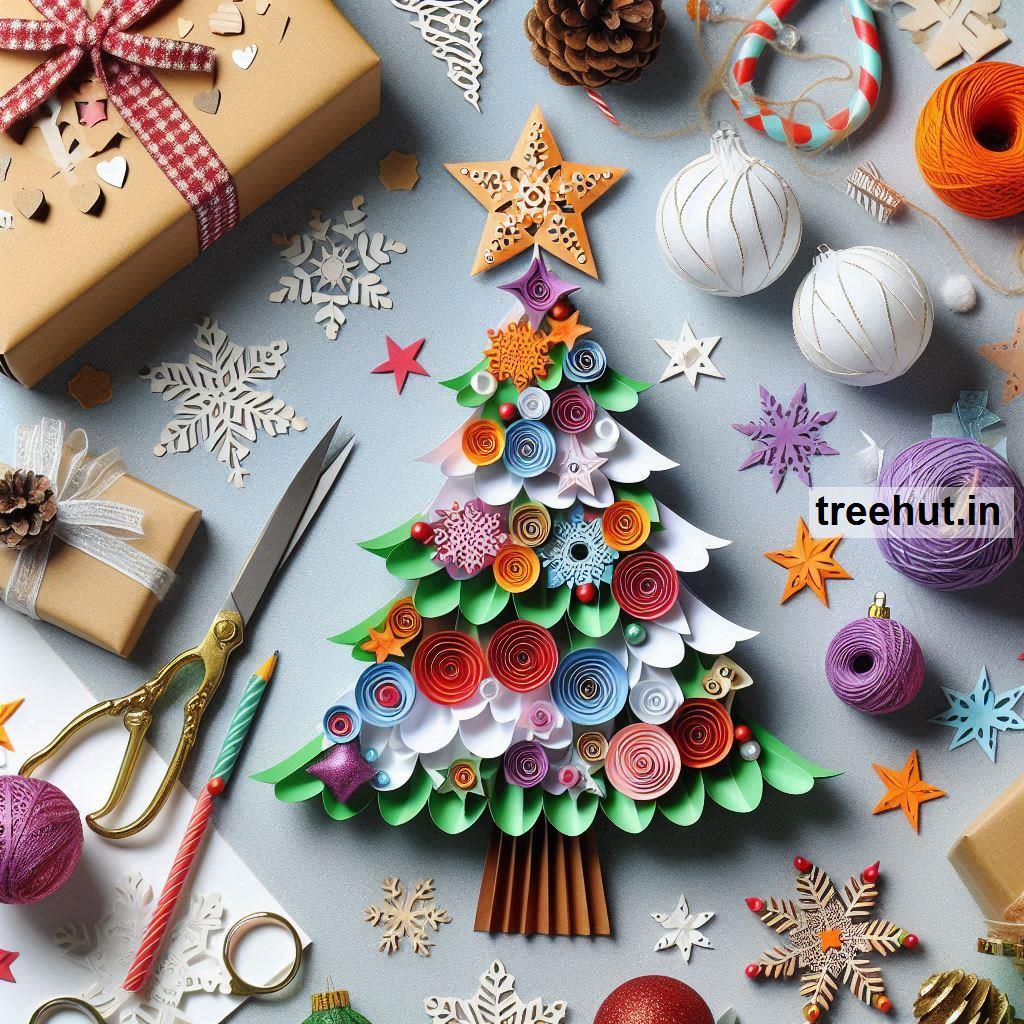
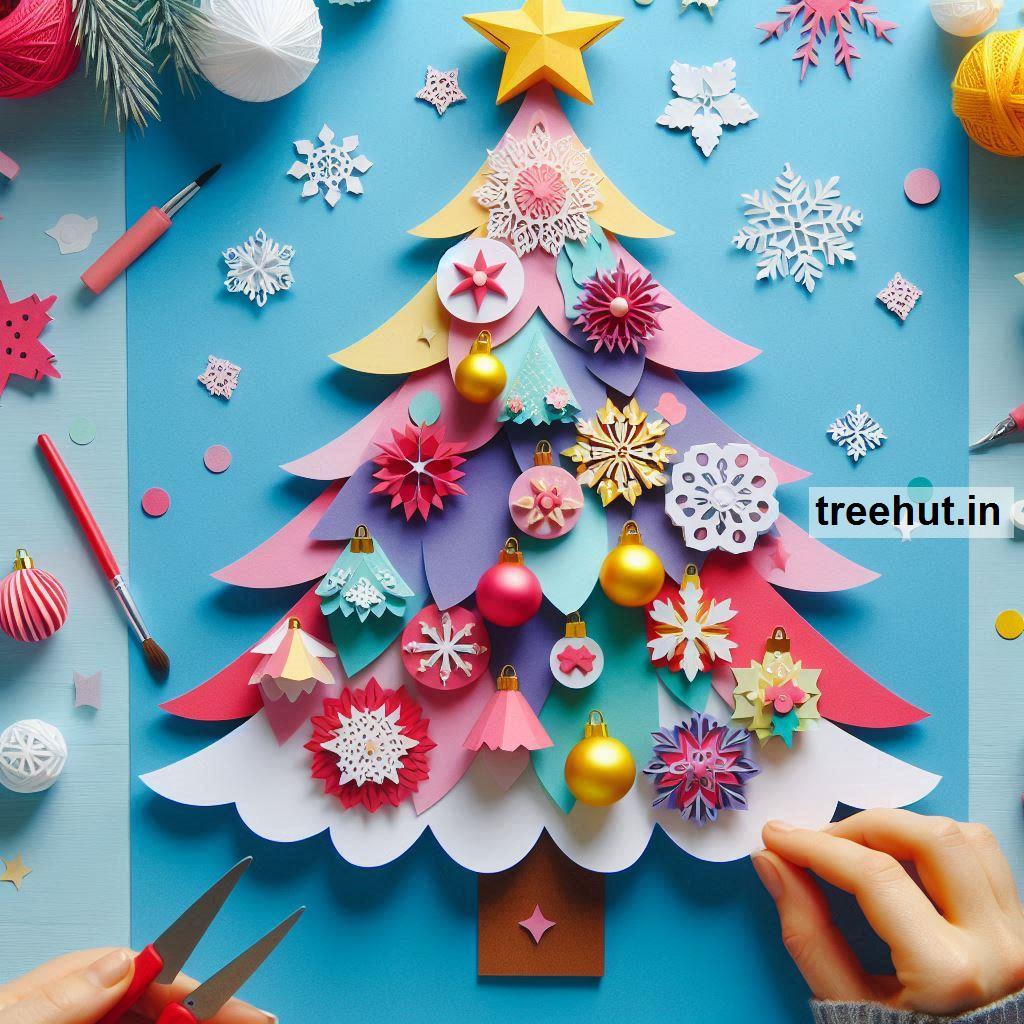
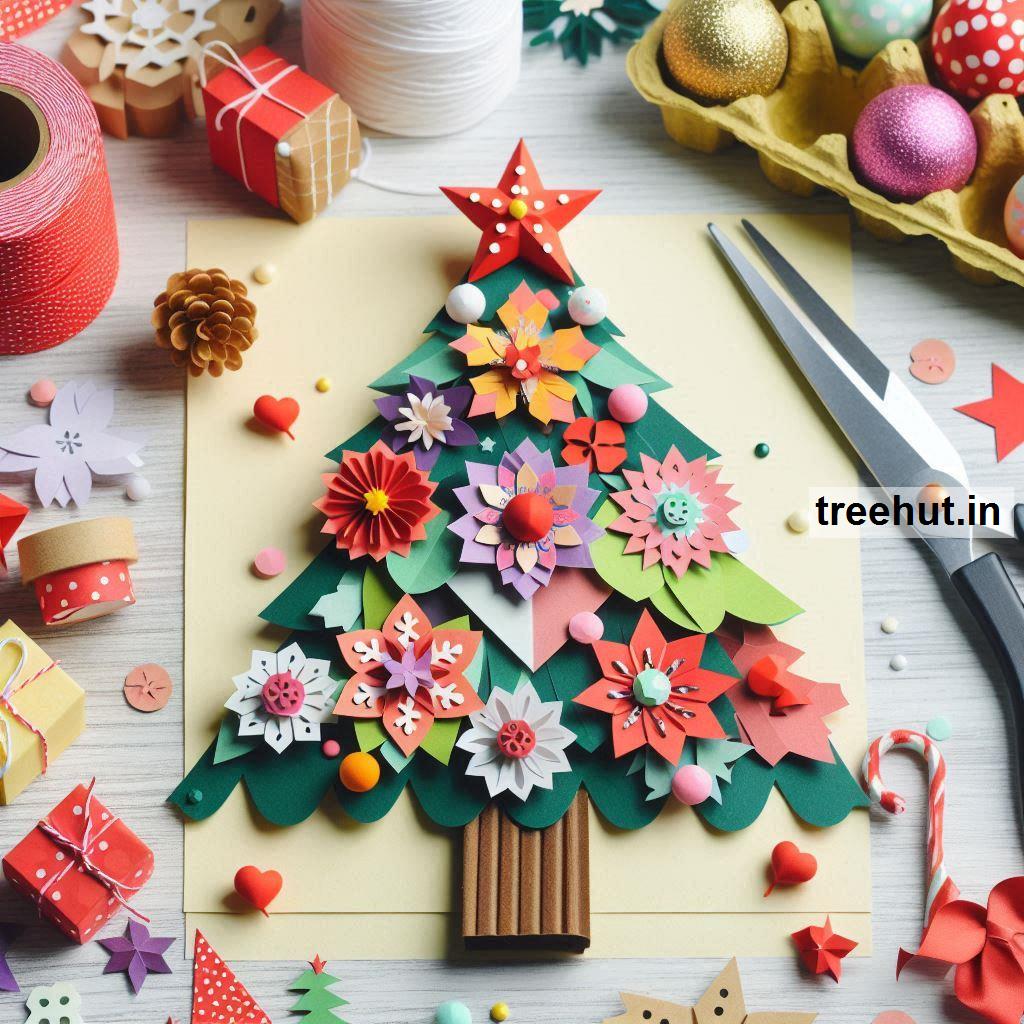
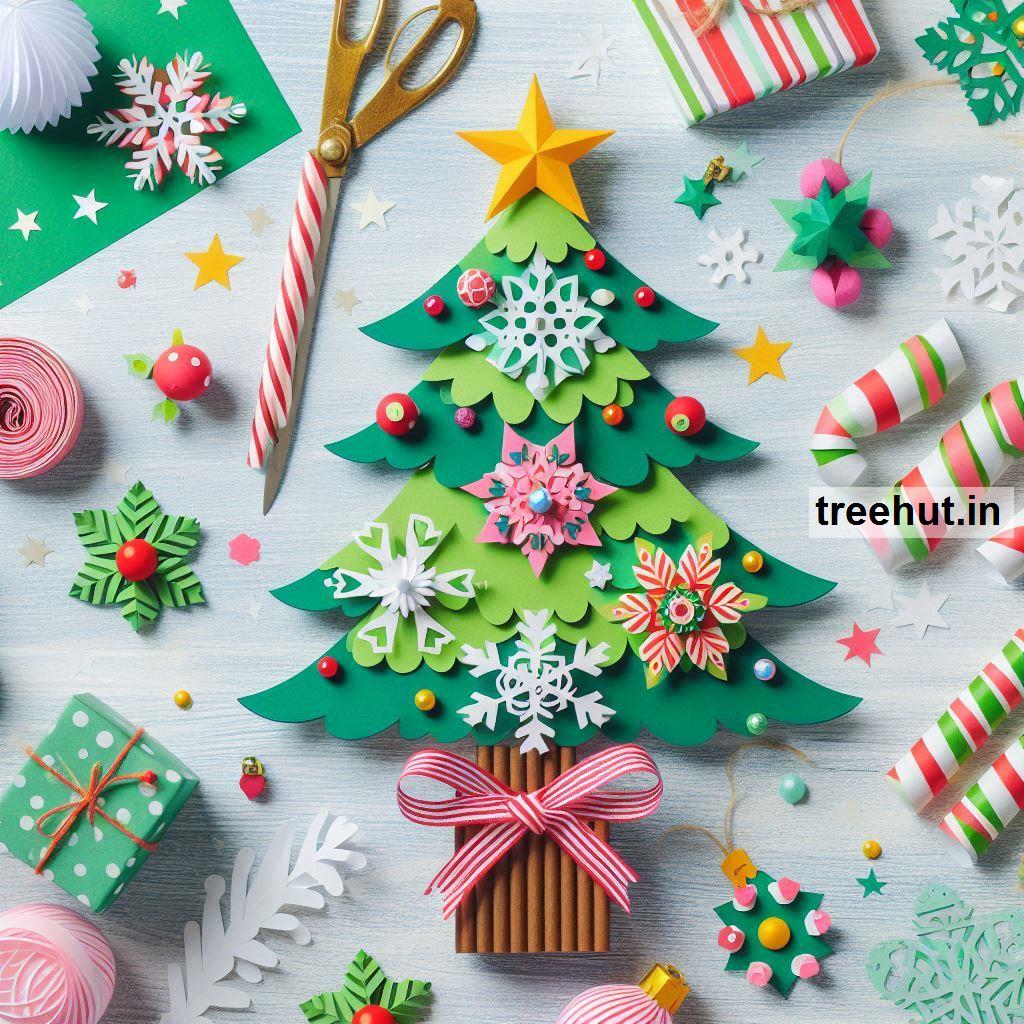
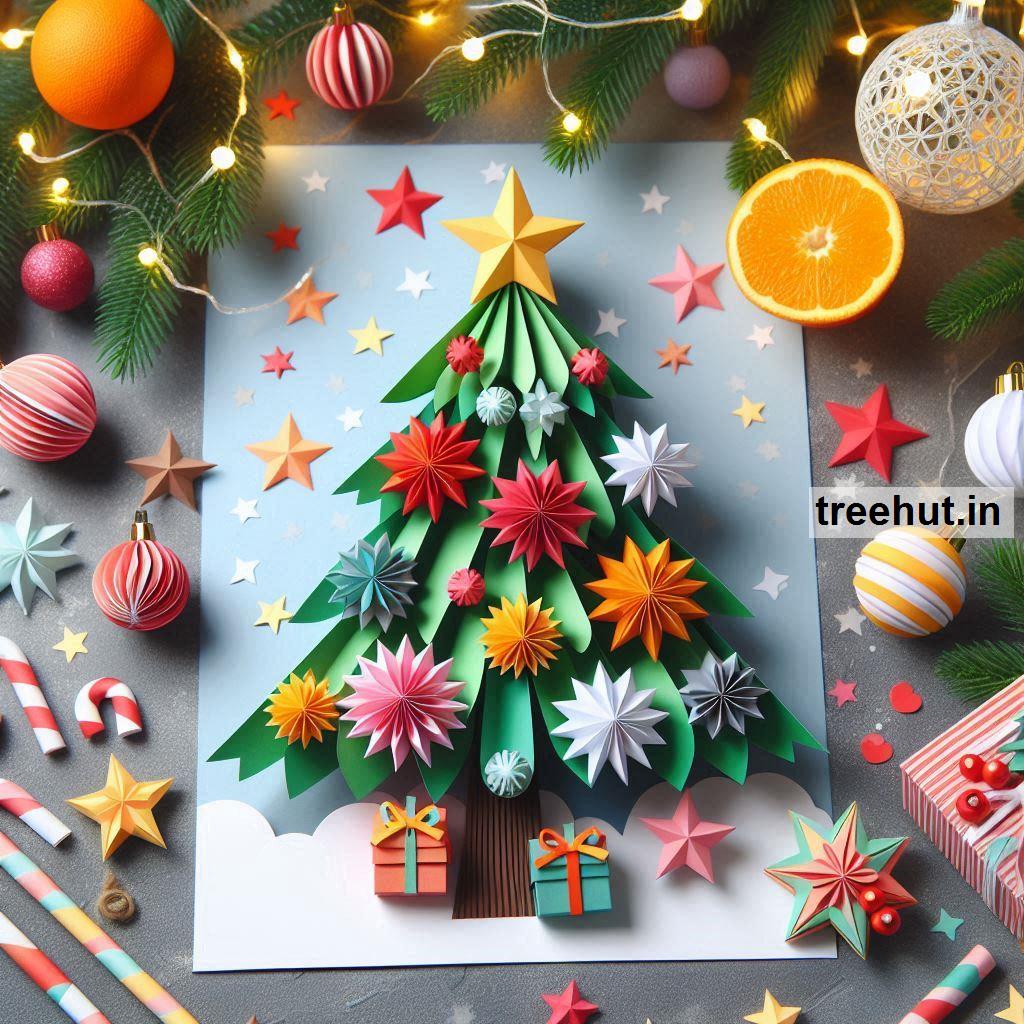
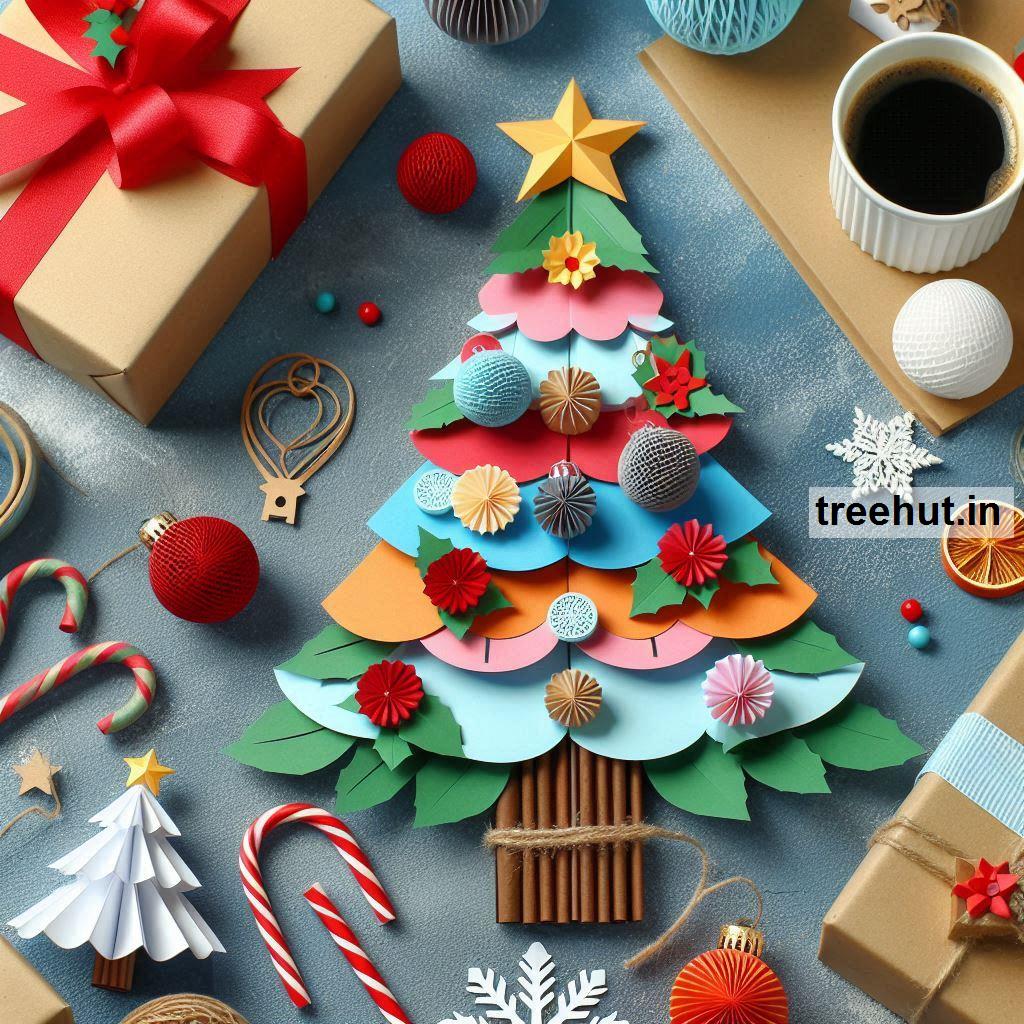
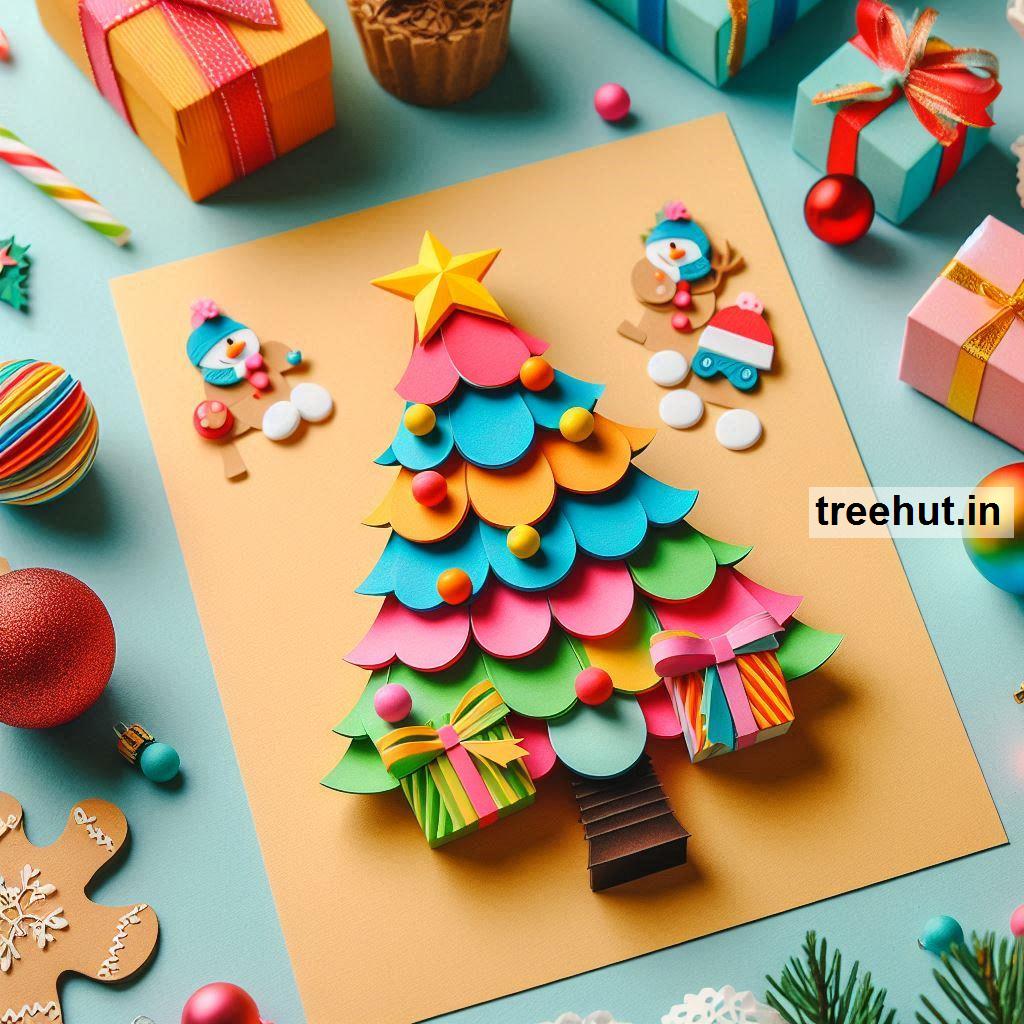
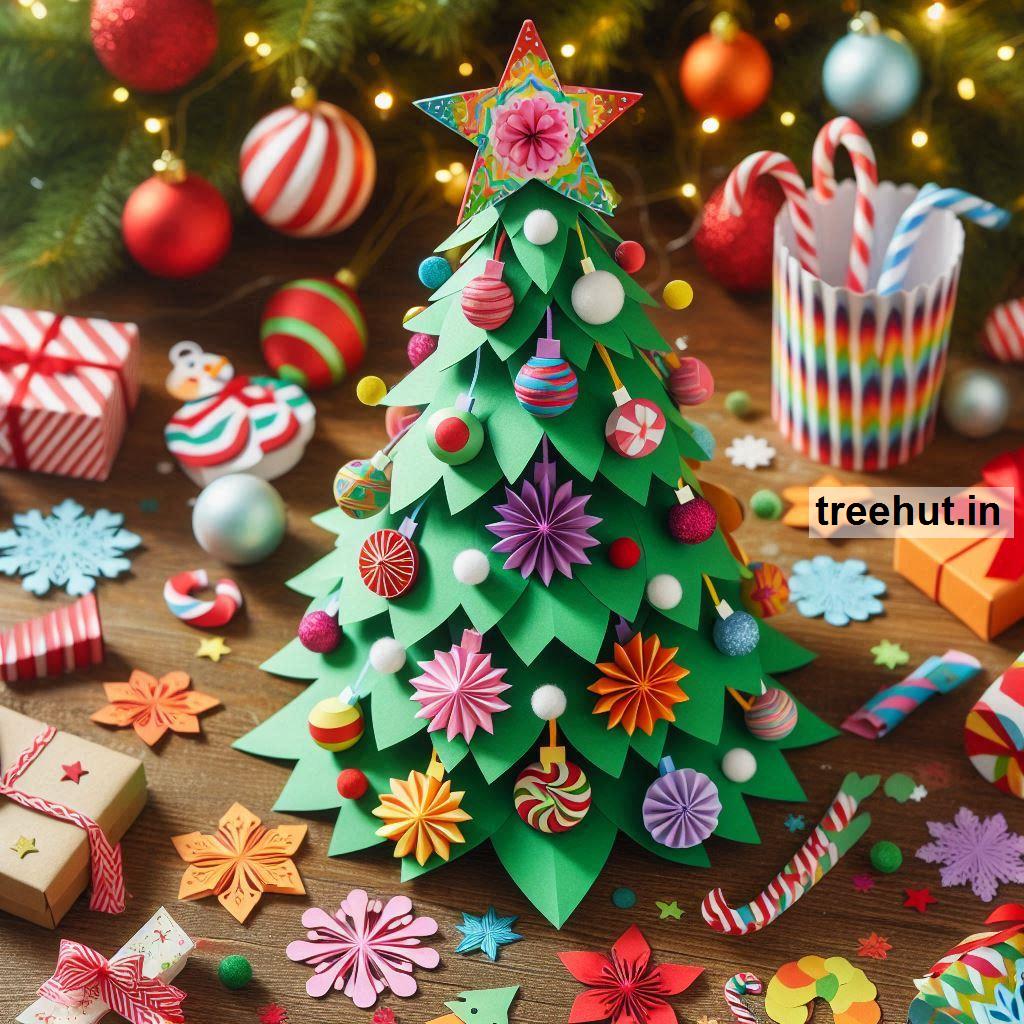
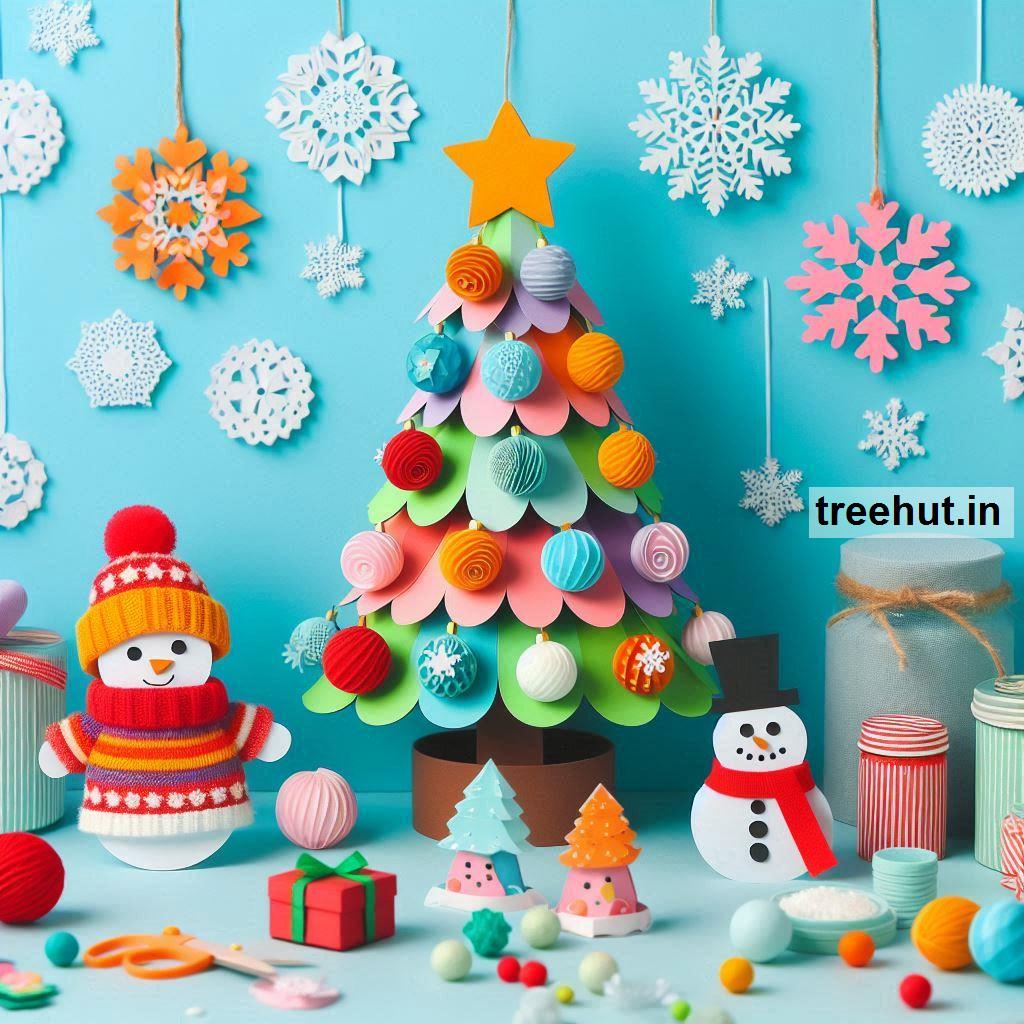

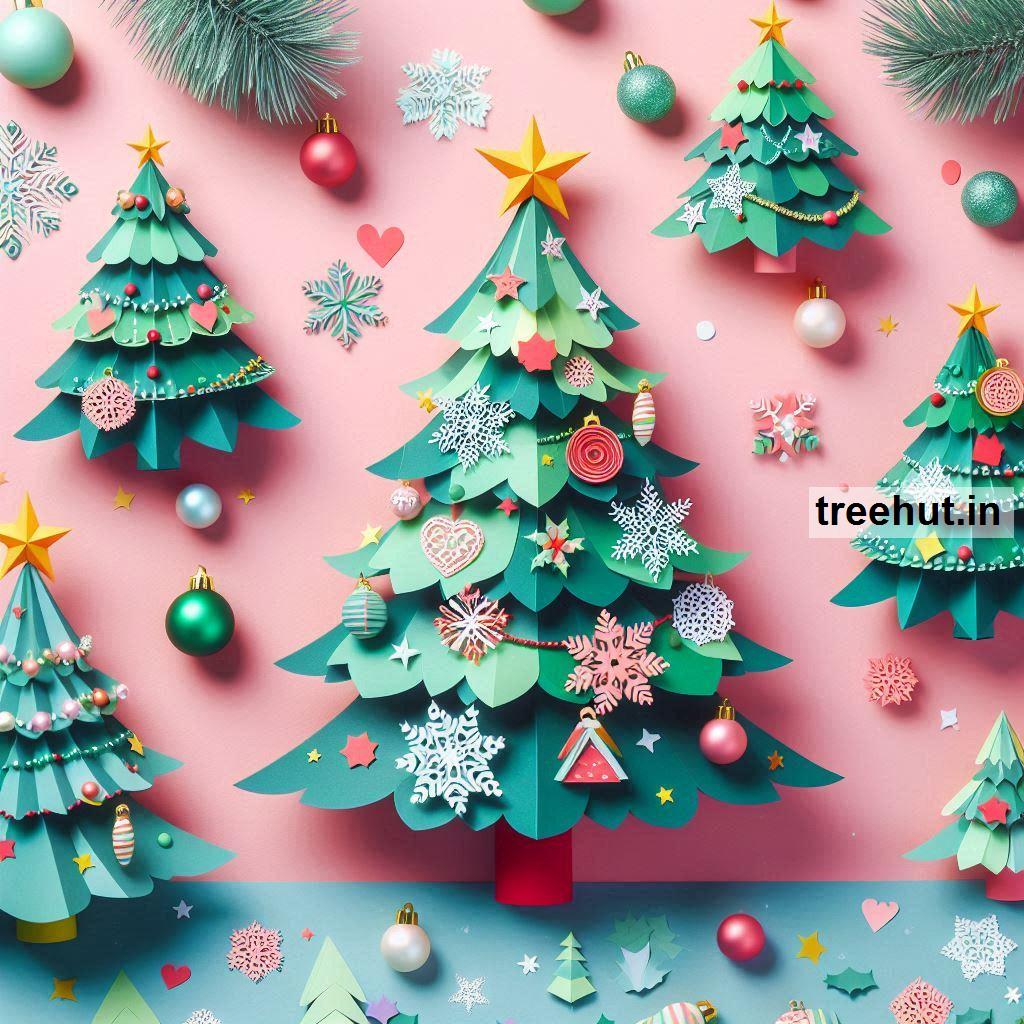
Christmas Tree Paper Crafts: Ideas for crafting Christmas trees using paper that can be used for decorations, gifts, or even classroom activities:
1. Basic Paper Cone Christmas Tree
- Materials: Green construction paper, scissors, glue, glitter, star stickers, or sequins
- How-To:
- Roll a piece of green paper into a cone shape and secure with glue.
- Cut out small circles, stars, or shapes from colored paper to decorate the tree.
- Attach the decorations with glue or double-sided tape.
- Add a small star on top of the cone using glitter or a star sticker.
- Tip: For extra flair, sprinkle some glitter over the tree for a sparkling effect!
2. Folded Paper Tree (Accordion Style)
- Materials: Green construction paper, scissors, glue, star or button for the top
- How-To:
- Cut the paper into several strips of equal length (about 6-8 inches long).
- Fold each strip accordion-style, creating a fan-like effect.
- Glue each strip into a stacked pyramid shape, from largest at the bottom to smallest at the top.
- Glue a star or button to the top as the tree's ornament.
- Tip: You can vary the colors of each strip of paper to make the tree more colorful!
3. 3D Paper Tree (Pop-Up)
- Materials: Green paper, scissors, glue, markers, star sticker or sequins
- How-To:
- Cut out a large triangle shape from green paper for the base of the tree.
- Cut out several smaller triangles to form layers for the tree.
- Glue each triangle layer starting from the largest at the bottom to the smallest at the top, leaving space between each layer to give it a 3D look.
- Draw or add glitter to the tree's decorations, like baubles or lights.
- Add a small star at the top of the tree.
- Tip: You can also create mini versions of this tree to make several for a holiday table setting.
4. Paper Plate Christmas Tree
- Materials: Paper plate, green paint or colored paper, scissors, glue, decorations (sequins, buttons, or stars)
- How-To:
- Take a paper plate and cut it into a cone shape for the tree base.
- Color or paint the paper plate green to make it look like a Christmas tree.
- Cut out small circles or triangles from colored paper to decorate the tree.
- Attach sequins or stars at the top for decoration.
- Tip: You can use a small cone of brown paper as a trunk for the tree to give it a complete look!
5. Handprint Christmas Tree
- Materials: Green construction paper, scissors, glue, glitter, star sticker
- How-To:
- Trace your hand on green paper multiple times, each handprint overlapping slightly to form the branches of the tree.
- Cut out the handprints and arrange them in a tree shape, starting from the largest at the bottom.
- Glue the handprints in place and decorate the tree with glitter, small cut-out shapes, or tiny ornaments.
- Add a small star at the top.
- Tip: This is a great craft for kids to make, and you can turn it into a keepsake by writing the child’s name and year on the tree!
6. Rolled Paper Tree
- Materials: Green paper (toilet paper rolls or construction paper), glue, scissors, star or pom-pom for the top
- How-To:
- Roll strips of green paper into tight cylinders or cones to form the layers of the tree.
- Stack the rolled paper on top of each other, starting from the widest at the bottom to the smallest at the top.
- Glue the rolls together to create a 3D effect.
- Add a small star or pom-pom to the top as a finishing touch.
- Tip: This craft is an excellent way to reuse old toilet paper rolls for a fun and sustainable Christmas project!
7. Paper Christmas Tree with Pom-Poms
- Materials: Green construction paper, scissors, glue, pom-poms, star or star-shaped stickers
- How-To:
- Cut out a simple Christmas tree shape from green paper.
- Use glue to attach colorful pom-poms to the tree as ornaments.
- Create a small star shape from yellow paper or use a star sticker and attach it at the top.
- Optionally, cut out a tree trunk and glue it at the base of the tree.
- Tip: Make different-sized pom-poms to create a more textured, 3D effect on the tree.
8. Paper Stained Glass Christmas Tree
- Materials: Green tissue paper, clear contact paper or wax paper, scissors, glue
- How-To:
- Cut out a simple Christmas tree shape from a large sheet of wax or contact paper.
- Cut or tear small pieces of colored tissue paper in various colors.
- Stick the tissue paper to the sticky side of the contact paper or wax paper, covering the tree shape.
- Once covered, place another layer of contact paper on top to seal it.
- Cut out the tree shape from the contact paper and hang it in a window.
- Tip: The light shining through the tissue paper will create a stained-glass effect, adding a festive glow to your room.
9. Christmas Tree Garland
- Materials: Green paper, scissors, string, glue, markers, or embellishments
- How-To:
- Cut out several small Christmas trees from green paper.
- Decorate each tree with glitter, sequins, or drawings.
- Attach each tree to a piece of string, leaving a small space between them.
- Hang the garland on your mantle, wall, or tree.
- Tip: Make the garland extra festive by adding small Christmas ornaments or lights between the trees!
10. Paper Mâché Christmas Tree
- Materials: Newspaper or tissue paper, glue, balloon (for molding), paint, decorations
- How-To:
- Inflate a balloon to the size you want your tree to be.
- Dip strips of newspaper or tissue paper into a glue and water mixture, and layer them over the balloon.
- Let it dry and harden (this may take a day or two).
- Once dry, pop the balloon and remove it, leaving a hollow paper shell.
- Paint the tree green and decorate with pom-poms, glitter, or tiny ornaments.
- Tip: This tree can become a larger centerpiece or outdoor decoration for the holidays!
These Christmas Tree Paper Craft Ideas are perfect for adding a personal touch to your holiday decorations or for using as fun activities with kids. From simple cone-shaped trees to 3D pop-up designs, each craft allows you to get creative and bring the spirit of Christmas into your home.