

Christmas Toys Paper Craft Ideas, Christmas Decoration Ideas for Family Activity and Classroom Activity
Ideas for Christmas Toy Paper Crafts:
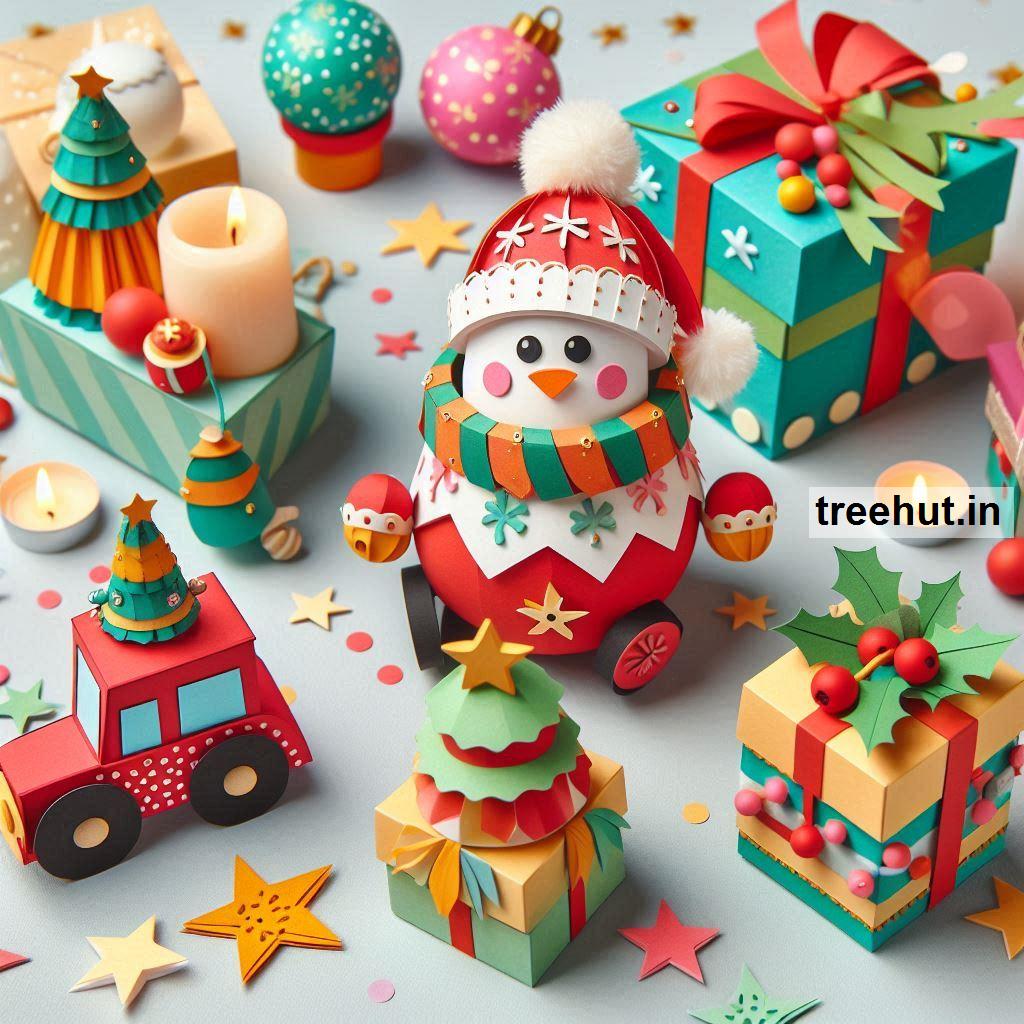
1. Paper Toy Train
- Materials: Colored paper (red, green, yellow, and black), scissors, glue, markers, pipe cleaners (optional), small beads or buttons (optional)
- How-To:
- Cut out different shapes for the train: a large rectangle for the base, small circles for wheels, and a rectangular smokestack.
- Decorate the train with festive colors and patterns (like stripes, polka dots, or Christmas-themed designs).
- Attach the wheels and smokestack, and add a bit of detail with markers.
- For extra fun, create small "cargo" boxes or gift packages that can be attached to the train.
- Tip: Use a pipe cleaner to create a whimsical smoke effect coming from the train!
2. Paper Nutcracker Soldier
- Materials: Construction paper (red, green, yellow, white, and black), glue, scissors, markers, ribbon (optional)
- How-To:
- Cut out a large rectangular shape for the body, and smaller shapes for the arms, legs, and hat.
- Assemble the soldier by gluing the body parts together, starting with the torso and adding the arms, legs, and head.
- Use markers or colored pencils to add details like buttons, a mustache, and eyes.
- Cut out a simple uniform design, like a jacket, and attach it to the body.
- Add a ribbon or other accessories for decoration.
- Tip: You can make a whole nutcracker army and display them as part of your holiday decorations!
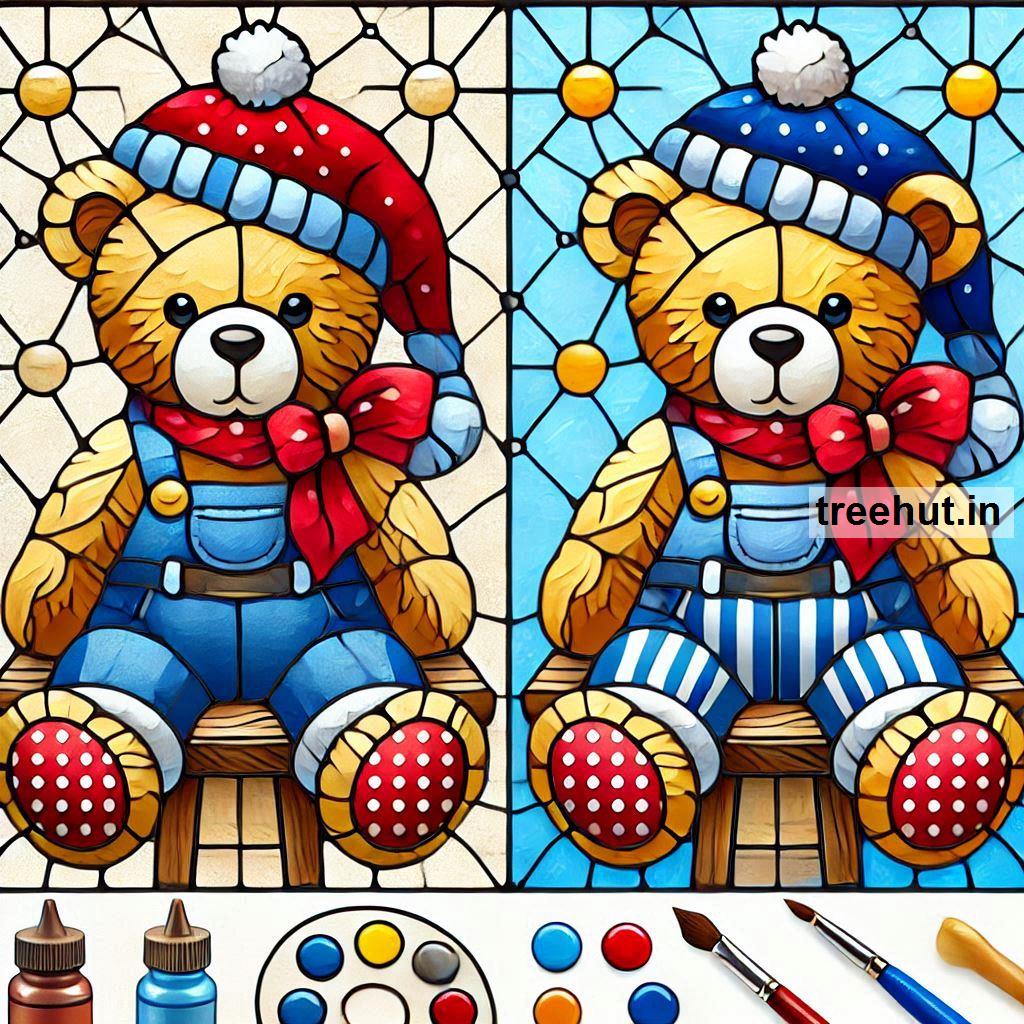
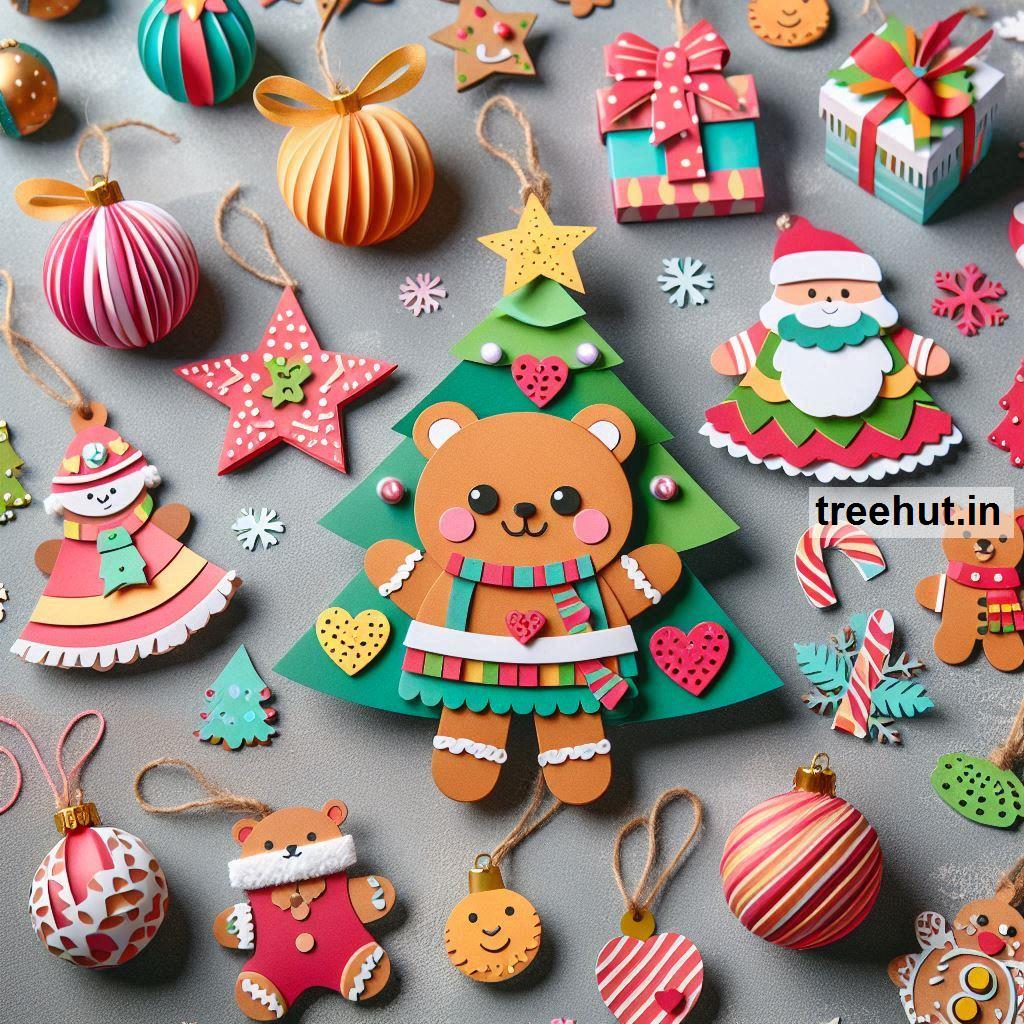
3. Paper Teddy Bear
- Materials: Brown or beige paper, scissors, glue, markers, buttons or small paper circles (for eyes), fabric scraps (for a scarf)
- How-To:
- Cut out a large oval shape for the body and a smaller circle for the head.
- Cut out arms, legs, and ears, and glue them to the body and head.
- Use small circles or buttons for the eyes, and draw a nose and mouth with a marker.
- Add a tiny scarf made from fabric scraps for a festive touch.
- Tip: You can create several different colored bears and add tiny Christmas hats or gifts to make them even more festive!
4. Rocking Horse
- Materials: Brown, white, and black paper, scissors, glue, a straw (for the rocking part), and markers
- How-To:
- Cut out two large rocking chair shapes and glue them together to form the base.
- Cut out the body of the horse from brown paper and glue it to the top of the rocking base.
- Create the horse’s head with smaller shapes, and add a mane by cutting thin strips of paper.
- Use black paper for the tail and glue it to the back of the horse.
- Decorate the horse with colorful markers, giving it a festive holiday look!
- Tip: You can use a straw or pipe cleaner to make the rocking mechanism if you want the horse to actually rock!
5. Paper Doll and Dress
- Materials: Paper (cardstock for strength), scissors, glue, markers, ribbon or fabric scraps, buttons, and stickers for decoration
- How-To:
- Cut out a simple doll shape, including the body and arms.
- Design and cut out a festive outfit, such as a Christmas dress or a Santa suit, and attach it to the doll.
- Use markers to draw on the doll's face, adding eyes, a mouth, and a nose.
- Decorate the dress with tiny buttons, fabric scraps, or ribbon for a more festive look.
- Tip: You can create multiple outfits to mix and match on the doll!
6. Paper Jack-in-the-Box
- Materials: Colorful paper (for the box and spring), scissors, glue, small circle or square for the lid, pipe cleaners (for the spring), festive decorations (optional)
- How-To:
- Cut out a square for the base of the box and fold up the sides to create a box shape.
- Make a lid by cutting out a slightly larger square and adding a "pop-up" figure to it (like a Christmas elf or Santa).
- Create a pipe cleaner spring by twisting it into a spiral shape and attaching it to the lid.
- Decorate the box with colorful stripes or Christmas-themed patterns.
- Tip: Make the lid spring up by carefully attaching the spring with glue, so it "pops" when lifted!
7. Paper Toy Soldiers
- Materials: Red, green, and black paper, scissors, glue, markers, glitter (optional)
- How-To:
- Cut out a soldier's body shape, along with arms, legs, and a hat.
- Decorate the body with a festive uniform design using contrasting colors (red and green for a holiday look).
- Use markers to add facial features like eyes, a nose, and a smile.
- Add glitter to the uniform for extra sparkle and festive appeal.
- Tip: Create a set of soldiers and line them up for a fun holiday display.
8. Paper Christmas Train Ornament
- Materials: Colored paper, glue, scissors, string (for hanging), markers, beads or sequins
- How-To:
- Cut out the shape of a train from colored paper, including a rectangle for the body, circles for wheels, and smaller shapes for the smokestack and caboose.
- Assemble the train by gluing the parts together.
- Use markers to add windows, doors, and decorative touches.
- Attach a string to the top so you can hang the train as a Christmas ornament on the tree.
- Tip: You can add sequins or small beads to the train for extra holiday sparkle!
9. Paper Robot Toy
- Materials: Silver or gray paper, scissors, glue, buttons or circles for eyes, and holiday-themed embellishments (like a scarf or tiny Christmas hat)
- How-To:
- Cut out a rectangular shape for the body and smaller rectangles for the arms and legs.
- Attach the body parts together and use circular pieces for the robot’s eyes and buttons.
- Add a small Christmas scarf or a tiny Santa hat to the robot to give it a festive look.
- Tip: Create a whole set of robot toys and let them "dance" around your home as part of the holiday decorations!
10. Paper Gift Boxes with Toy Themes
- Materials: Paper (bright colors), glue, scissors, markers, stickers, or other toy-themed decorations (such as a teddy bear or doll)
- How-To:
- Cut and fold paper into small gift box shapes, decorating each one with festive designs.
- Use toy-related stickers or illustrations to decorate the boxes, turning them into themed presents (like dolls, teddy bears, or train sets).
- Add a ribbon on top to complete the look.
- Tip: You can use these boxes as both gifts and decorations!