



Eggless Banoffee Pie Recipe and 30 Decoration Ideas for Banoffee Pie
A delicious recipe for the British Banoffee Pie along with decoration techniques to make it look stunning!
Banoffee Pie Recipe
Ingredients
For the Base:
- 200g digestive biscuits (or Graham crackers)
- 100g unsalted butter, melted
For the Filling:
- 1 can (397g) sweetened condensed milk
- 3-4 ripe bananas, sliced
- 300ml heavy whipping cream
- 2 tbsp powdered sugar (or to taste)
- 1 tsp vanilla extract
- 1 tbsp cocoa powder or chocolate shavings (for decoration)
Instructions
Make the Base:
- Preheat your oven to 180°C (350°F).
- Crush the digestive biscuits into fine crumbs (you can use a food processor or place them in a zip-top bag and crush with a rolling pin).
- Mix the crushed biscuits with melted butter until combined.
- Press the mixture into the bottom of a 9-inch (23 cm) pie dish to form an even layer. Bake for 10 minutes. Remove and let cool.
Prepare the Toffee Filling:
- Pour the sweetened condensed milk into a saucepan and bring to a gentle boil over medium heat. Stir constantly for about 5-10 minutes until it thickens and turns a golden caramel color.
- Once thickened, pour the toffee filling over the cooled biscuit base and spread evenly. Let it cool to room temperature, then refrigerate for about 1-2 hours to set.
Assemble the Pie:
- Once the toffee has set, layer the sliced bananas evenly over the toffee.
- In a separate bowl, whip the heavy cream with powdered sugar and vanilla extract until soft peaks form. Spread or pipe the whipped cream over the bananas.
Decorate:
- Dust the top with cocoa powder or chocolate shavings for garnish.
- Chill for an additional 30 minutes before serving.
Serve:
- Slice and enjoy your delicious Banoffee Pie!
Decoration Techniques for Banoffee Pie
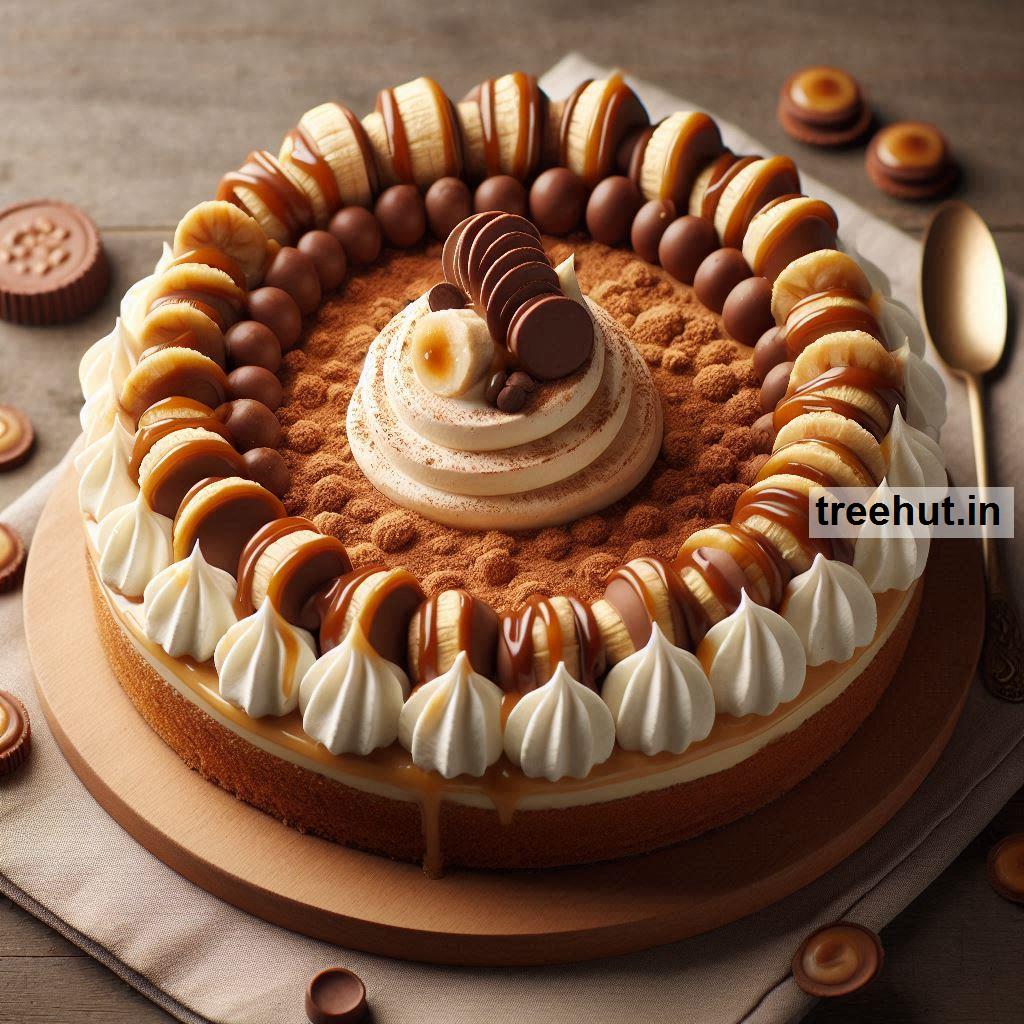
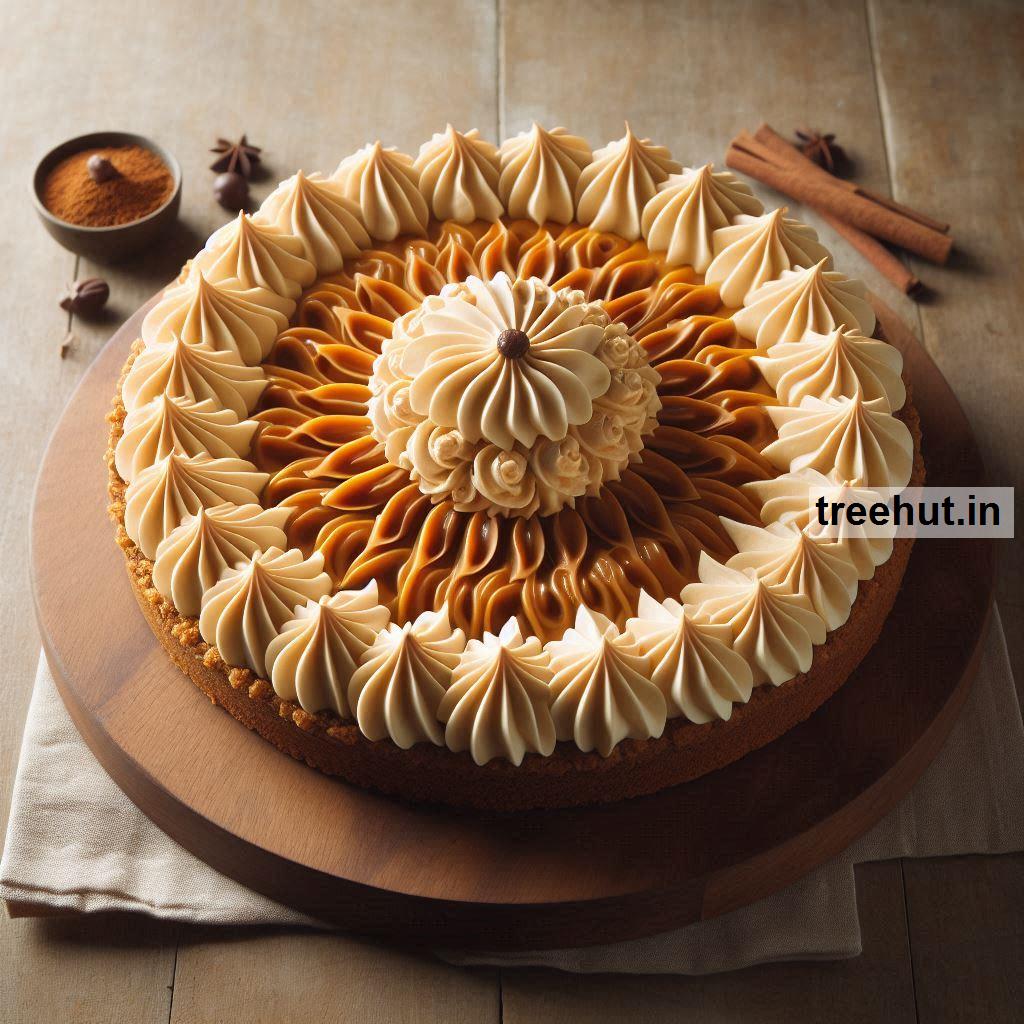
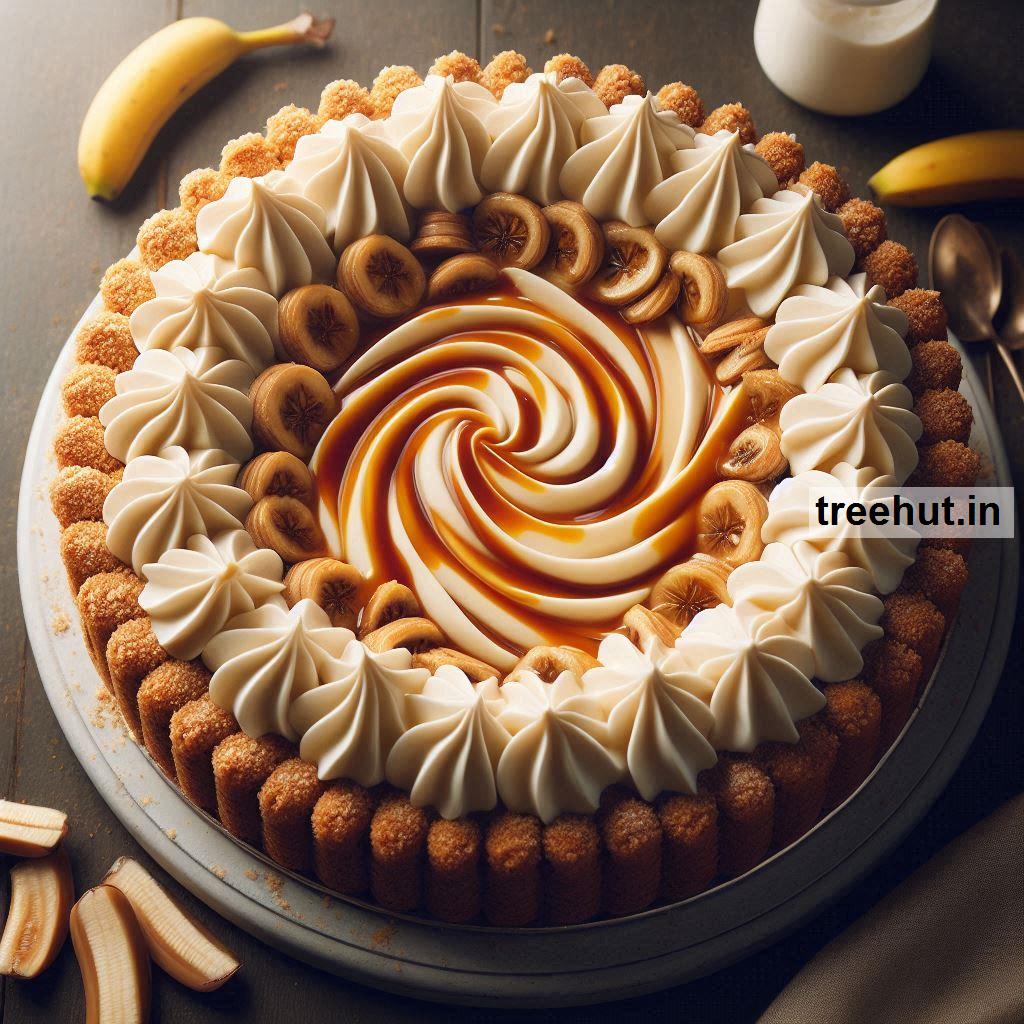
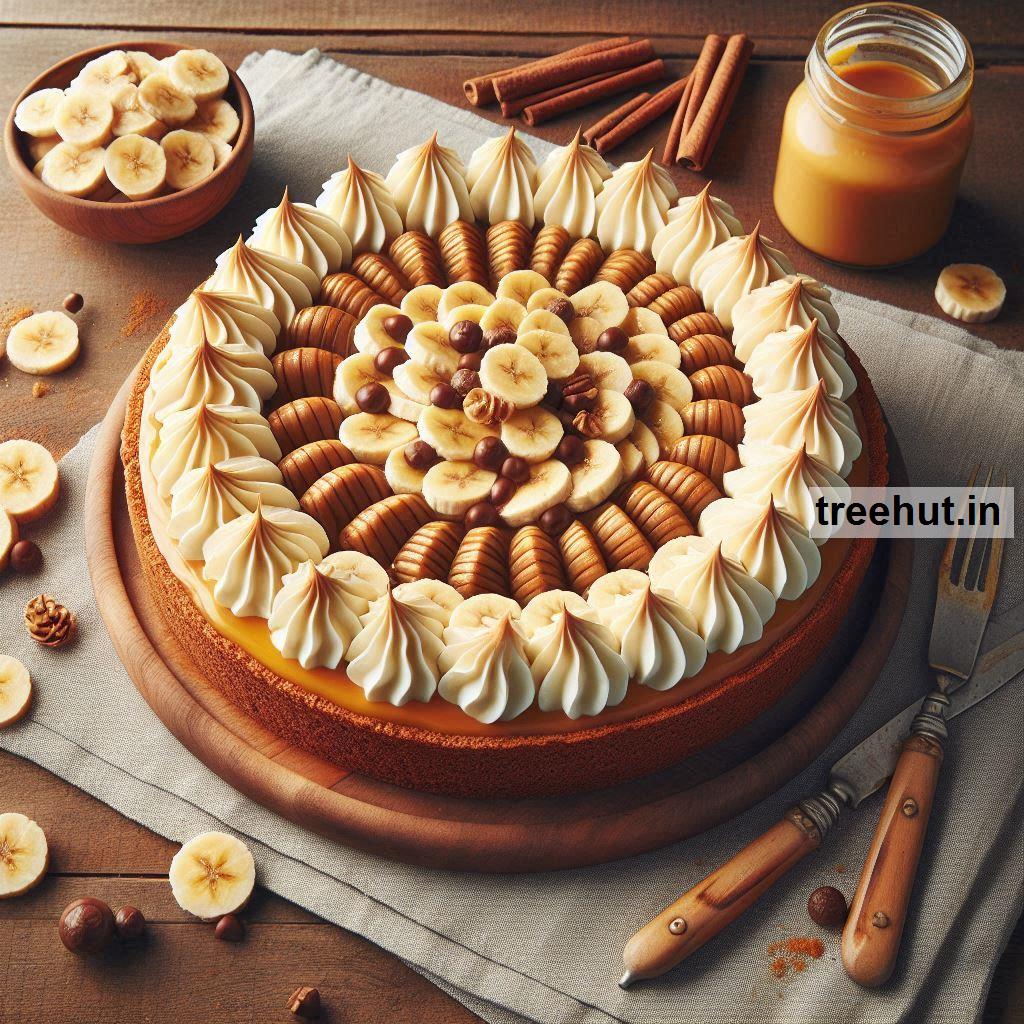
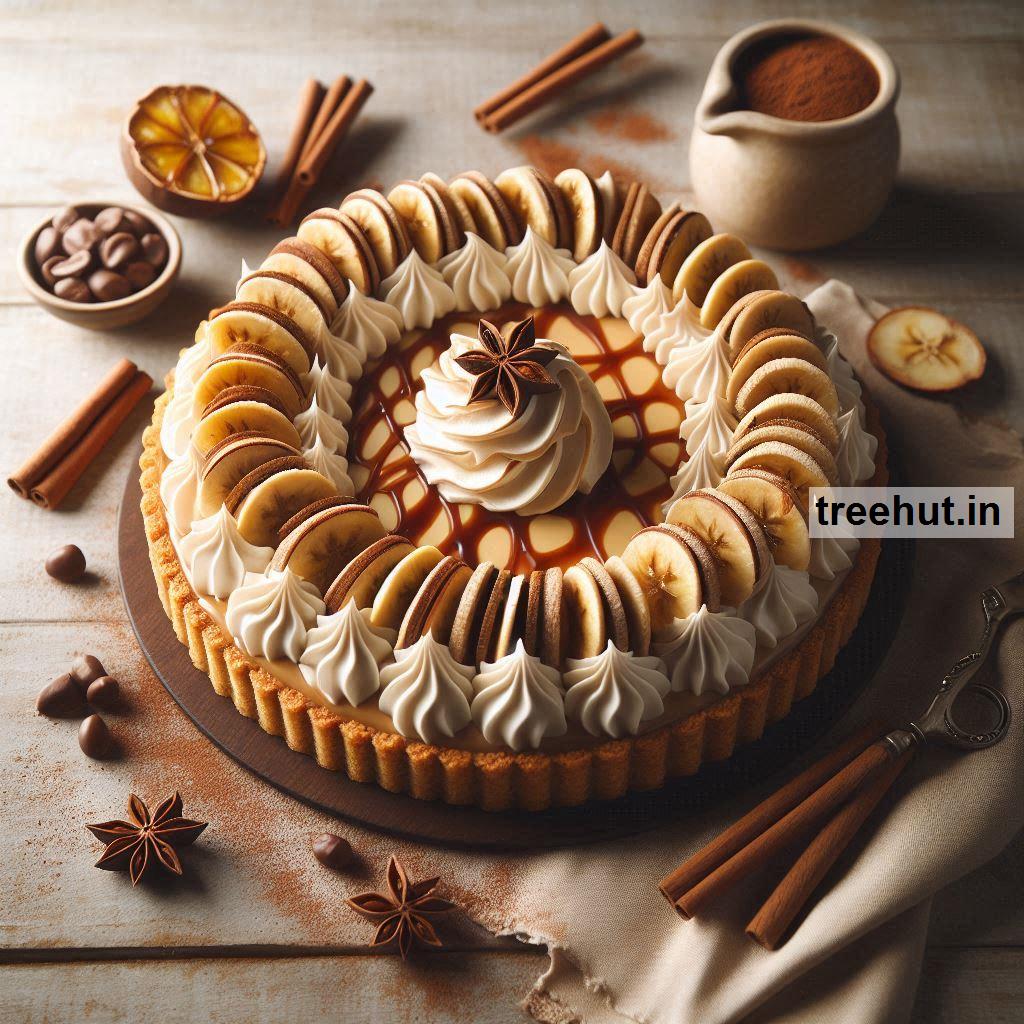
- Whipped Cream Peaks: Pipe the whipped cream onto the pie for a decorative edge.
- Chocolate Shavings: Use a vegetable peeler to create chocolate shavings on top.
- Cocoa Powder Dusting: Lightly dust the top with cocoa powder for an elegant finish.
- Caramel Drizzle: Drizzle caramel sauce over the whipped cream for added sweetness.
- Banana Slices: Arrange additional banana slices on top for a fresh look.
- Chopped Nuts: Sprinkle chopped nuts, like pecans or walnuts, on top for crunch.
- Mint Leaves: Add a few mint leaves for a pop of color and freshness.
- Fruit Garnish: Use other fruits, such as strawberries or raspberries, for contrast.
- Coconut Flakes: Sprinkle toasted coconut flakes for a tropical touch.
- Edible Flowers: Use edible flowers for a colorful and fancy presentation.
- Chocolate Chips: Scatter mini chocolate chips for added texture.
- Dusting Sugar: Use a fine sieve to dust powdered sugar over the whipped cream.
- Layered Effect: Create layers of whipped cream and bananas for visual appeal.
- Pie Crust Border: Create a decorative border with the pie crust for extra flair.
- Colorful Sprinkles: Add colorful sprinkles on top for a festive touch.
- Fruit Compote: Serve with a side of fruit compote or sauce.
- Graham Cracker Crumbs: Sprinkle extra crumbs around the edges for texture.
- Layering Technique: Alternate layers of cream and bananas in a glass dish for a parfait style.
- Chocolate Ganache: Pour a thin layer of chocolate ganache over the whipped cream.
- Custom Message: Write a message on top with melted chocolate or icing.
- Gourmet Drizzle: Use flavored syrups (like raspberry or caramel) to create patterns.
- Miniature Banoffee Cups: Serve individual portions in cups with similar decorations.
- Chopped Toffee: Sprinkle pieces of toffee candy for a delightful crunch.
- Fruit Skewers: Add skewers of fruit on the side for a playful presentation.
- Layered Jars: Serve in jars for a layered effect and easy individual servings.
- Caramel Flan: Top with a layer of caramel flan for a luxurious touch.
- Piped Borders: Use a piping bag to create a decorative border with cream.
- Chocolate Drizzle: Create a drizzle pattern on the plate using chocolate sauce.
- Gold Leaf: Use edible gold leaf for a touch of luxury.
- Colored Frosting: Use colored frosting to create a fun design on top.