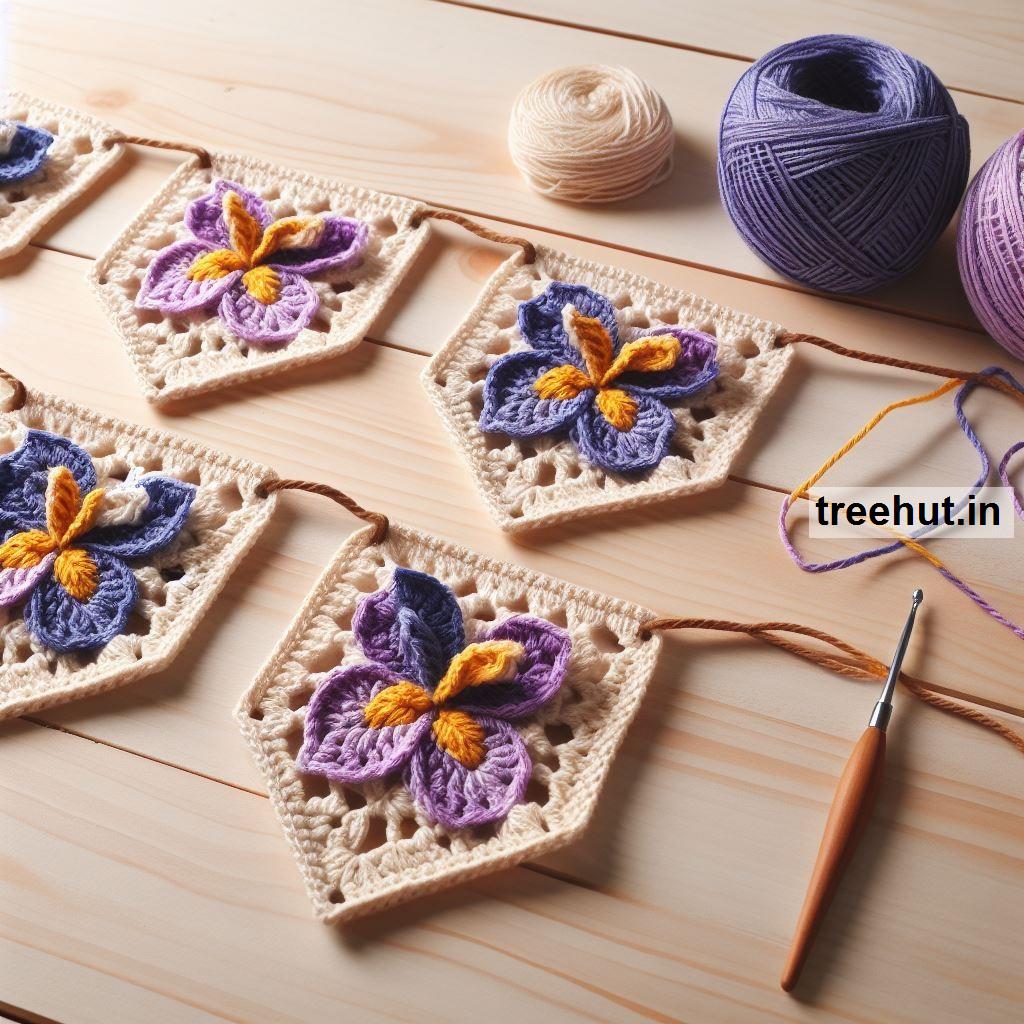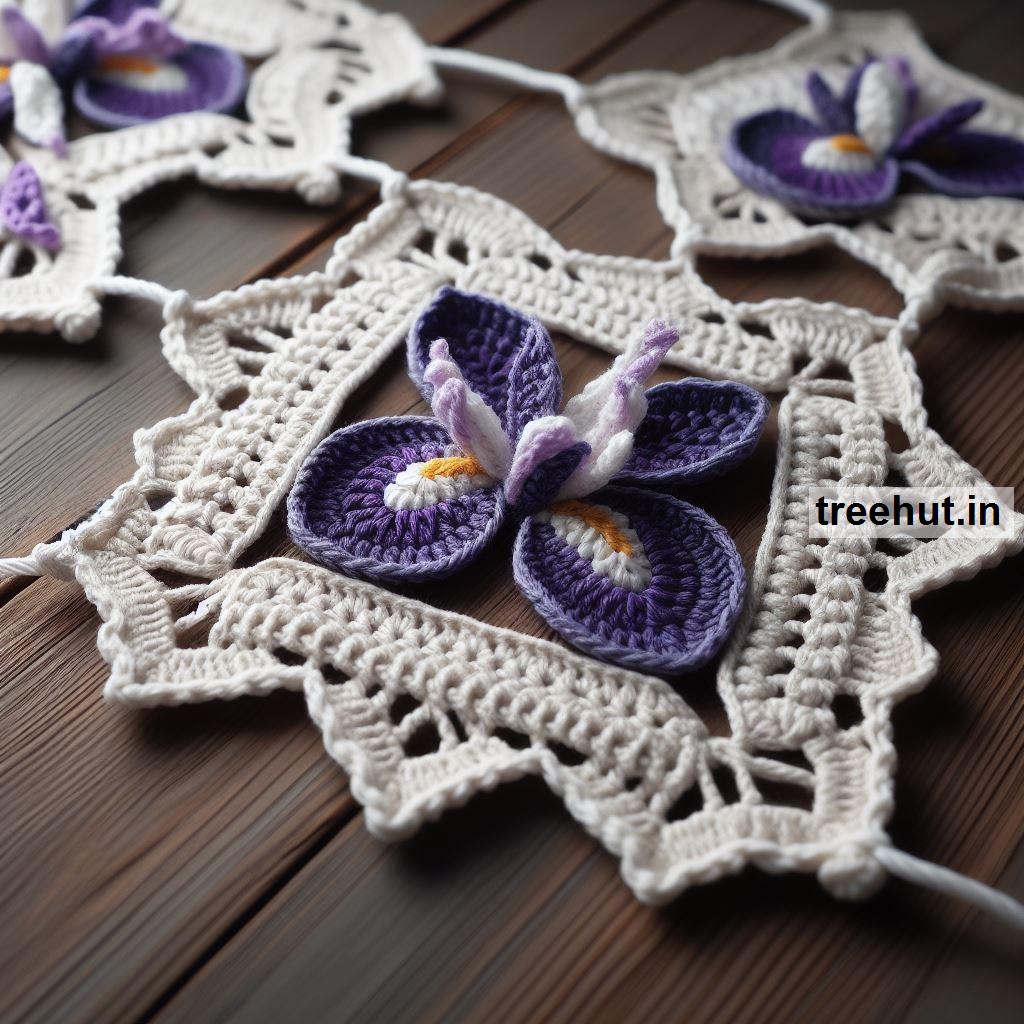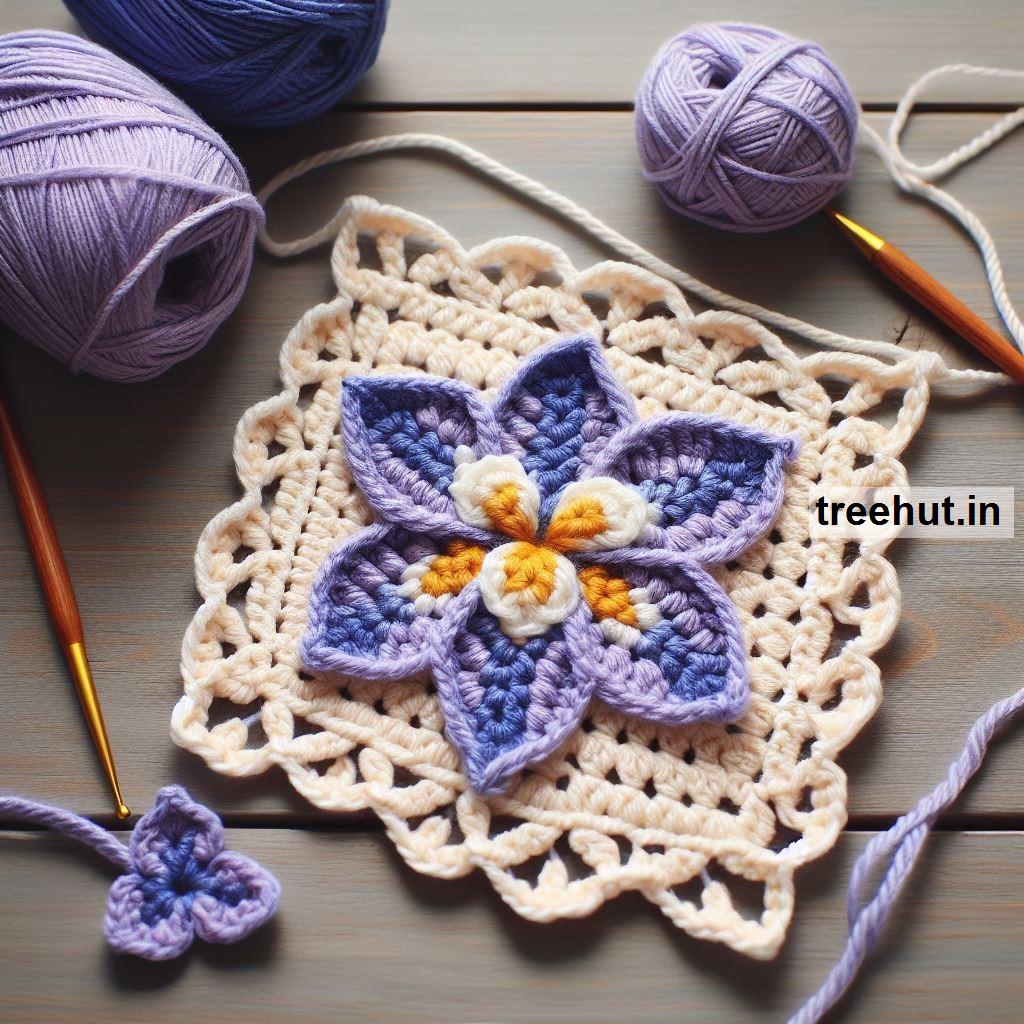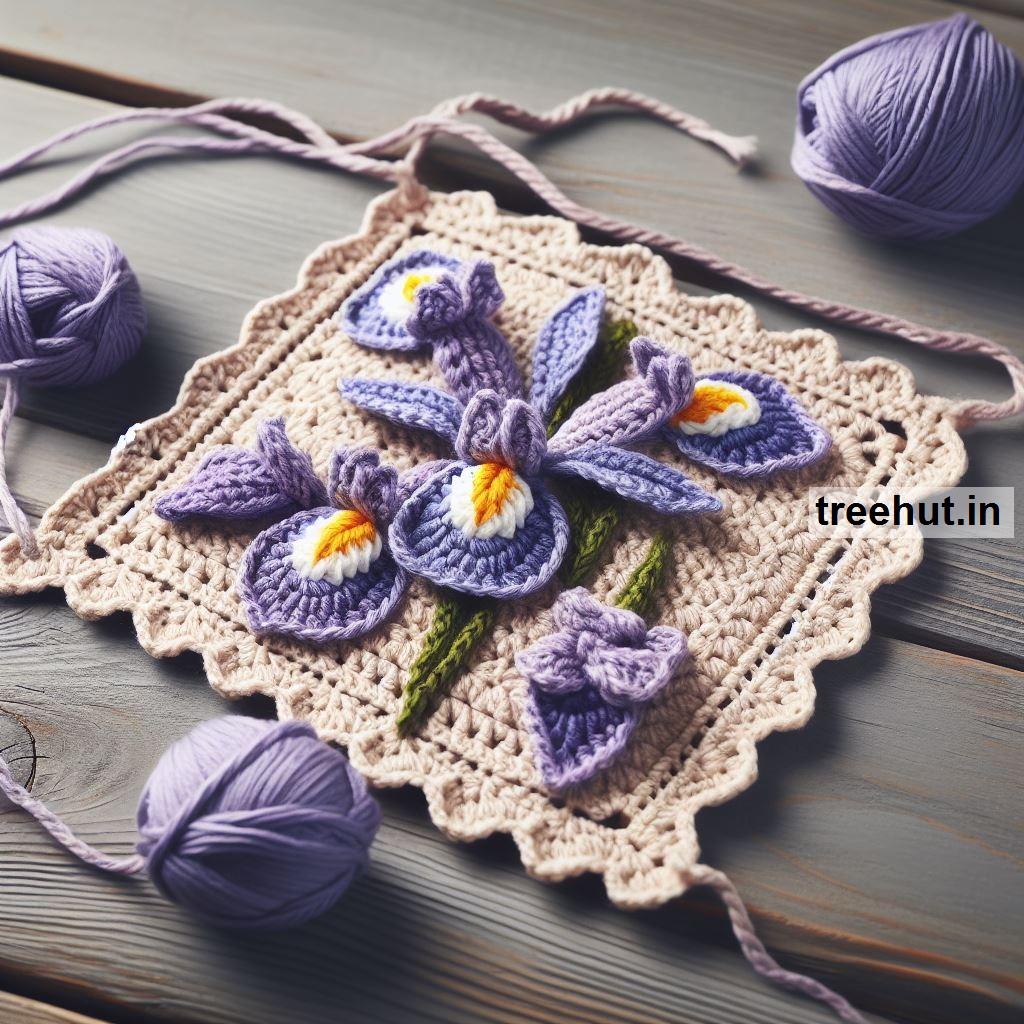




How to create Crochet Iris flowers? Crochet Techniques for making gifts or selling
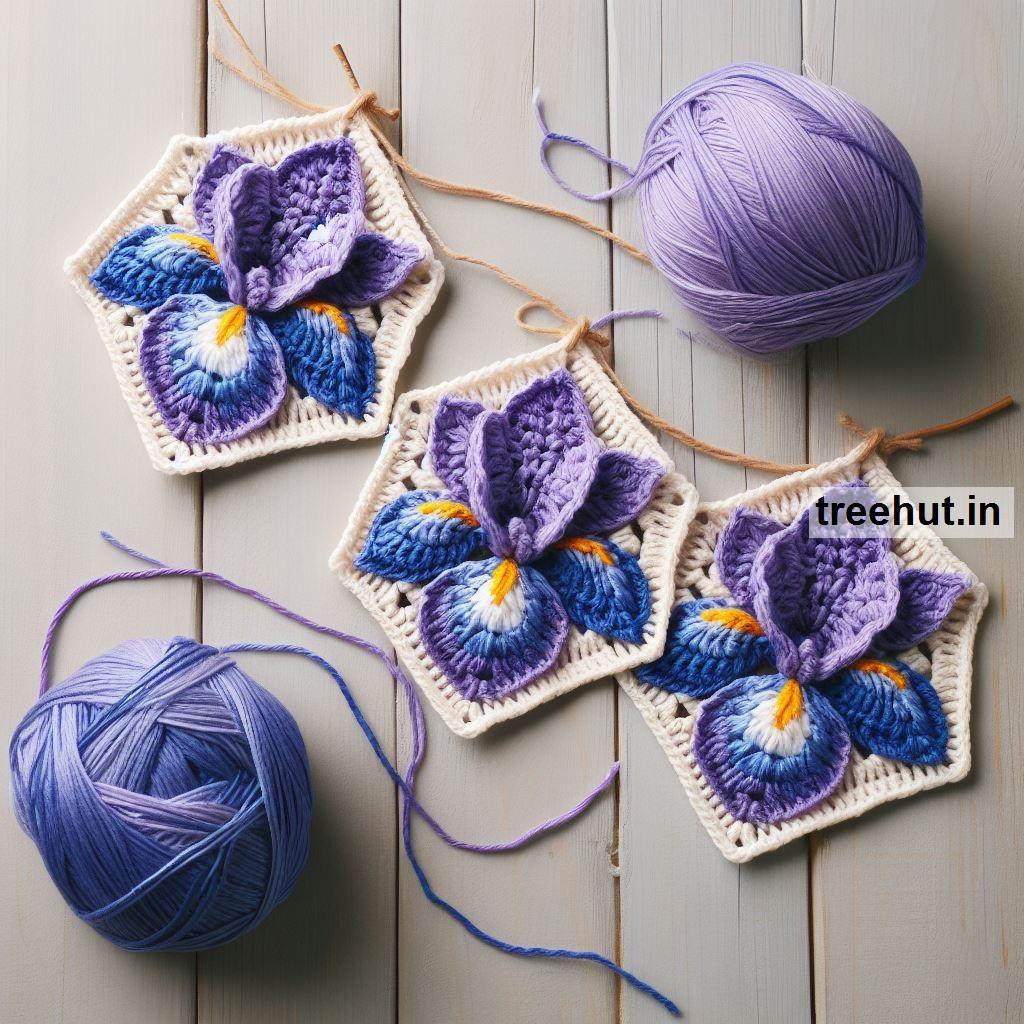
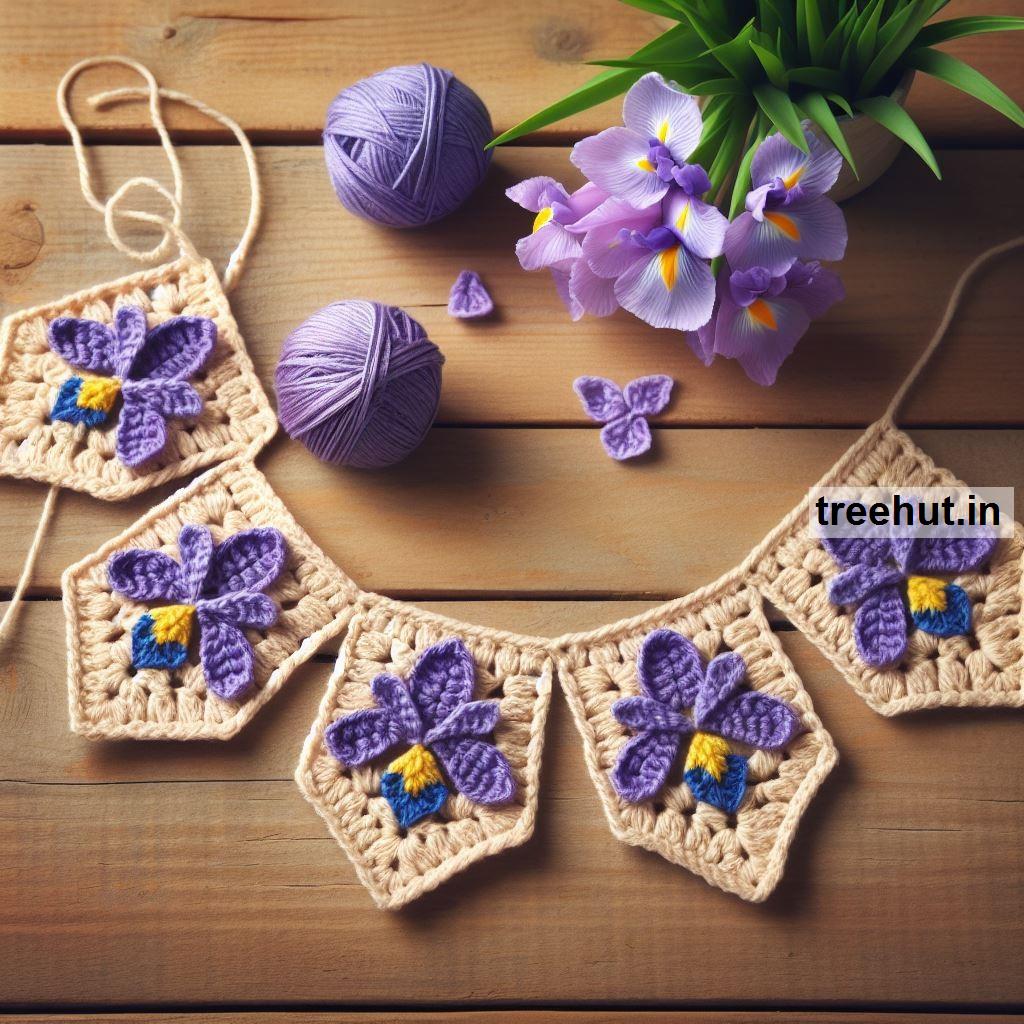
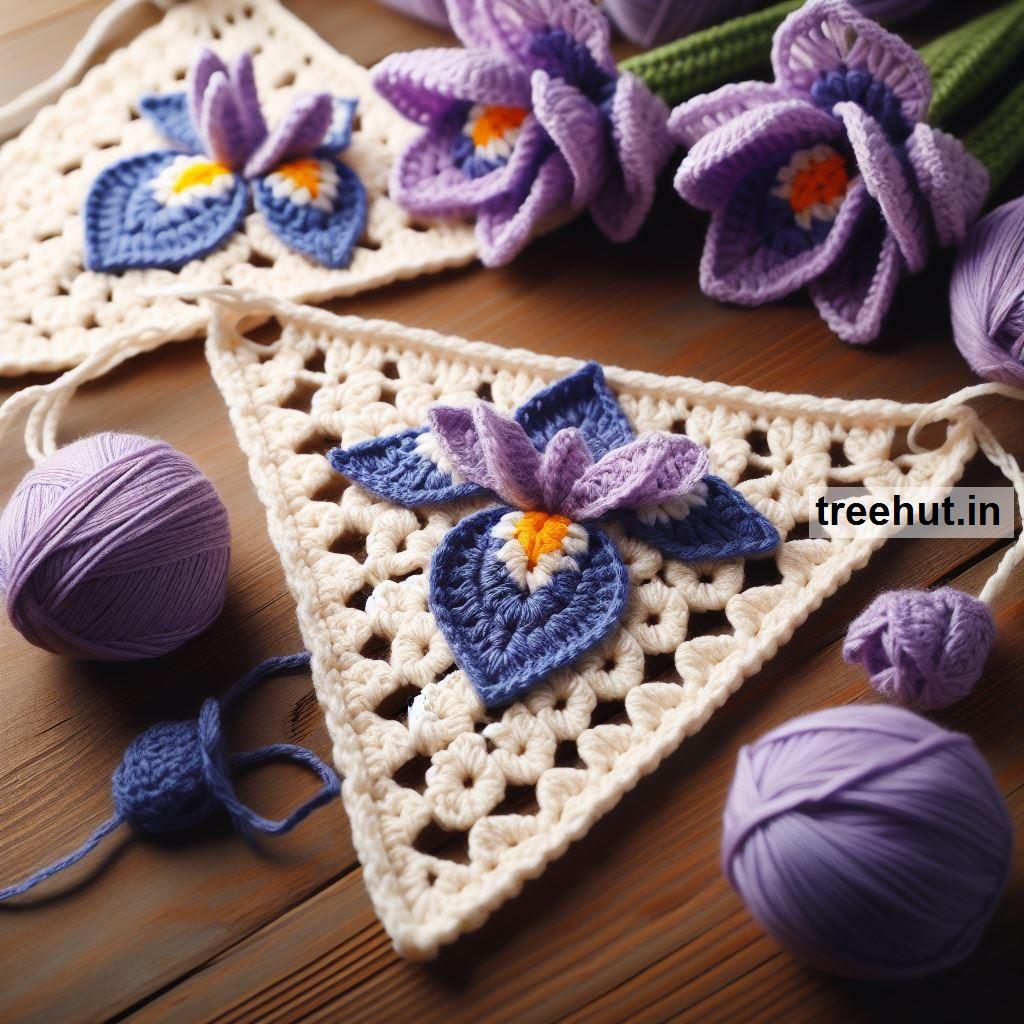
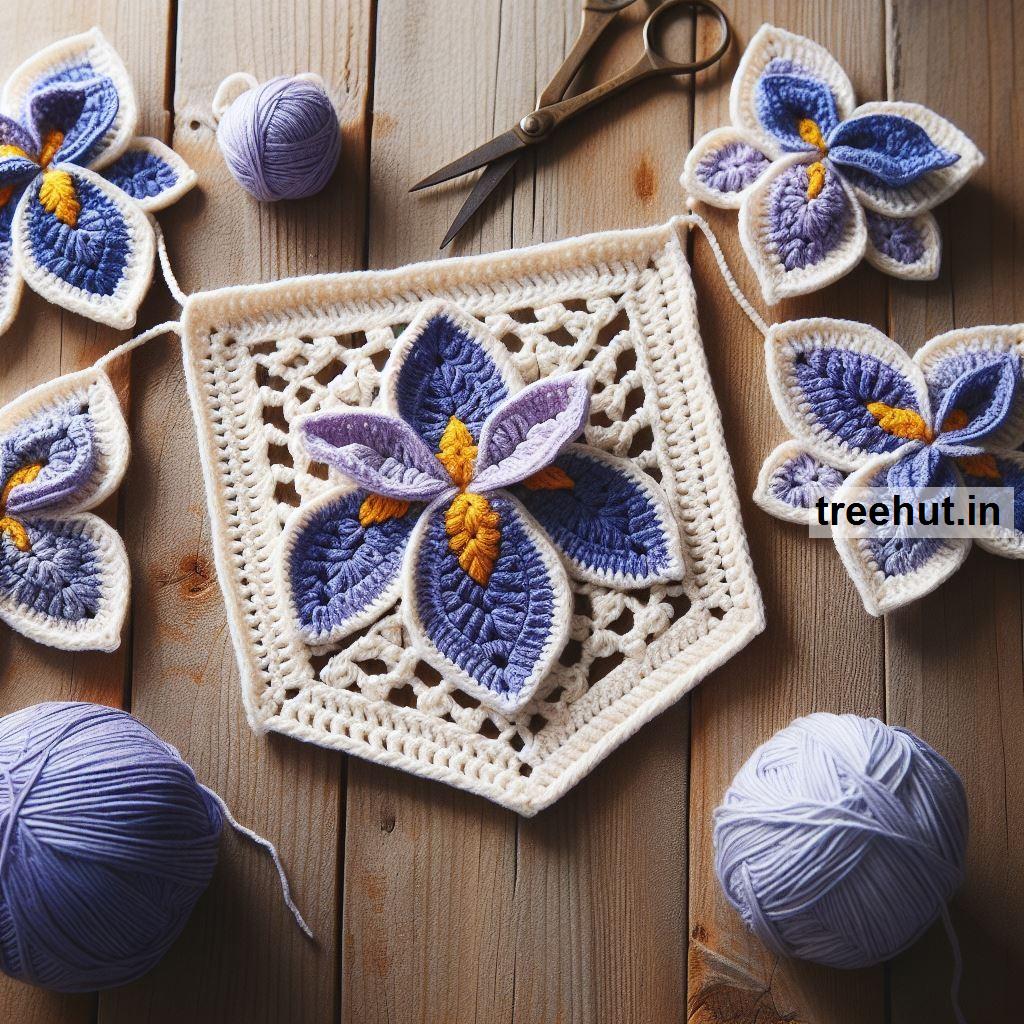
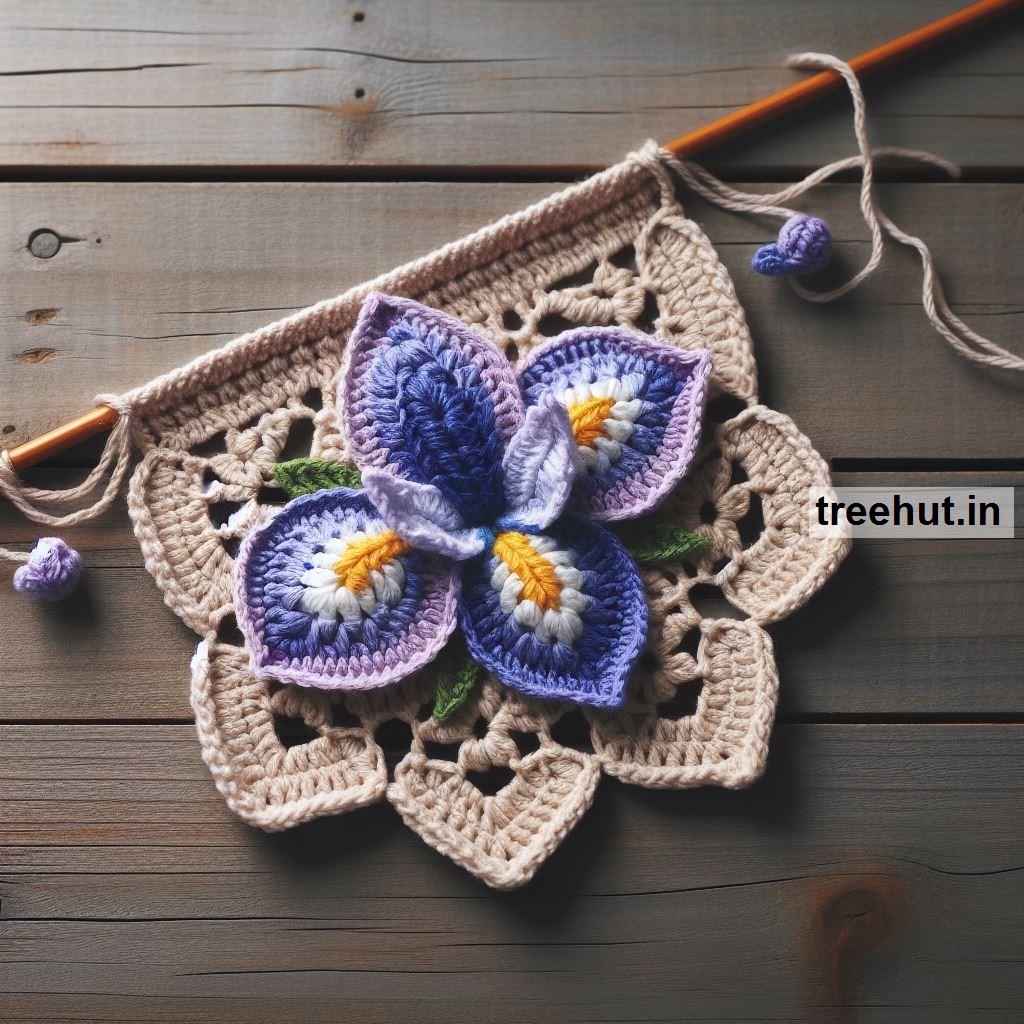
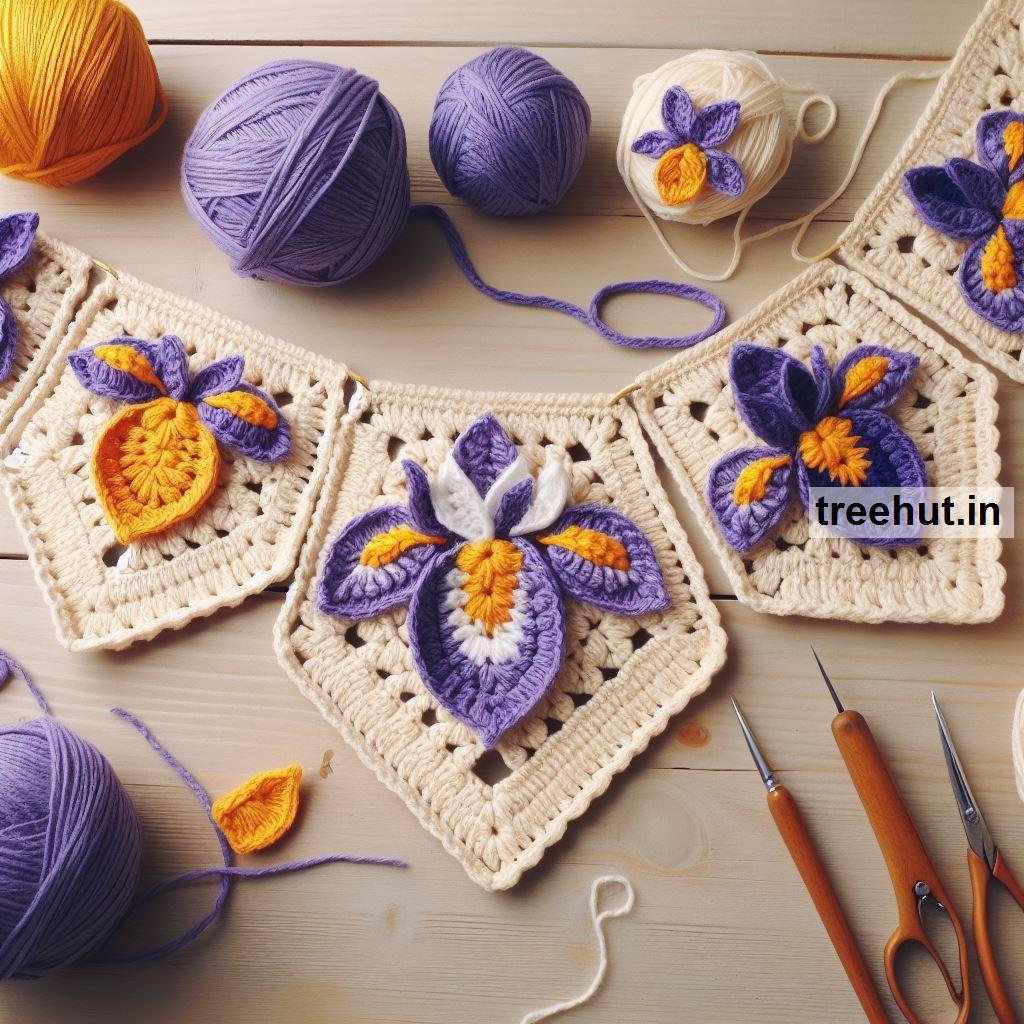
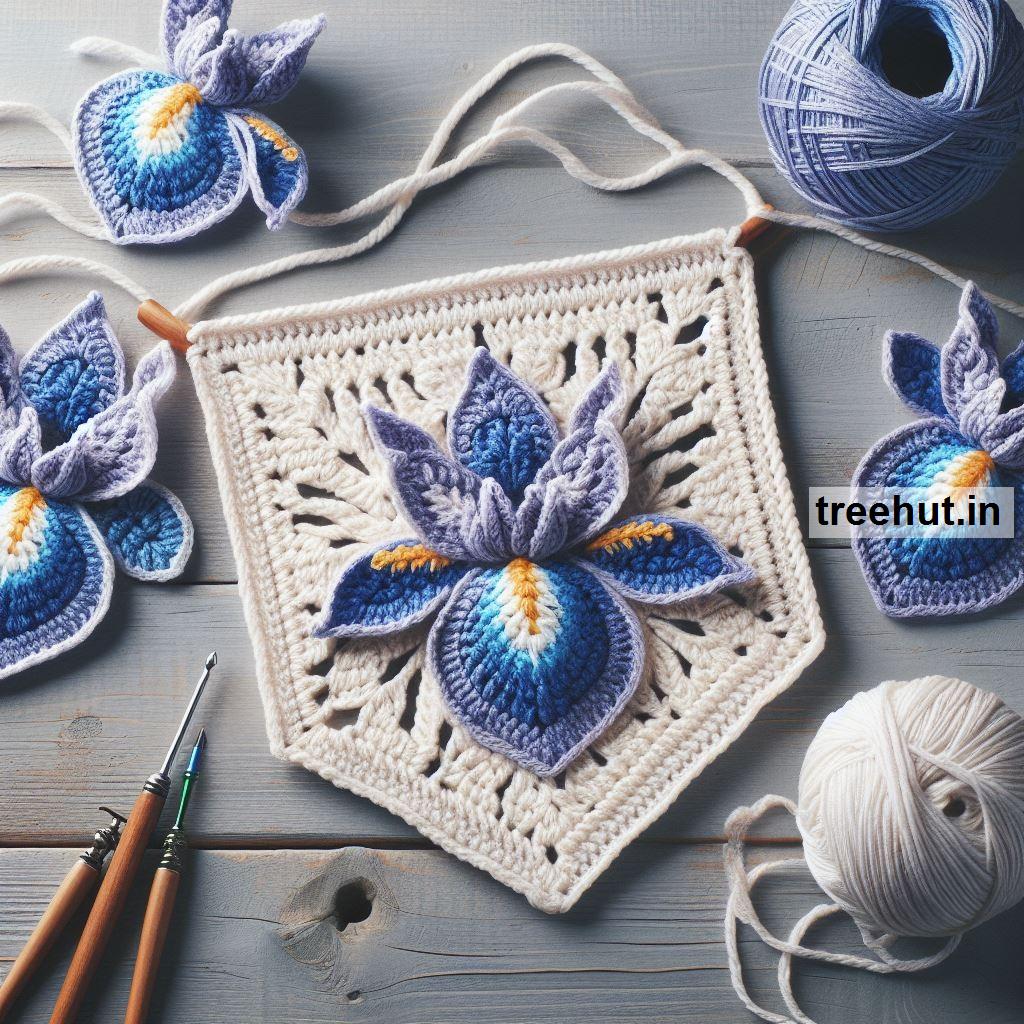
Creating a crochet iris flower is a bit more intricate due to its unique petal shapes and structure. Below are the steps to crochet a beautiful iris flower, along with a few variations to capture its natural beauty:
Basic Crochet Iris
The iris has a combination of large outer petals (called "falls") and smaller inner petals (called "standards"). This pattern will mimic that structure. Add highlights with hand embroidery and fabric paint.
Materials:
- Yarn in two or three colors: typically purple, yellow, and white (or any color of your choice)
- Crochet hook (appropriate size for your yarn)
- Scissors
- Yarn needle
Petals (Falls - Outer Petals):
- Start with a magic ring or chain 4 and join to form a ring.
- Chain 3 (counts as the first double crochet).
- Work 11 more double crochets into the ring (12 double crochets total). Slip stitch to the top of the chain 3 to join.
- Round 2: Chain 3 (counts as the first double crochet), double crochet in the same stitch. Work 2 double crochets in each stitch around (24 double crochets total). Slip stitch to join.
- Shaping the Petal:
- Chain 5, skip one stitch, slip stitch into the next. Repeat this pattern 3 times to create the "falls."
- On each of these loops, work single crochets, half-double crochets, and double crochets to shape the petals into rounded or slightly pointed edges.
Inner Petals (Standards - Small Inner Petals):
- Chain 10.
- Work 3 half-double crochets, 3 double crochets, and 3 treble crochets into the chain to create a petal shape. Fasten off.
- Repeat two more times to make three inner petals.
- Attach the three inner petals by sewing or crocheting them together at the base and attaching them to the center of the flower.
Iris Beards (Optional for Detail):
- Chain 5 using yellow or white yarn.
- Slip stitch back across the chain to form a small ridge that can represent the "beard" of the iris.
- Attach this small detail onto each of the outer falls.
Assembling the Iris:
- Attach the inner petals (standards) to the center of the outer petals (falls).
- If desired, you can crochet a small green base to represent leaves or stems and sew it underneath the petals.
Variations:
- Layered Iris: You can create a more realistic iris by making two sets of outer petals (falls) and layering them for a fuller look.
- 3D Iris: Add wire to the edges of the petals to help shape them for a more lifelike, three-dimensional effect.
- Small Iris: If you want a smaller version, adjust the number of stitches and use thinner yarn or a smaller hook size.
By following these steps, you can create a beautiful crochet iris, ideal for decoration, gifts, or as part of a floral arrangement!