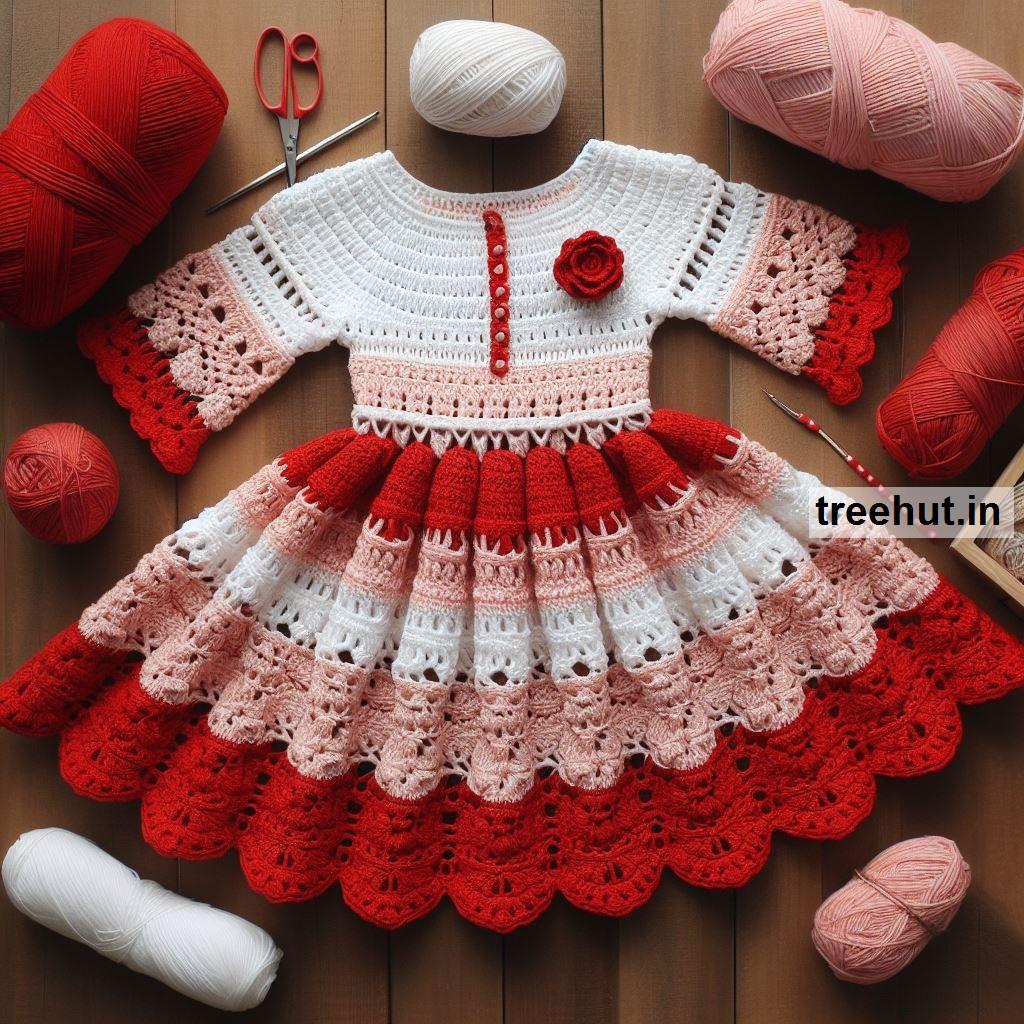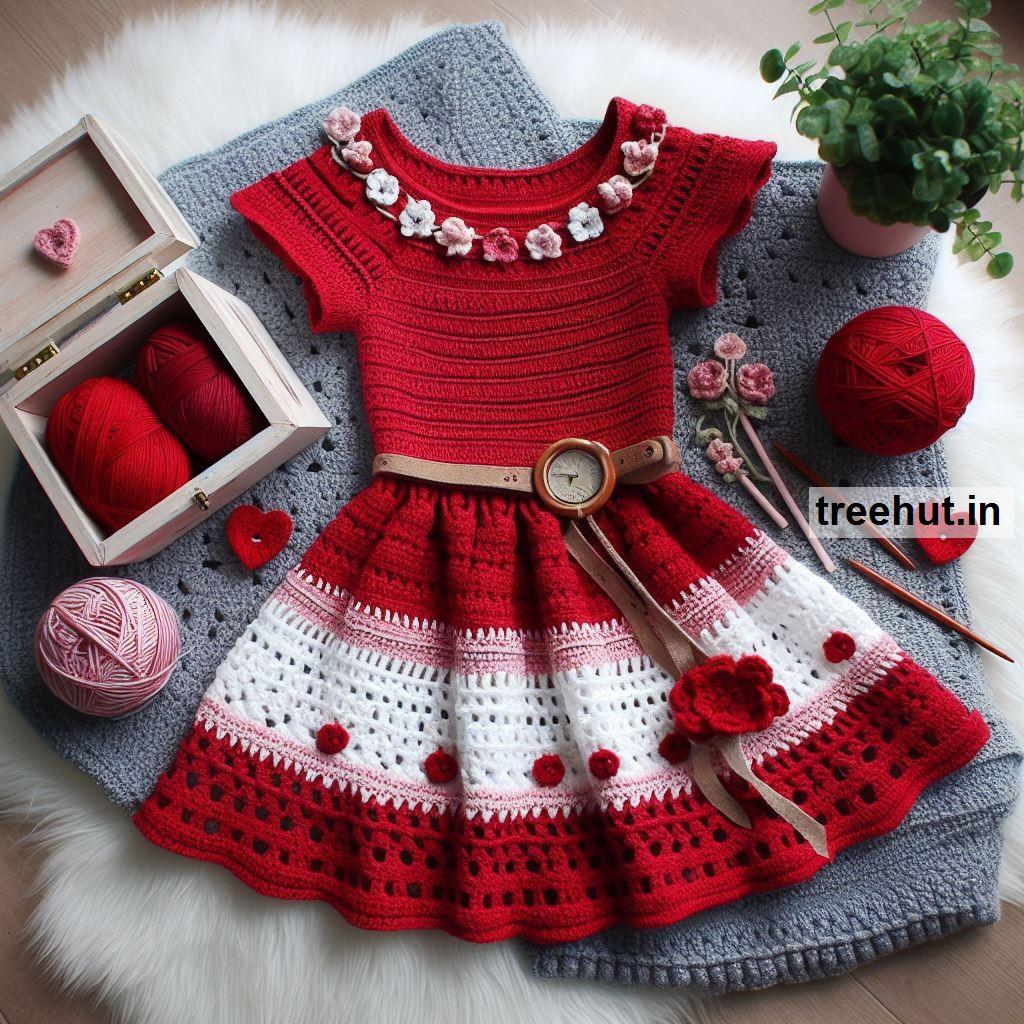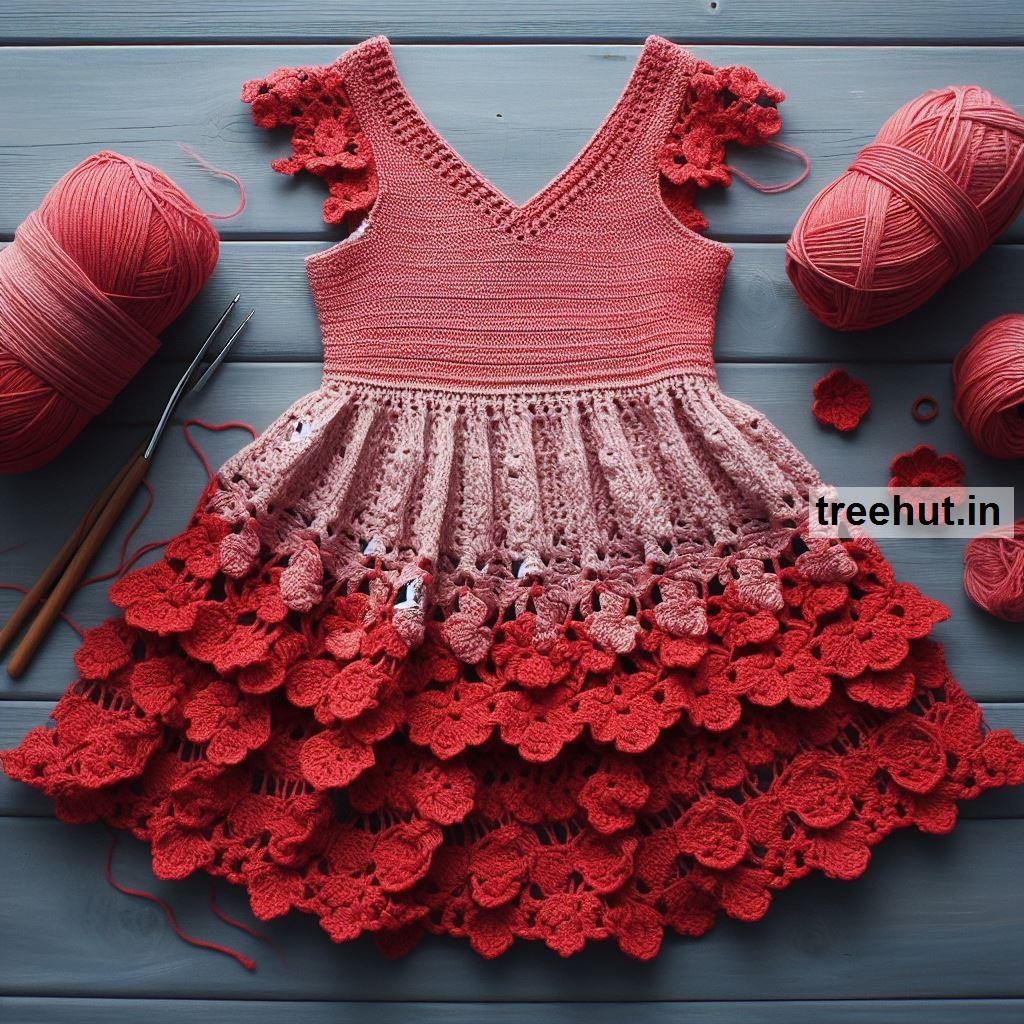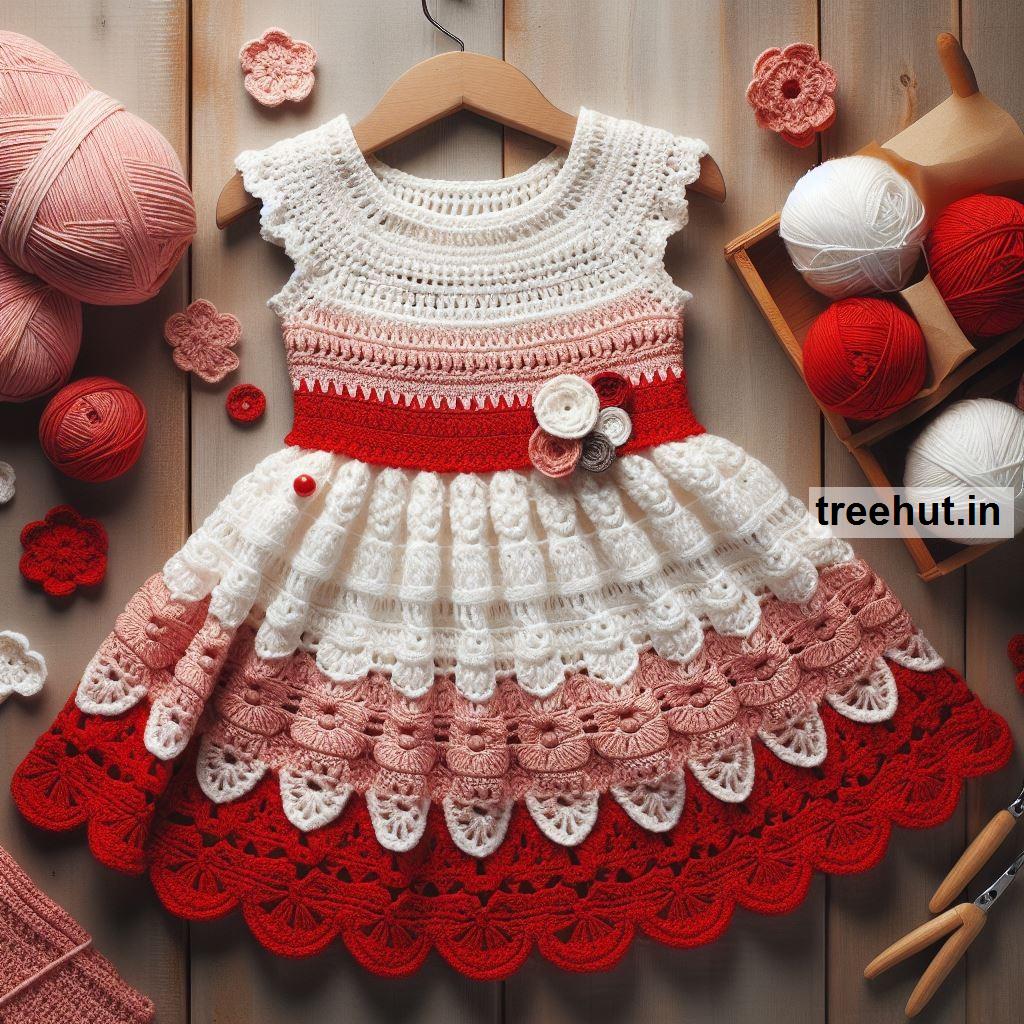




How to design a crochet dress for a teenager? Crochet Fashion Design for Beginners
Designing a crochet dress for a teenager can be an exciting project, but it requires planning, creativity, and attention to detail. Here’s a step-by-step guide to help you design a crochet dress:
1. Choose the Style and Shape
First, decide on the style of the dress. Consider factors such as the length (mini, midi, or maxi), sleeve style (sleeveless, short-sleeve, long-sleeve), and silhouette (A-line, fit-and-flare, bodycon, etc.). For a teenager, you might want to create something trendy, playful, and comfortable.
Look for inspiration in fashion magazines or online for the latest styles that appeal to teens. You can add features like a lacey pattern, boho details, or a more fitted top with a flowy skirt.
2. Select the Yarn and Hook
Choose a soft, lightweight yarn that’s suitable for clothing. Cotton or cotton blends are ideal for dresses because they’re breathable, durable, and have a nice drape. If you're designing a dress for summer, cotton yarn will help keep the dress cool and comfortable. For cooler weather, consider a light wool or bamboo blend.
Use a crochet hook size that works well with the chosen yarn. For a delicate, lacy look, use a smaller hook. For a more casual, solid fabric, a larger hook may work better.
3. Take Measurements
Accurate measurements are crucial for making a well-fitted crochet dress. Measure the teen’s bust, waist, hips, and length from shoulder to hem. You’ll also want to measure around the arms and shoulders for the correct sleeve fit if you're adding sleeves.
Create a measurement chart so you can adjust the pattern as you crochet, ensuring a perfect fit.
4. Decide on the Stitch Pattern
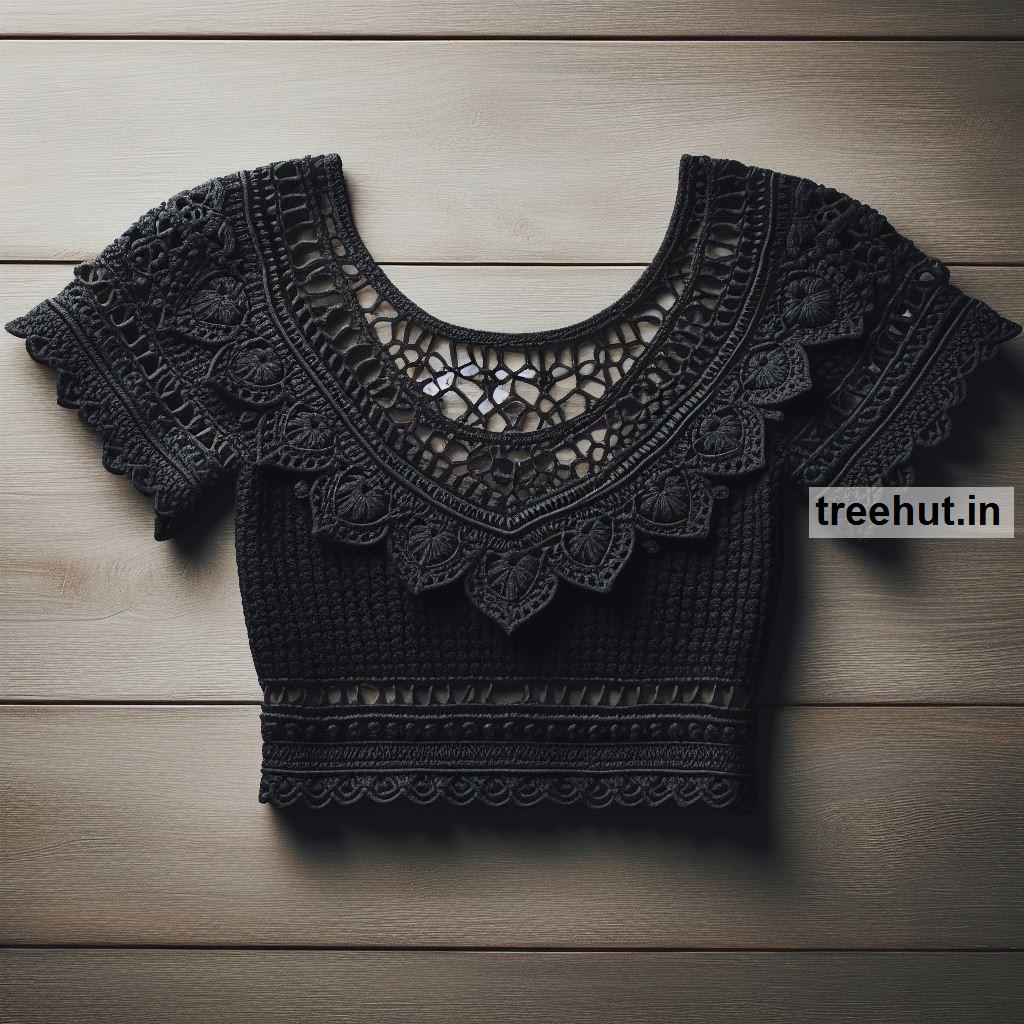
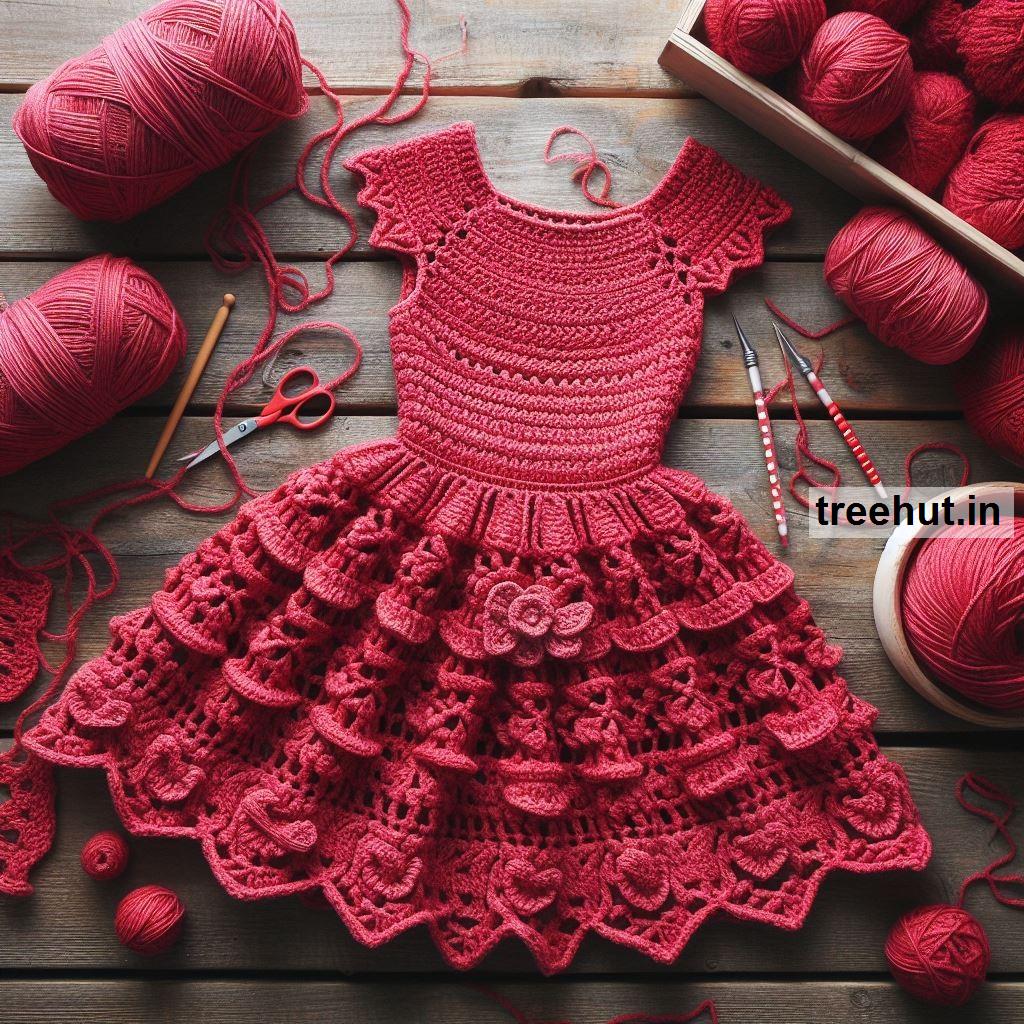
Choose a stitch pattern that suits the style of the dress. For a casual, solid look, basic stitches like single crochet or double crochet will work. For a lacy or elegant look, consider using openwork stitches like shells, fans, or mesh.
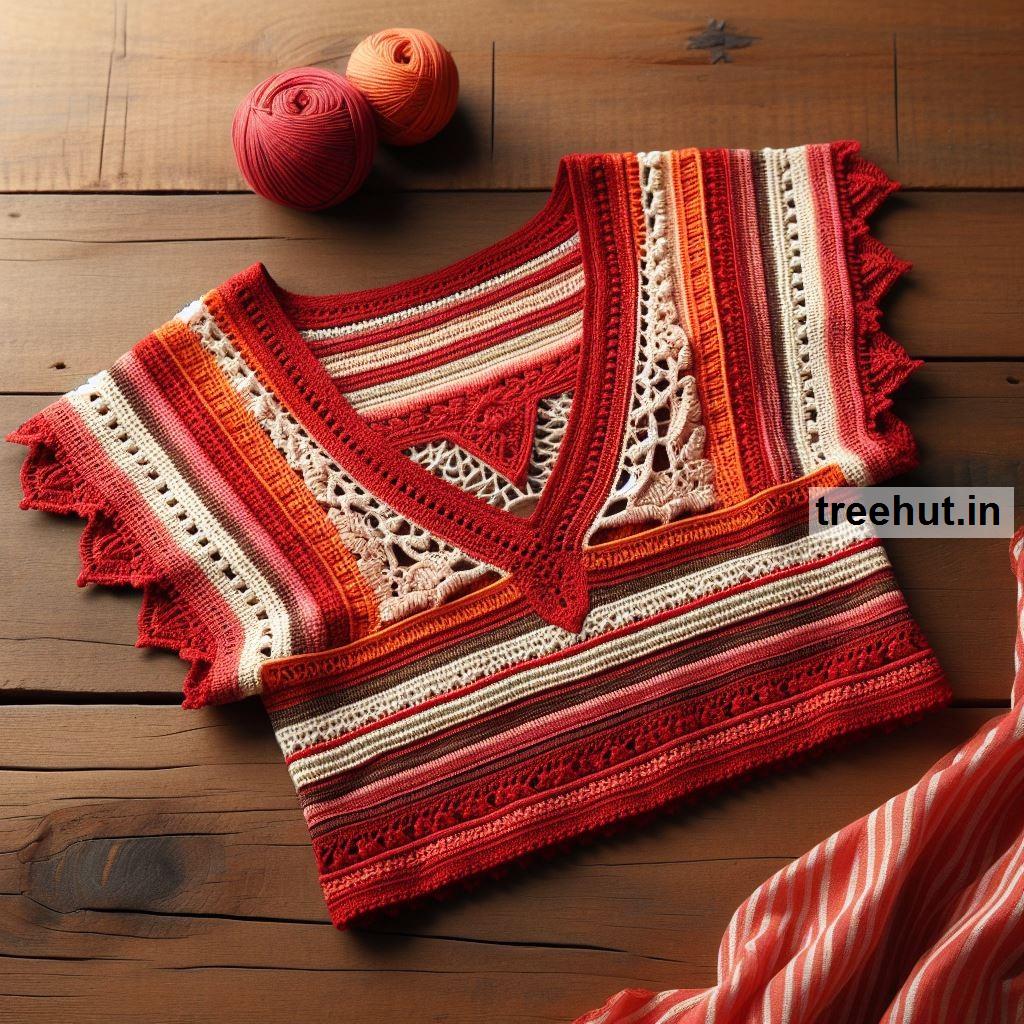
You can mix and match stitch patterns to create different textures. For example, the bodice could be a solid stitch pattern, while the skirt could have a more open or lacy stitch to add movement.
5. Create a Sketch or Diagram
Draw a sketch or diagram of the dress to visualize how the pattern will come together. This will help you see how the different parts of the dress fit together, such as the bodice, sleeves, and skirt.
You can also create a stitch chart or diagram for more complex sections like the lace patterns. This will help you stay organized as you work.
6. Start with the Bodice
Begin your project by crocheting the bodice. Most crochet dresses are worked from the top down, making it easier to adjust the fit as you go. You can create the bodice in the round or in rows, depending on the style.
For a fitted bodice, consider adding shaping with increases and decreases around the bust and waist. If you want a more relaxed or A-line fit, keep the stitch count consistent and adjust the shaping at the skirt.
7. Work on the Skirt
Once the bodice is complete, start crocheting the skirt. Depending on the desired look, you can increase the stitches gradually for a flared skirt or keep the stitch count even for a more fitted look.
You can experiment with stitch patterns to create flow and texture. For example, you might switch from a solid stitch to a shell or mesh pattern to make the skirt more breathable and light.
8. Add Sleeves (if applicable)
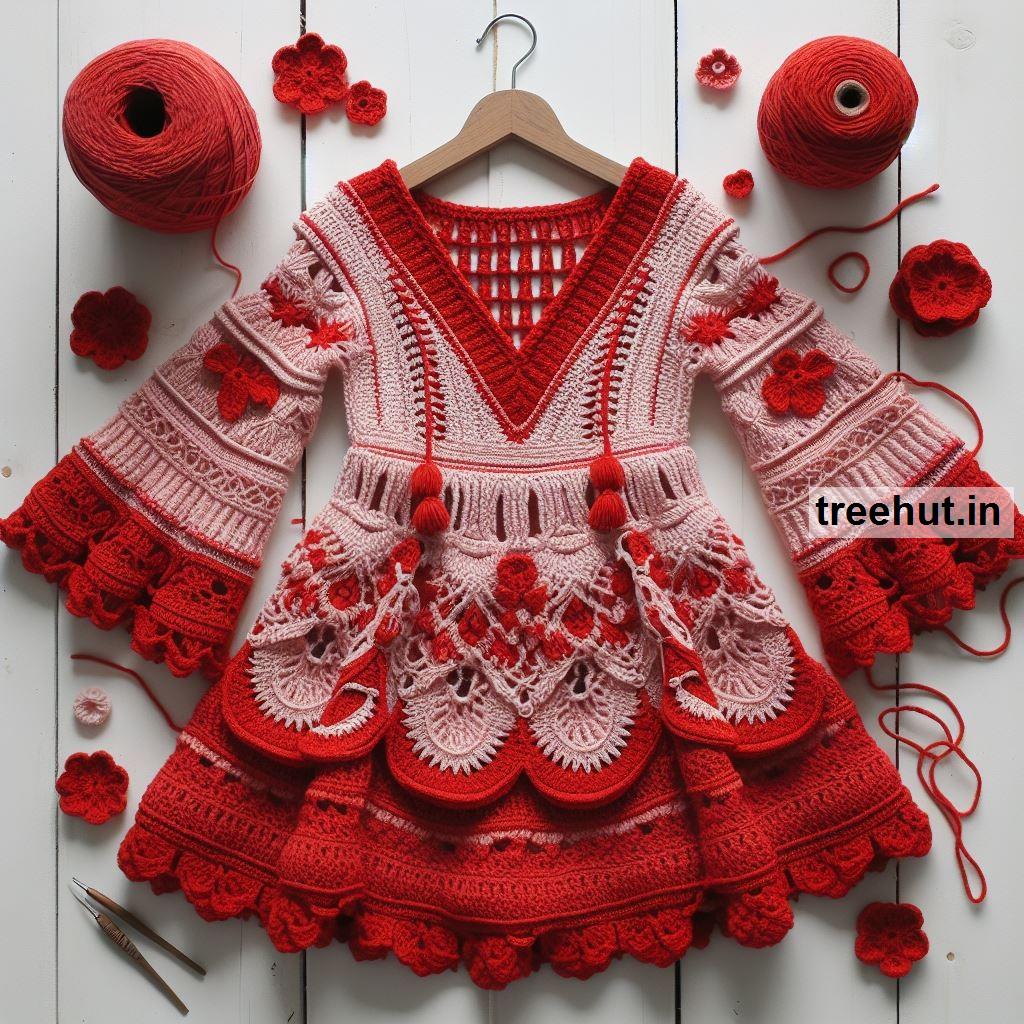
If the dress has sleeves, crochet them separately and attach them to the bodice. Sleeves can be simple cap sleeves, long and fitted, or wide and flared, depending on the style. You can also make them lacy or solid, depending on the overall design.
If you’re working the dress in the round, you can seamlessly crochet the sleeves directly into the armholes by picking up stitches around the edges.
9. Add Finishing Touches
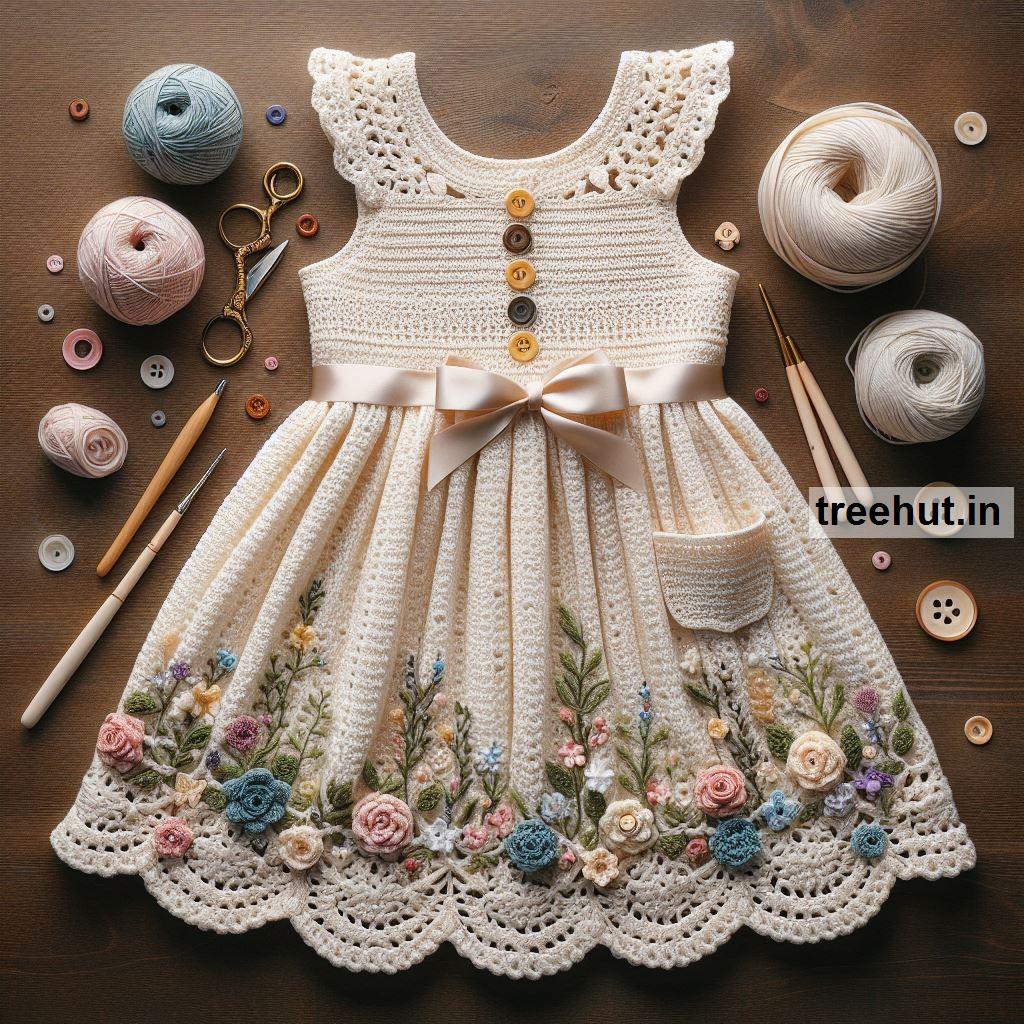
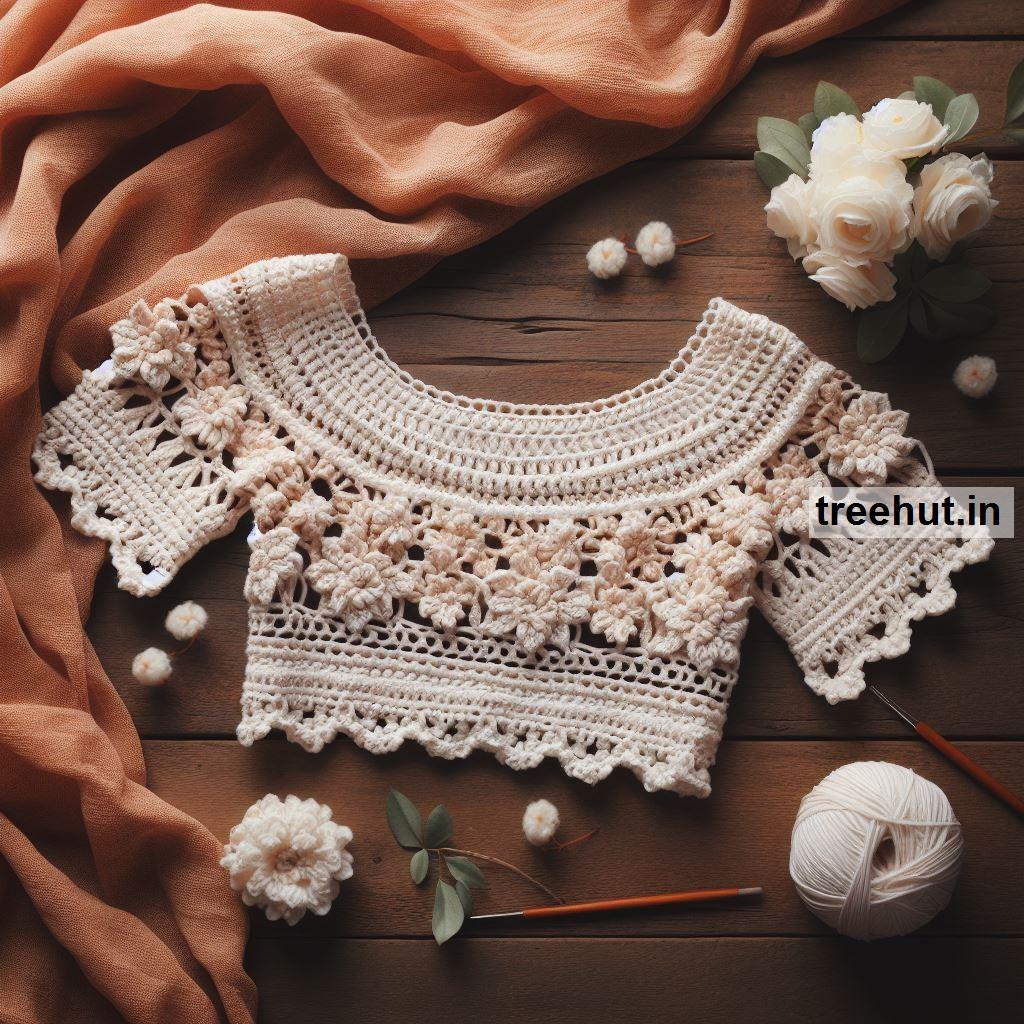
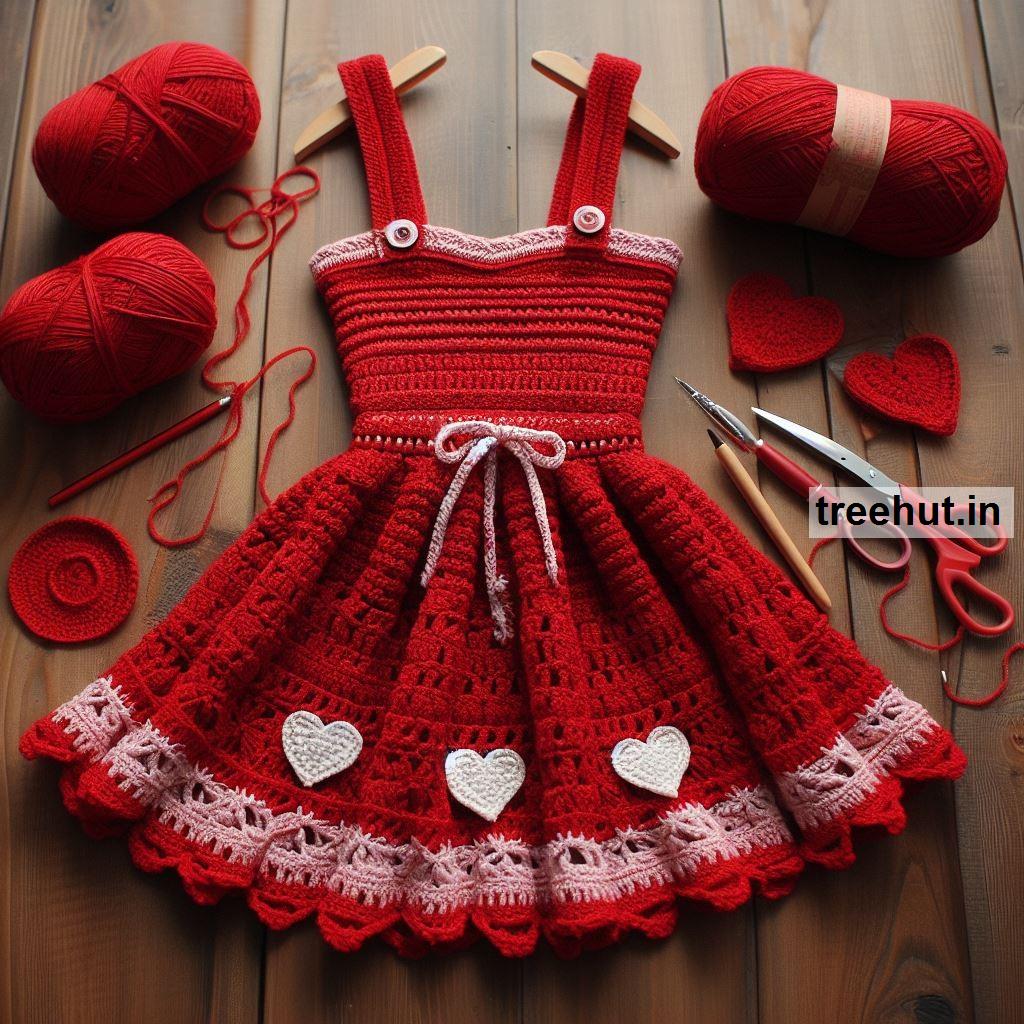
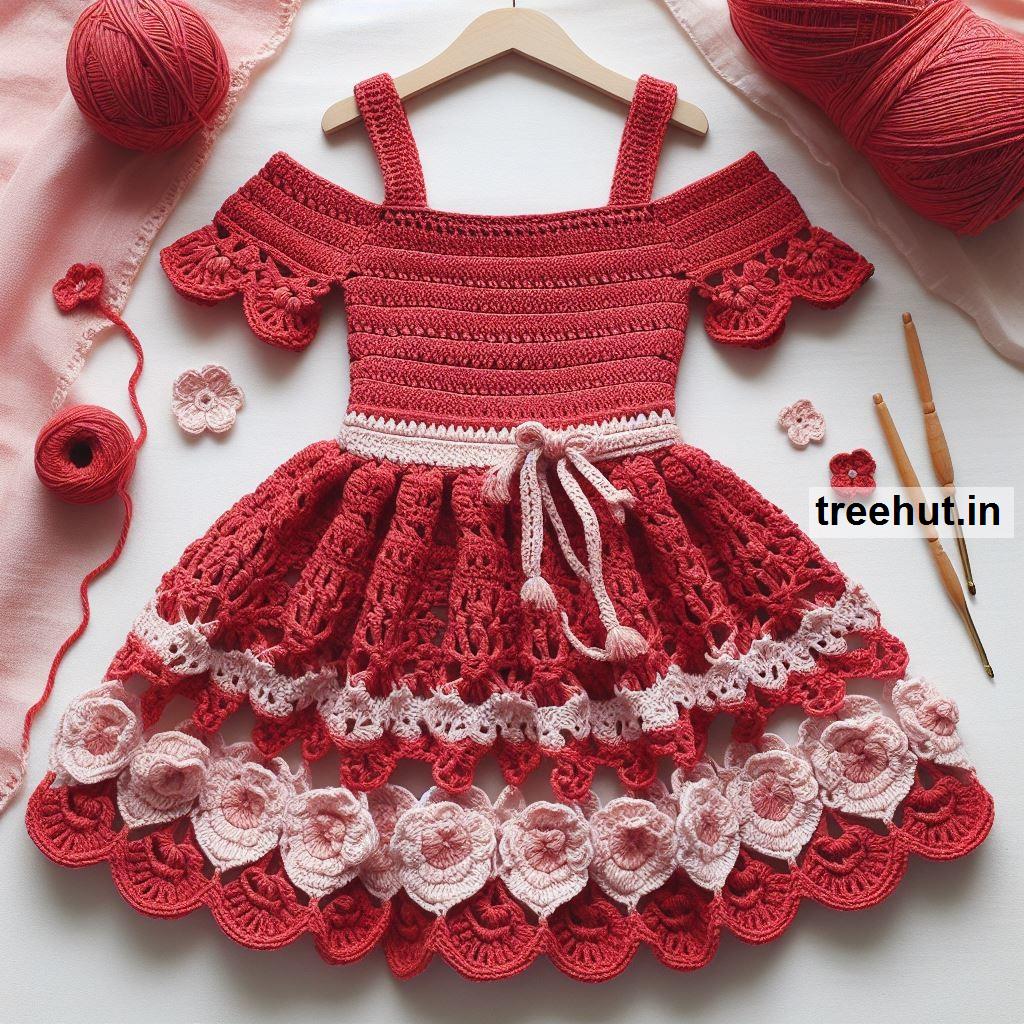
Consider adding decorative elements to make the dress unique. You could crochet edging, add buttons, or include embellishments like crochet flowers or beads.
If you want to add a belt or tie, crochet a simple chain belt to define the waist. This can add structure to a loose-fitting dress and make it more flattering.
10. Block the Dress
After completing the dress, block it to smooth out the stitches and shape the fabric. Wet blocking or steam blocking will help relax the fibers and set the dress into its final shape. Blocking is especially important for lace or openwork patterns to make the design more visible.
11. Try It On and Make Adjustments
Before finishing the dress, have the teenager try it on to ensure the fit is correct. If adjustments are needed (such as length or sleeve fit), make those changes before weaving in the ends. If the dress is too tight or too loose in certain areas, you can adjust by adding or removing stitches or rows.
By following these steps, you’ll be able to create a stylish, custom-fit crochet dress that’s perfect for a teenager.