Raspberry Crochet coasters to make and gift or sell. How to crochet designer fruit coasters
Raspberry Crochet Coasters are a vibrant and textured addition to any home or a great option for gifts or selling. The bumpy and detailed look of raspberries can be beautifully captured in crochet using a mix of stitches and techniques. Below, you'll find creative ideas for raspberry crochet coasters and detailed instructions on how to make them.
Ideas for Raspberry Crochet Coasters:
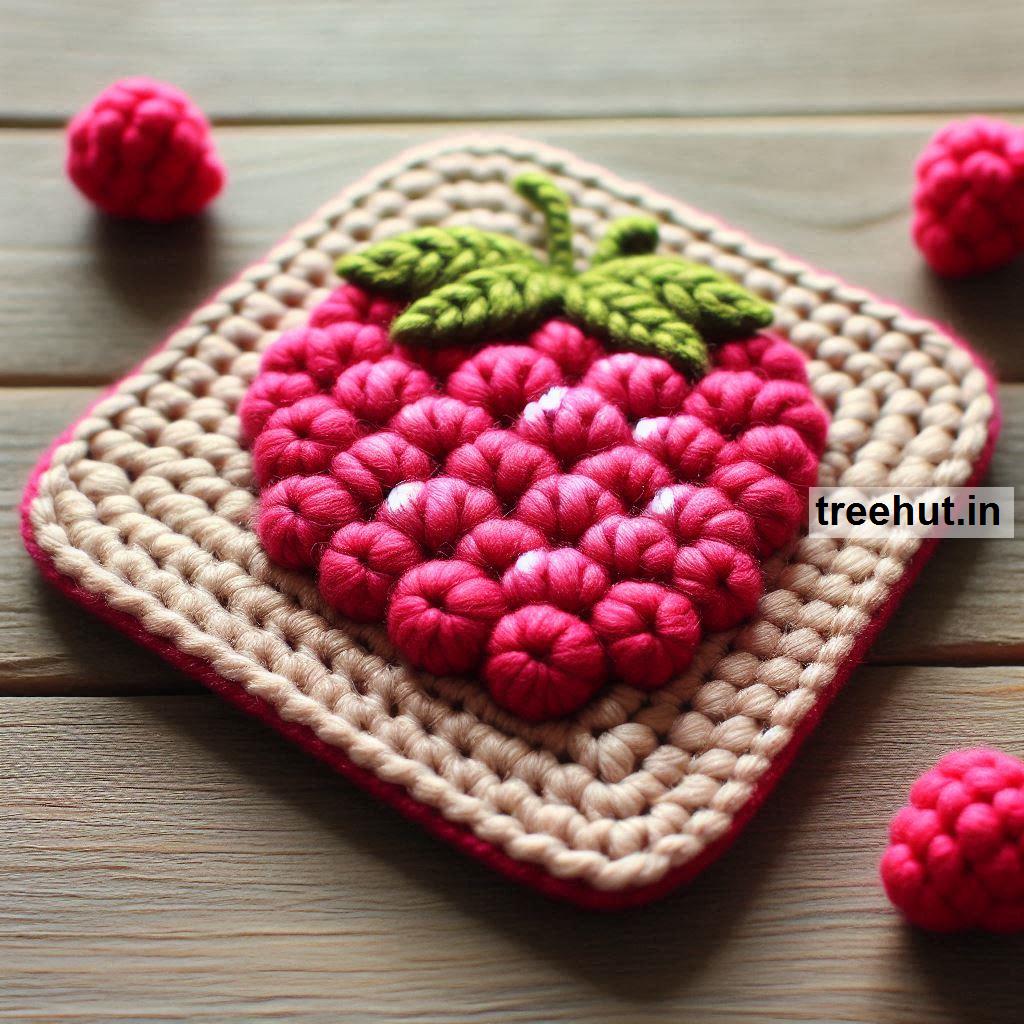
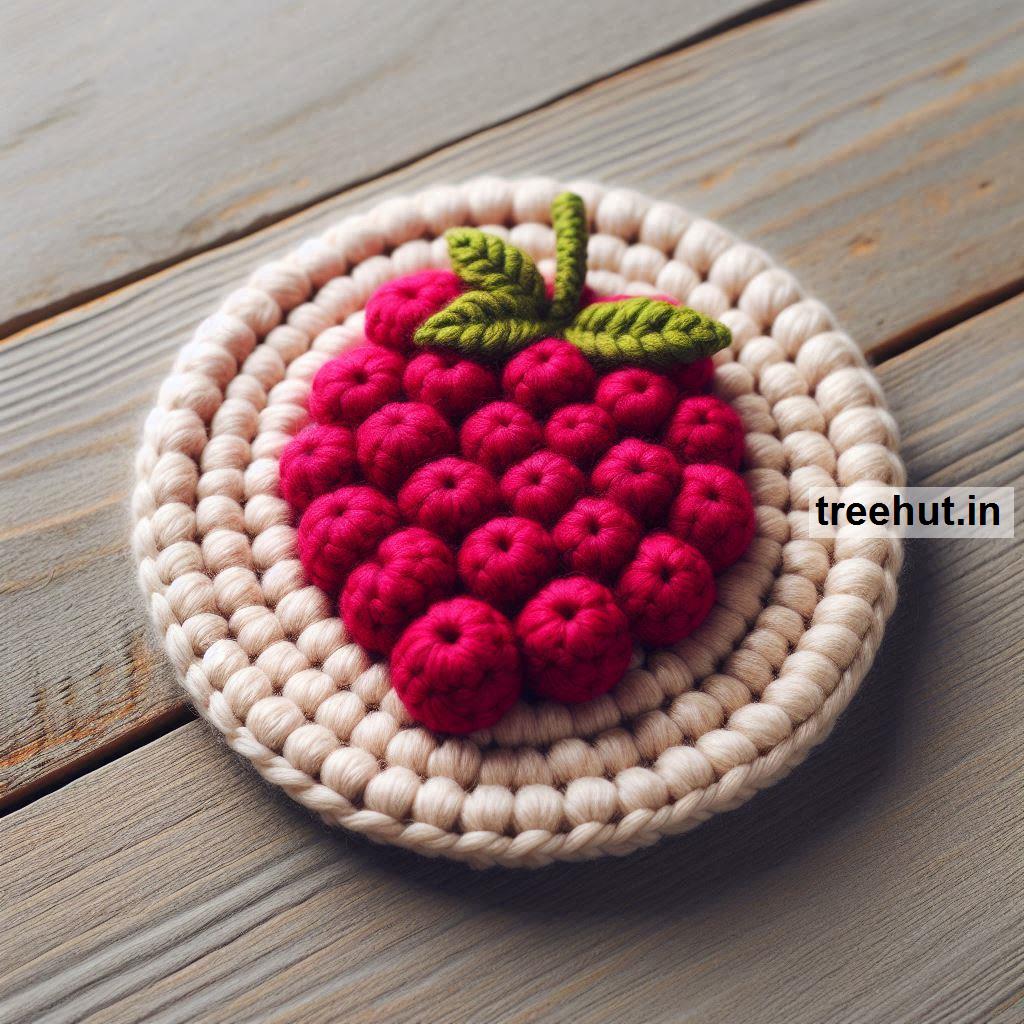
Textured Raspberry Coaster:
- A round coaster with a bobble or puff stitch to mimic the texture of real raspberries.
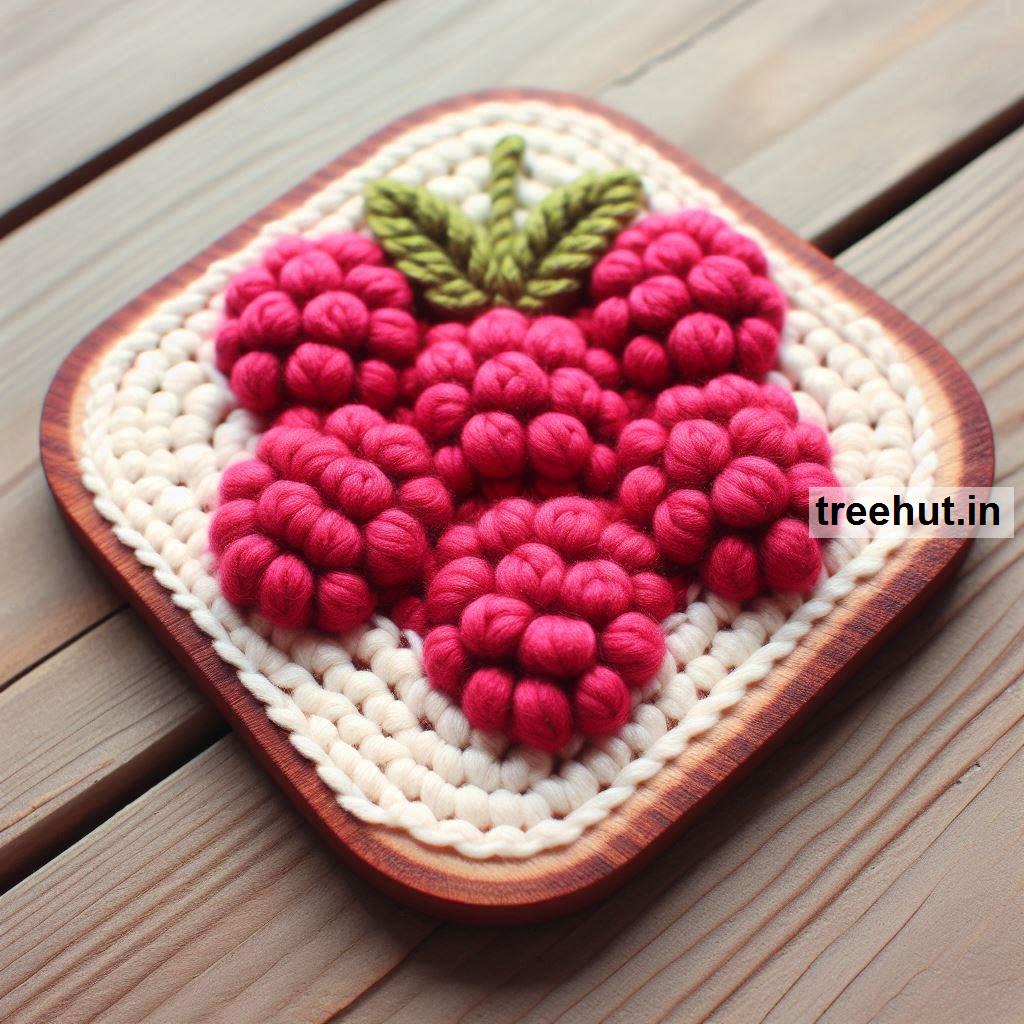
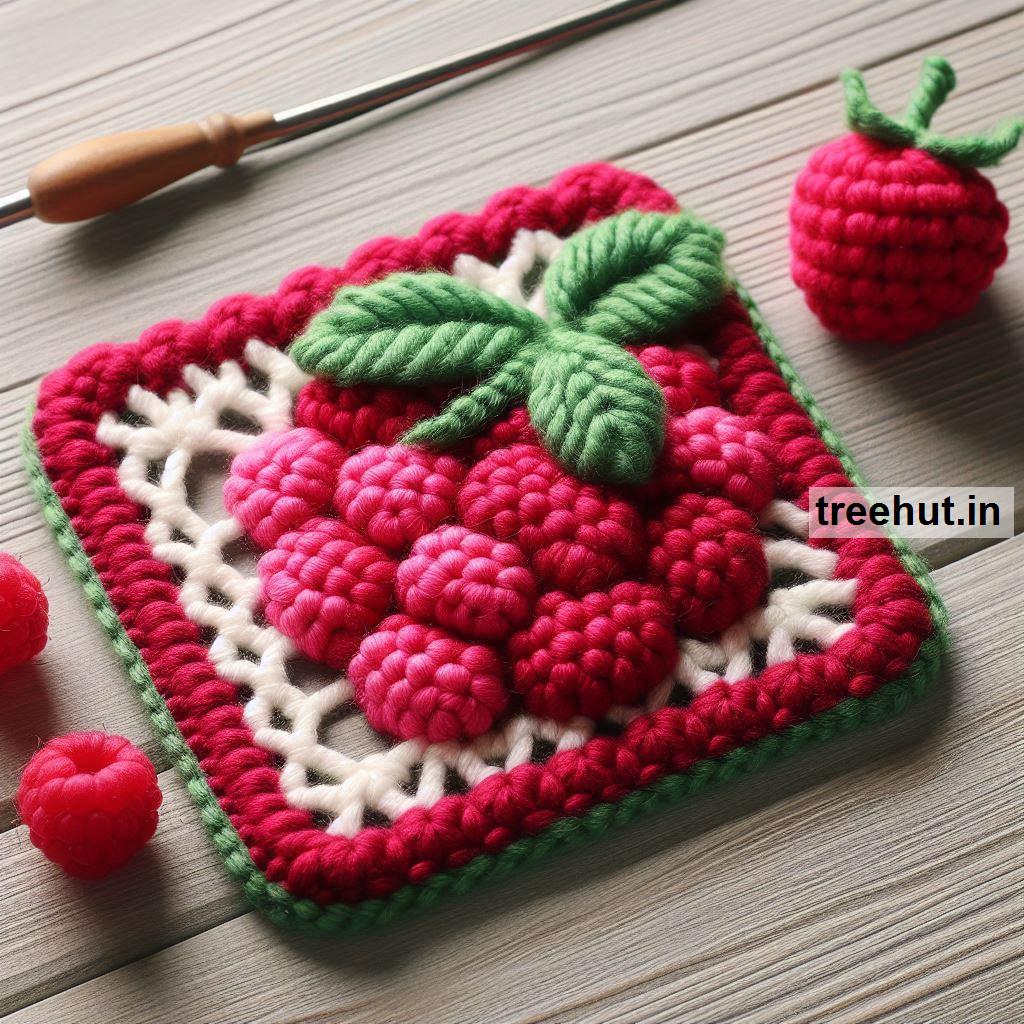
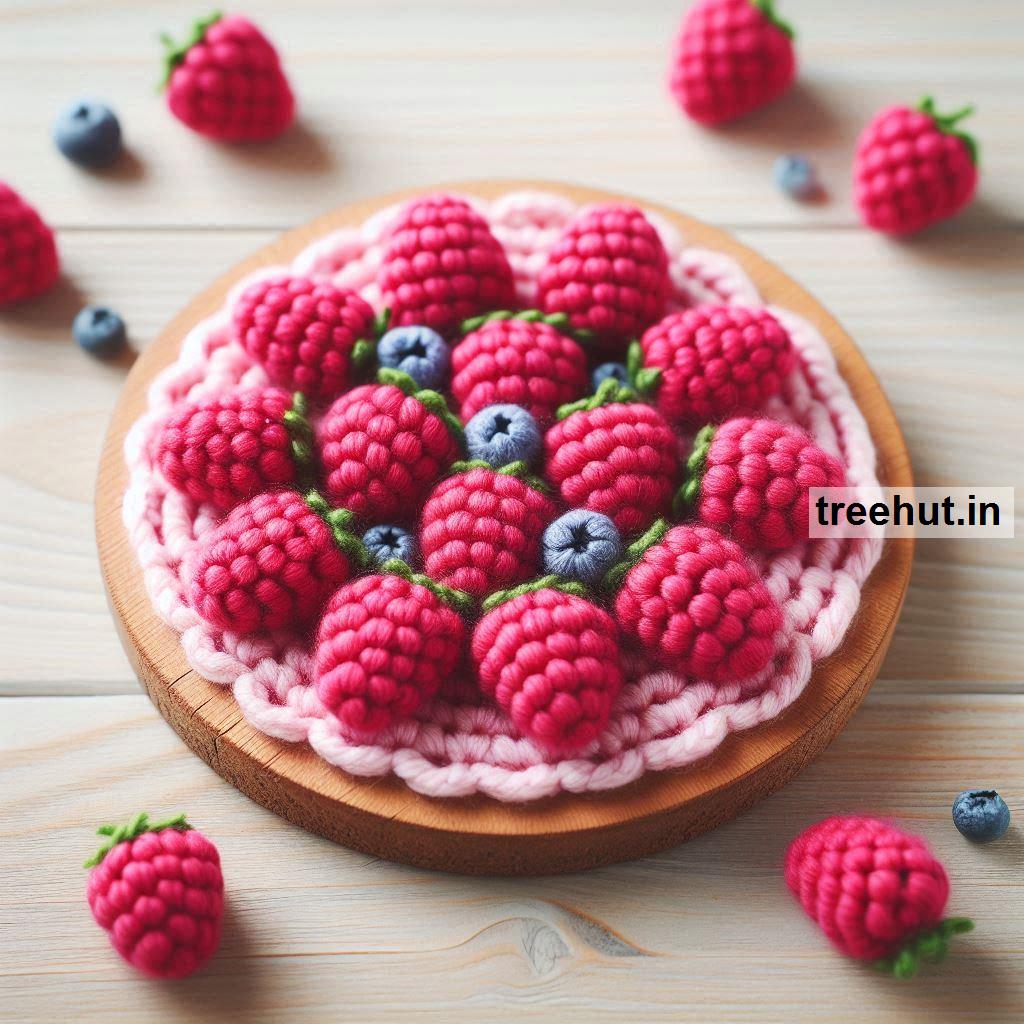
Raspberry Cluster Coaster:
- A coaster that resembles a small cluster of raspberries connected together.
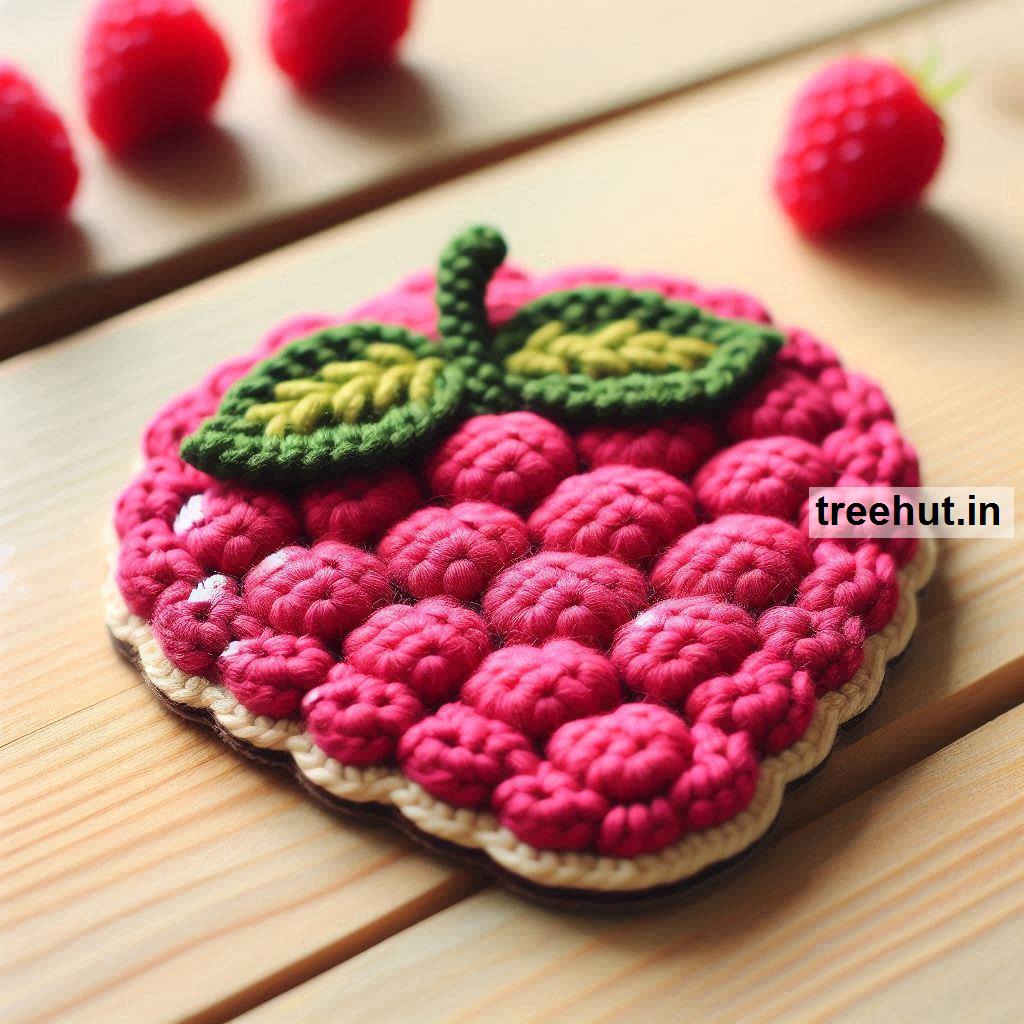
Raspberry and Leaf Coaster:
- A raspberry-shaped coaster with a green leaf and stem at one end for a more decorative look.
Cartoon Raspberry Coaster:
- A simple, flat coaster with bright red yarn and a few embroidered details to create a stylized raspberry.
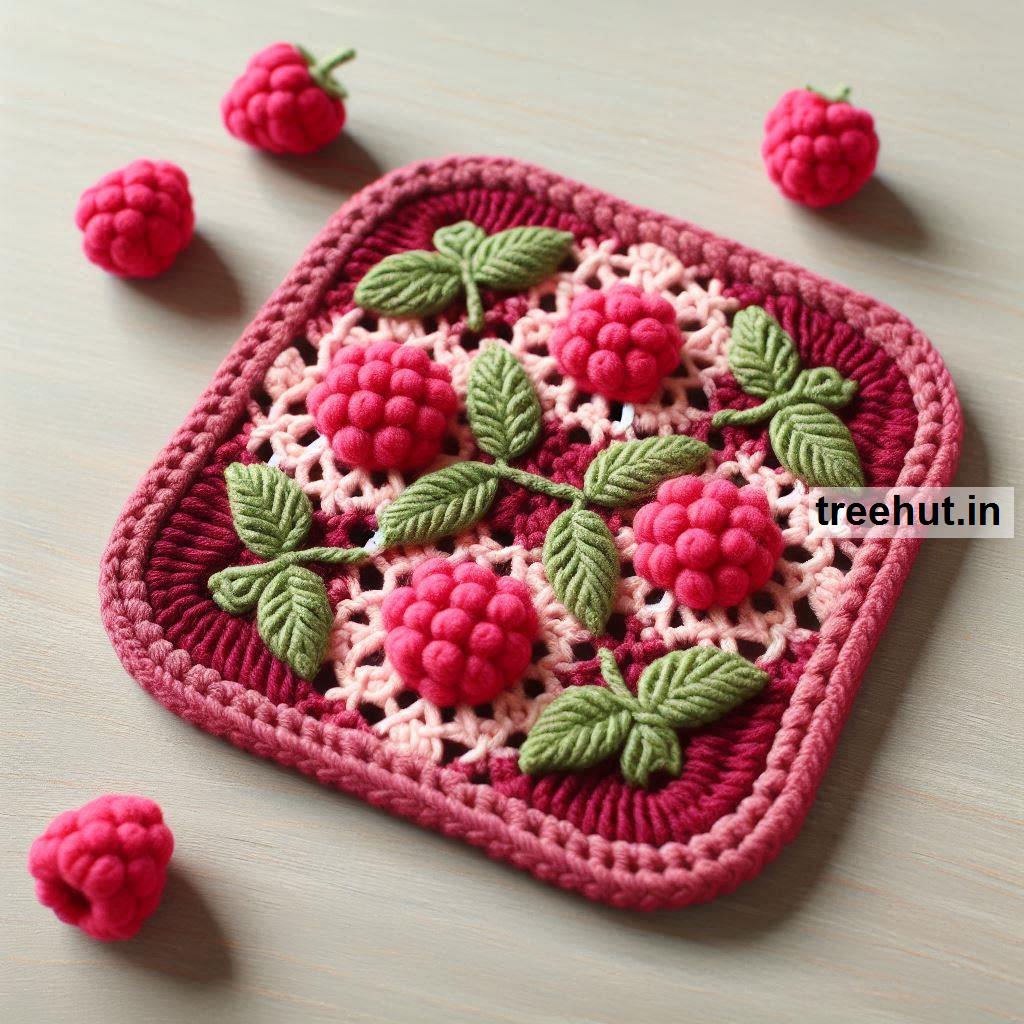
Raspberry Fruit Set:
- Combine a raspberry coaster with other fruit-themed coasters (e.g., strawberry, blueberry) to create a colorful set.
How to Make Raspberry Crochet Coasters (Various Versions):
1. Textured Raspberry Coaster (Using Bobble or Puff Stitches)
Materials:
- Red or deep pink yarn for the raspberry body.
- Green yarn for the optional leaf.
- Crochet hook (4mm or size appropriate for your yarn).
- Tapestry needle and scissors.
Instructions:
Step 1: Start with the Center
- Create a magic ring using red yarn.
- Round 1: Ch 2 (counts as first hdc), then work 11 hdc into the ring. Sl st to join. (12 hdc)
- Round 2: Ch 2, 1 hdc in the next stitch, 2 hdc in the next stitch; repeat from * to * around. (18 hdc)
- Round 3: Ch 2, 1 hdc in the next 2 stitches, 2 hdc in the next stitch; repeat from * to * around. (24 hdc)
Step 2: Create the Texture
- Round 4: Switch to a bobble stitch or puff stitch for texture. To make a bobble: [Yarn over, insert hook into stitch, pull up a loop] 4 times, then pull through all loops on hook. Work bobble stitches evenly around.
- If the coaster is too small, add another round of bobble stitches, or mix bobble and hdc stitches for variety.
Step 3: Finish the Outer Edge
- Round 5: Switch back to hdc stitches and work 1 hdc in each stitch around to create a smooth edge.
- Sl st to join and fasten off.
Step 4: Add an Optional Leaf
- Using green yarn, ch 5 and work back down the chain with sc stitches to create a small leaf.
- Attach the leaf to the edge of the coaster.
Finishing:
- Weave in the ends and block the coaster flat if needed.
2. Raspberry Cluster Coaster
Materials:
- Red or pink yarn.
- Green yarn for the stem and leaves.
- Crochet hook (3.5mm - 4mm).
- Tapestry needle and scissors.
Instructions:
Step 1: Create the Raspberry Clusters
- Work 4-5 small circles in red yarn. For each:
- Start with a magic ring.
- Round 1: Ch 1 and work 6 sc into the ring. Sl st to join and fasten off.
- Weave in the ends.
Step 2: Attach the Clusters
- Arrange the circles into a small cluster pattern.
- Join them together by sewing or crocheting them into a single piece.
Step 3: Add a Stem and Leaf
- Using green yarn, create a small chain (about 10 chains long).
- Attach the chain to the top of the raspberry cluster as the stem.
- Create 1-2 small leaves (using the method in the previous pattern) and attach them to the stem.
Finishing:
- Fasten off all ends, weave in any loose threads, and block the coaster flat if necessary.
3. Raspberry and Leaf Coaster
Materials:
- Red yarn for the raspberry.
- Green yarn for the leaf.
- Crochet hook (4mm).
- Tapestry needle and scissors.
Instructions:
Step 1: Create the Raspberry Base
- Ch 4, sl st to form a ring.
- Round 1: Ch 2, work 12 dc into the ring. Sl st to join.
- Round 2: Ch 2, 1 dc in the next stitch, 2 dc in the next stitch; repeat around. Sl st to join.
- Round 3: Switch to sc stitches to tighten the edge. Work 1 sc in each stitch around and sl st to join. Fasten off.
Step 2: Make the Leaf
- With green yarn, ch 8.
- Work sc back down the chain to form a leaf.
- Attach the leaf to the side of the raspberry base.
Step 3: Add Texture (Optional)
- To create a more realistic raspberry, you can add small bobble stitches or knots randomly across the surface.
Finishing:
- Weave in all ends, and block if necessary.
4. Cartoon Raspberry Coaster
Materials:
- Bright red yarn for the raspberry.
- Green yarn for the leaves and stem.
- Crochet hook (4mm).
- Tapestry needle and scissors.
Instructions:
Step 1: Create the Flat Raspberry
- Ch 4, sl st to form a ring.
- Round 1: Ch 2, work 12 dc into the ring. Sl st to join.
- Round 2: Ch 2, 1 dc in the next stitch, 2 dc in the next stitch; repeat around. Sl st to join.
- Fasten off the red yarn.
Step 2: Add the Stem and Leaves
- Using green yarn, create a small chain for the stem (about 5-6 chains).
- Attach it to the top of the raspberry shape.
- For the leaves, ch 5, work back down with sc stitches, and attach them near the stem.
Step 3: Embroider Details
- Use a darker yarn or a tapestry needle to add small details like seeds or cartoonish outlines around the coaster.
Finishing:
- Fasten off and weave in any loose ends.
Tips for Selling Raspberry Crochet Coasters:
- Customization: Offer personalized details like initials or color variations to make each coaster unique.
- Sets: Sell raspberry coasters in sets, or combine them with other fruit coasters for a "berry" theme.
- Packaging: Present the coasters in eco-friendly or handmade packaging to elevate the overall gift appeal.
Raspberry crochet coasters are vibrant, fun, and full of texture, making them a perfect gift or item for sale. The different variations allow you to cater to different tastes and preferences, from playful and cartoonish to detailed and realistic designs!