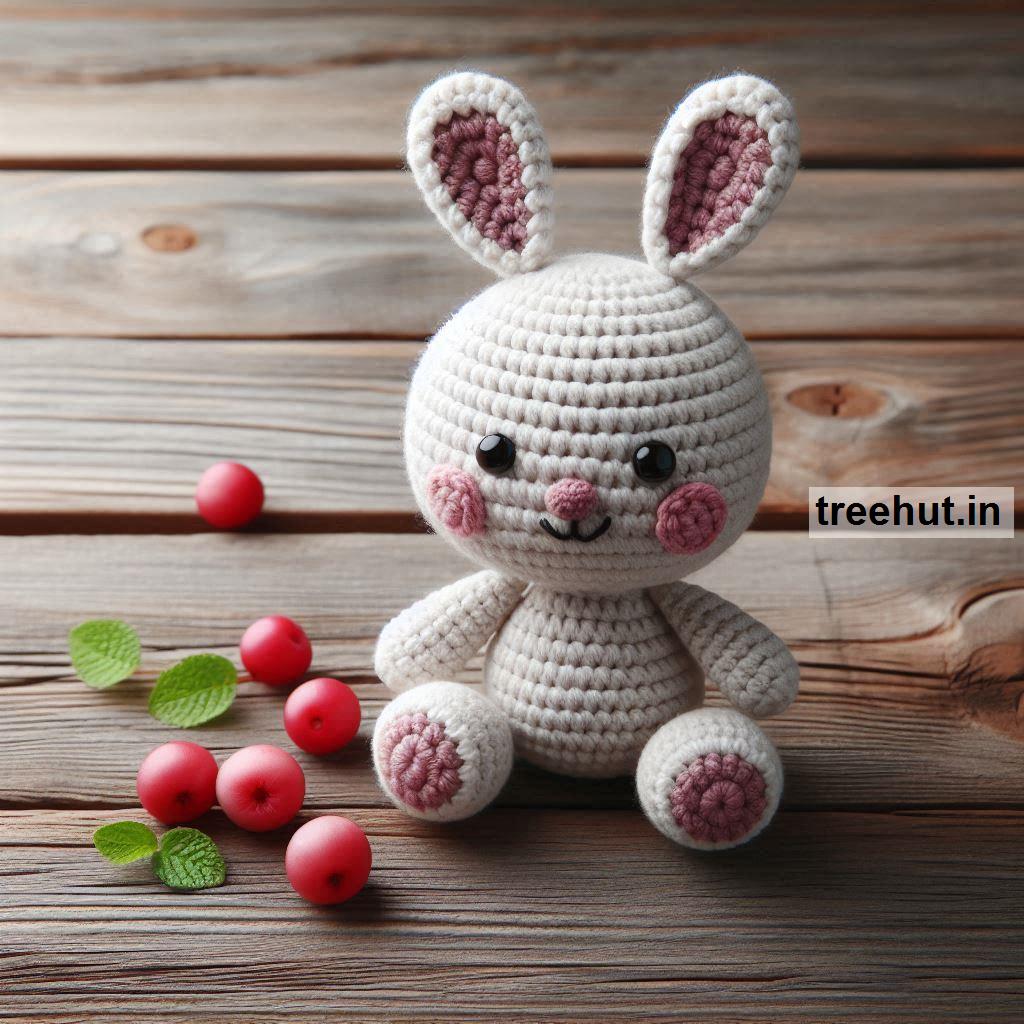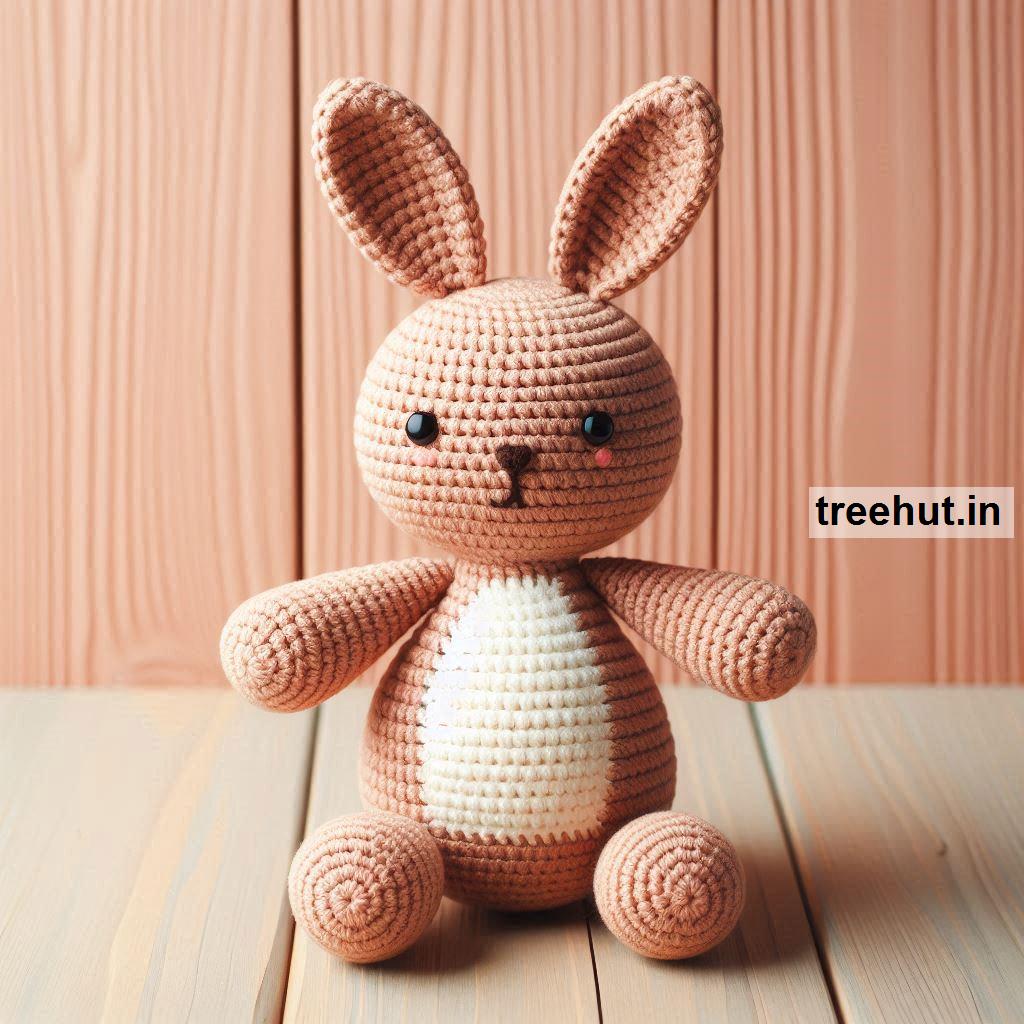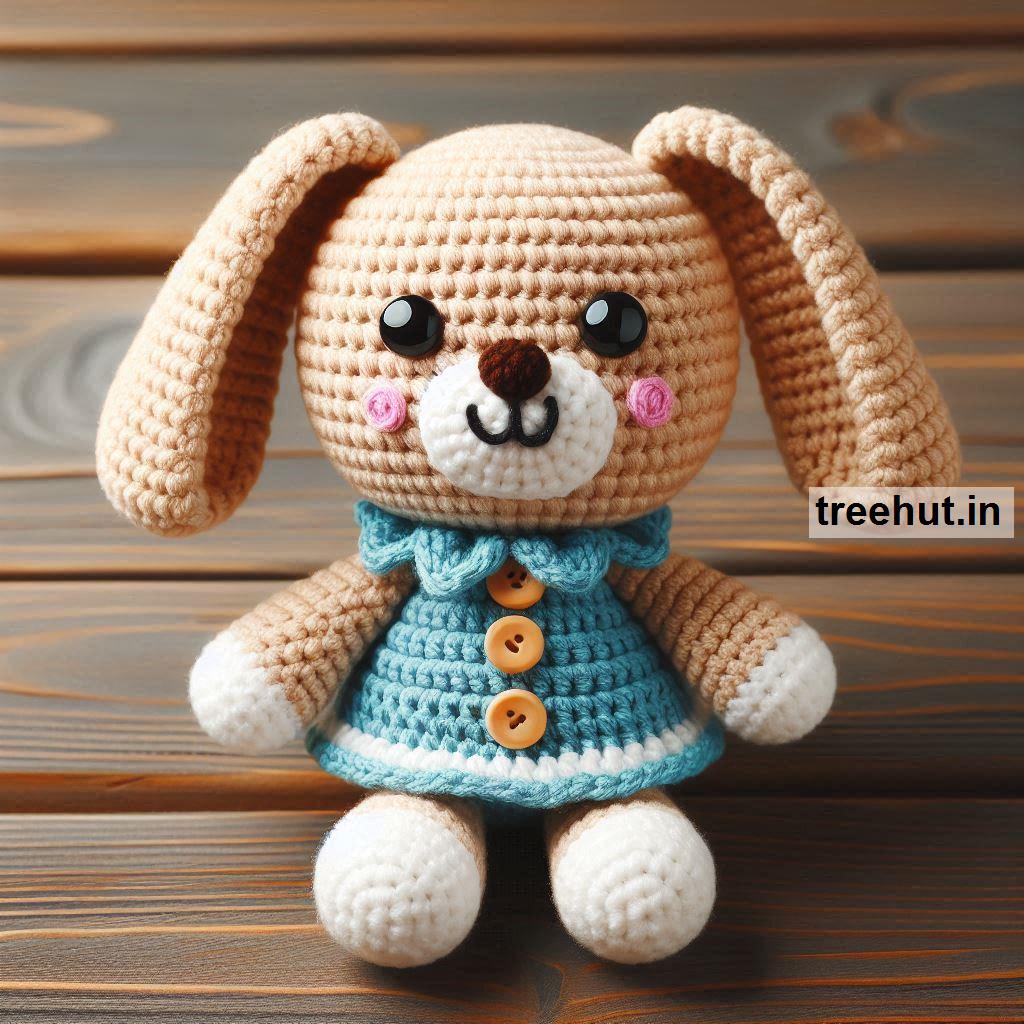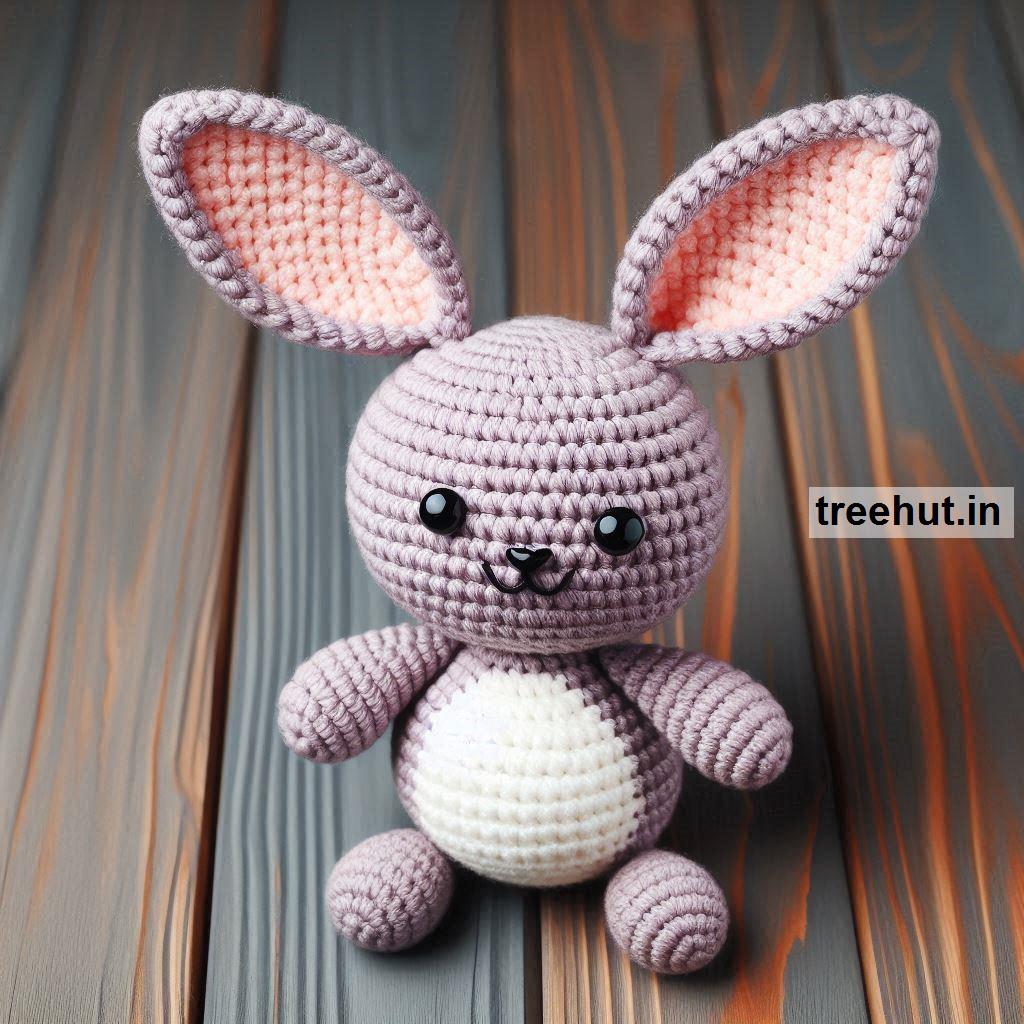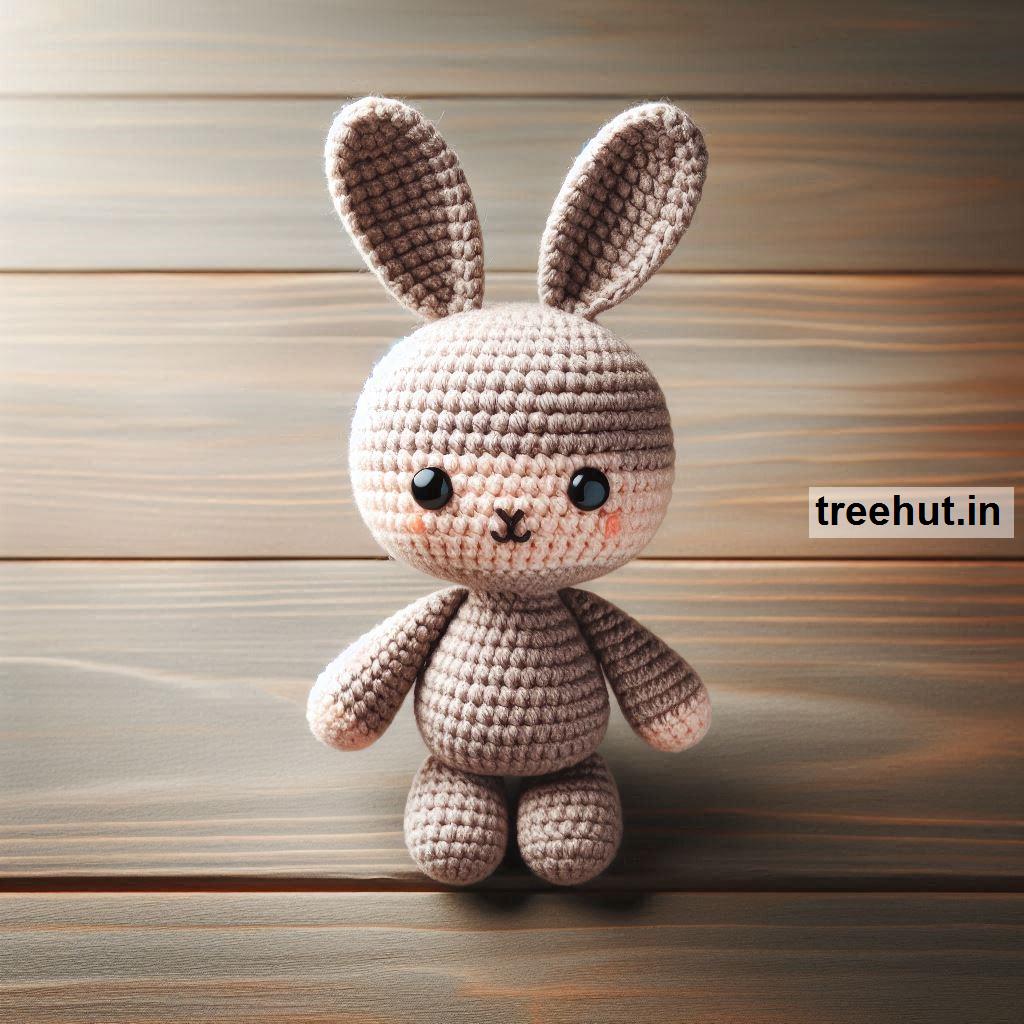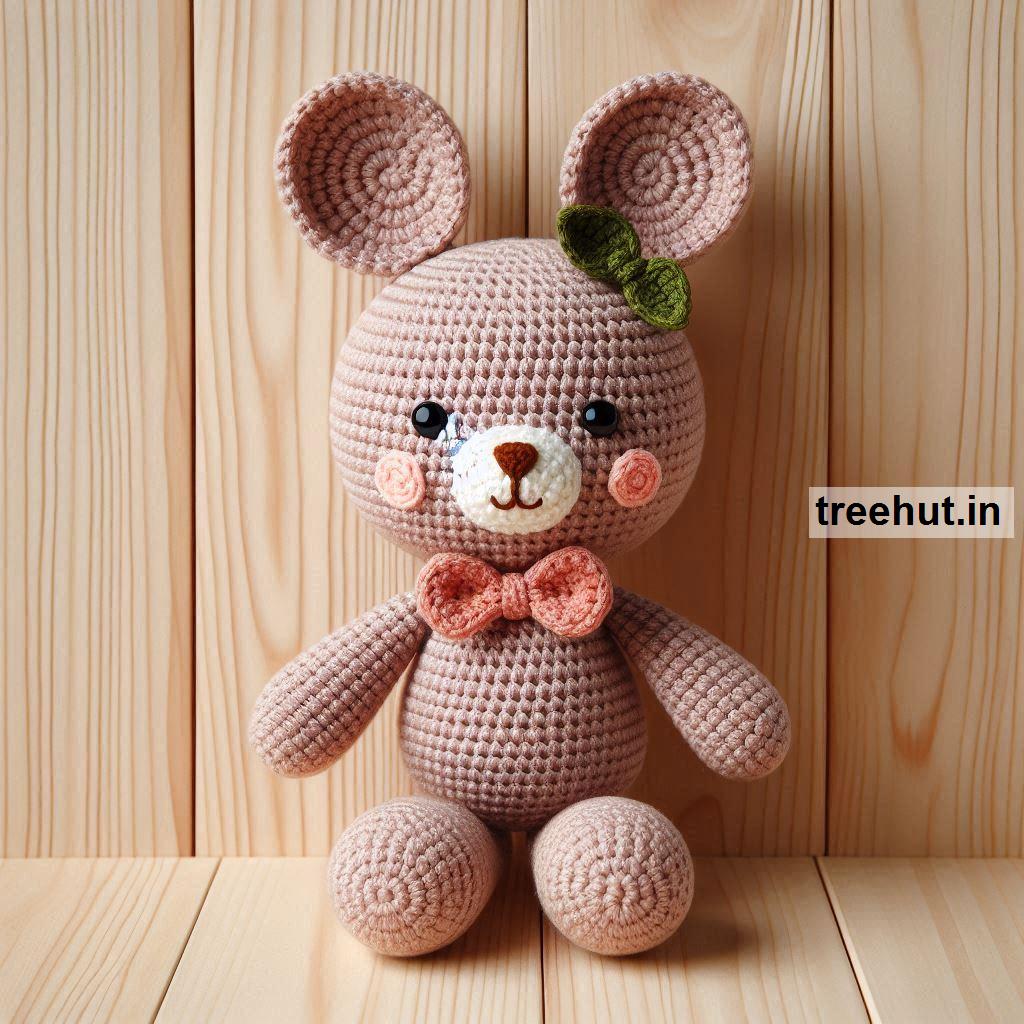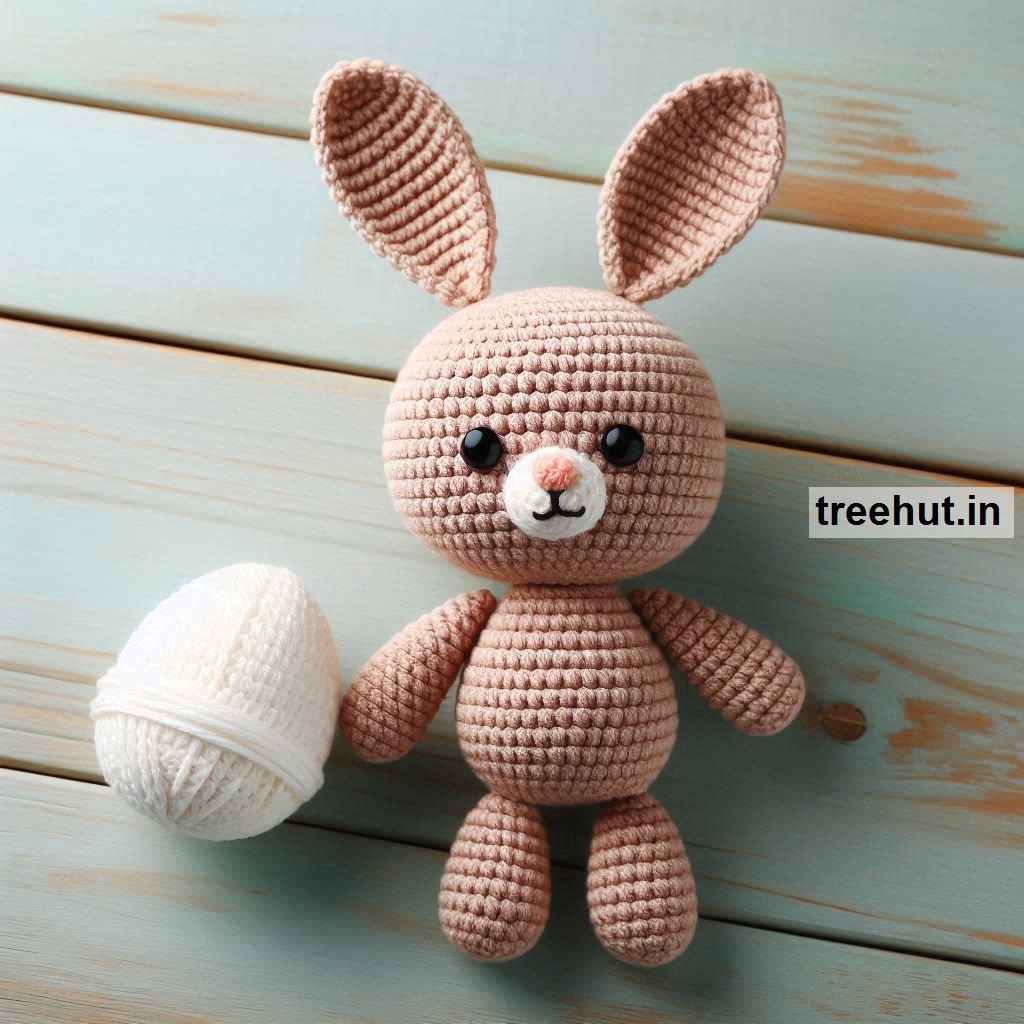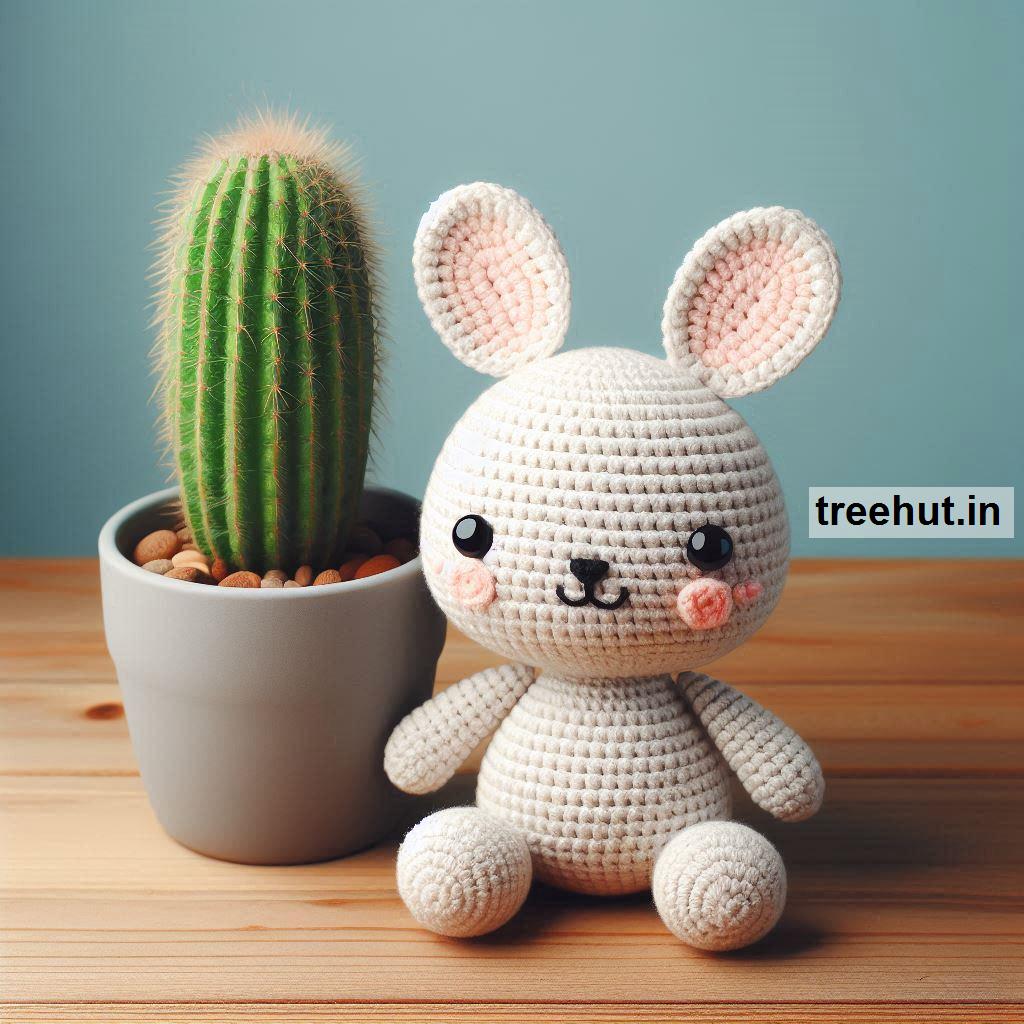


How to crochet a toy? Crochet tips for choosing the right yarn, pattern, and safety features for amigurumi toy making
How do I crochet a toy, and what are some tips for choosing the right yarn, pattern, and safety features?
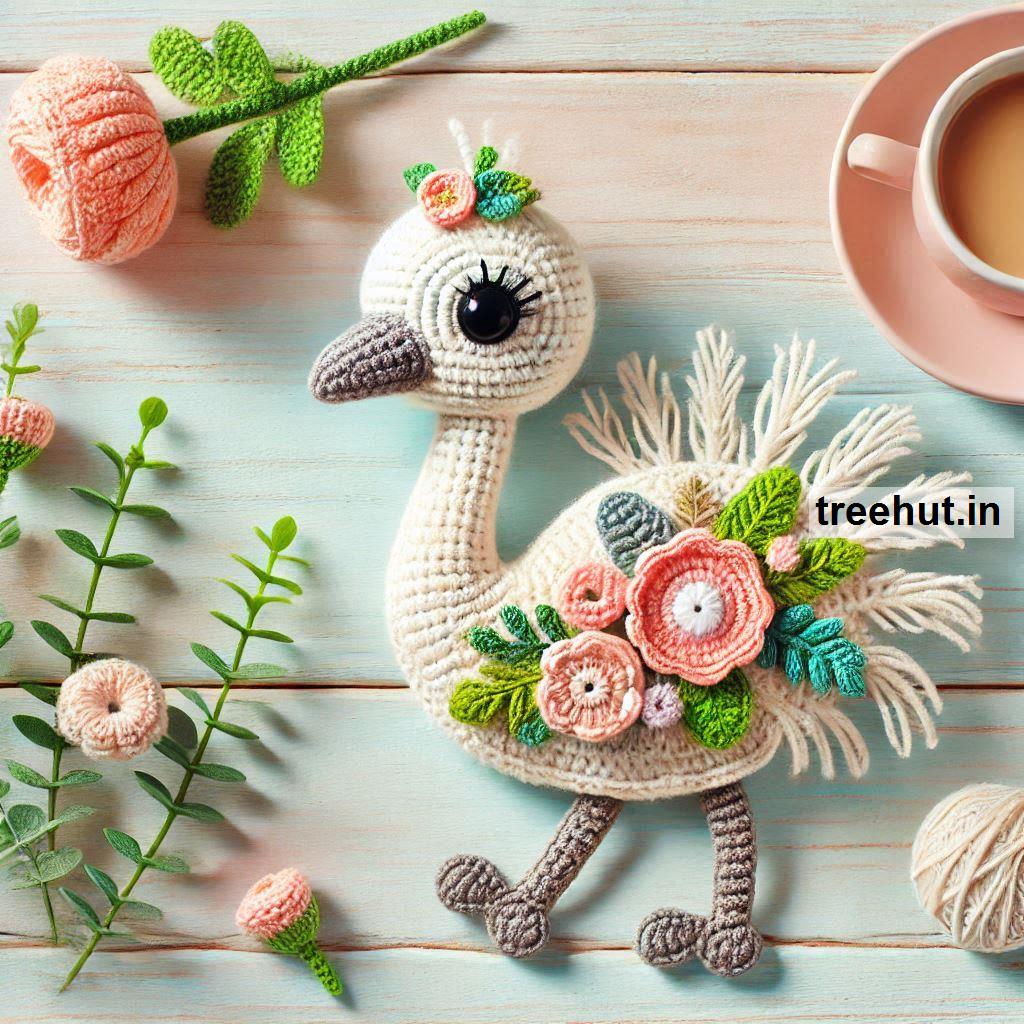
Crocheting toys, also known as amigurumi, can be a delightful and rewarding project. These handmade toys can be personalized and made for children or decorative purposes. Here’s how to crochet a toy and some helpful tips for selecting the right materials.
Amigurumi is the Japanese art of knitting or crocheting small stuffed yarn creatures. If you're new to amigurumi or need a refresher, here's a basic guide to help you get started.<
What You Need to Get Started:
- Yarn: Choose yarn based on the size and texture you want for your amigurumi. Acrylic yarn is popular for beginners due to its affordability and ease of use.
- Crochet Hook: Typically, a smaller crochet hook than what's recommended for your yarn is used for tight stitches. Common sizes for amigurumi range from 2.25mm (B) to 4mm (G).
- Stuffing: Polyester fiberfill is commonly used to stuff amigurumi toys. It’s light and fluffy.
- Tapestry Needle: A large, blunt needle for sewing pieces together and weaving in ends.
- Safety Eyes or Embroidery Thread: Safety eyes are used to add eyes to your amigurumi, but you can also embroider them for safety.
- Scissors: To cut your yarn.
Basic Stitches and Techniques:
Magic Ring (or Magic Circle):
- The magic ring is the foundation for most amigurumi projects. It creates a tight center with no hole.
- To create it, wrap the yarn around your fingers to form a loop, then crochet the first few stitches into that loop. Pull the loop tight to close.
Single Crochet (sc):
- The single crochet is the most commonly used stitch in amigurumi. Insert the hook into the stitch, yarn over, pull up a loop, yarn over again, and pull through both loops on the hook.
Increase (inc):
- To increase, you crochet two single crochets into one stitch to expand your work and add volume to your shape.
Decrease (dec):
- A decrease is worked by crocheting two stitches together to reduce the stitch count and shape your piece. A common method is the invisible decrease, where you work into the front loops of two stitches together to avoid gaps.
Working in the Round:
- Amigurumi is usually worked in a spiral, not in joined rounds. To keep track of your stitches, use a stitch marker or a contrasting piece of yarn to mark the first stitch of each round.
Slip Stitch (sl st):
- Used to join pieces or finish off. Insert the hook, yarn over, pull through the stitch and the loop on your hook in one go.
Fastening Off:
- Once you’ve finished crocheting a piece, fasten off by cutting the yarn and pulling it through the last loop. Use a tapestry needle to weave in the ends.
Simple Amigurumi Pattern (Example: Basic Ball)
- Magic Ring: 6 sc into the magic ring.
- Round 1: 2 sc in each stitch around (12 sts).
- Round 2: [1 sc, inc] repeat around (18 sts).
- Round 3: [2 sc, inc] repeat around (24 sts).
- Round 4: [3 sc, inc] repeat around (30 sts).
- Rounds 5-8: Sc in each stitch around (30 sts).
- Round 9: [3 sc, dec] repeat around (24 sts).
- Round 10: [2 sc, dec] repeat around (18 sts).
- Round 11: [1 sc, dec] repeat around (12 sts).
- Stuff the ball with fiberfill before closing.
- Round 12: Dec around (6 sts). Fasten off and close the hole by weaving the tail through the remaining stitches and pulling tight.
Adding Details:
- Eyes: Attach safety eyes between rounds before closing the ball. Alternatively, you can embroider eyes with black thread after the ball is finished.
- Nose and Mouth: Use embroidery thread to add features.
Tips for Better Amigurumi:
- Tight Stitches: Make sure your stitches are tight so no stuffing shows through.
- Stitch Markers: Always use a stitch marker to keep track of the start of each round.
- Consistent Tension: Keep your tension consistent to avoid lumpy or uneven stitches.
Once You Get the Hang of It:
You can explore more complex amigurumi shapes, like animals, dolls, or fantasy creatures, and even experiment with different yarns, hooks, and accessories.
Steps to Crochet a Toy:
Choose Your Pattern:
- Basic Shapes: For beginners, start with simple patterns, such as basic animals (like a teddy bear or bunny) or shapes (like a ball or cube).
- Advanced Designs: More experienced crocheters can tackle intricate patterns with multiple parts, like dolls or fantasy creatures.
Select Your Yarn:
- Yarn Weight: Choose a yarn weight that suits your pattern. Typically, worsted or sport weight yarn is used for amigurumi, but you can use lighter yarn for finer details.
- Fiber Content: Opt for soft, durable yarns that can withstand play. Acrylic is a popular choice because it's easy to wash, but cotton can provide a nice texture.
Determine the Size:
- Scale: The size of your toy will depend on the yarn and hook size you choose. Check the pattern for guidance on dimensions.
- Customization: Feel free to modify the pattern to create larger or smaller toys based on your preferences.
Crochet the Toy:
- Begin with a Magic Ring: Many amigurumi patterns start with a magic ring to create a tight center. This helps to prevent stuffing from showing.
- Use a Tight Tension: Crochet tightly to ensure the stuffing doesn’t poke through the stitches, especially important for toys meant for children.
- Work in Rounds: Most toys are worked in continuous rounds, so keep track of your stitches to maintain the shape.
Assemble Parts:
- Sewing Pieces Together: If your toy has multiple parts (like limbs or ears), sew them on securely using a yarn needle. Ensure they are well-attached for safety.
- Stuffing: Use polyester fiberfill or another safe stuffing material to give your toy shape. Don’t overstuff, as this can stretch the stitches.
Add Safety Features:
- Safety Eyes: If your toy has eyes, consider using safety eyes, which can be securely fastened from the inside, making them safe for children.
- Embroidered Features: Alternatively, you can embroider facial features for a soft, safe option.
Finishing Touches:
- Weave in Ends: Use a yarn needle to weave in any loose ends to keep your toy looking tidy.
- Personalization: Consider adding personal touches, like a name tag or unique clothing, to make the toy special.
Tips for Choosing Yarn, Pattern, and Safety Features:
Yarn Choice: Select yarn that is durable and easy to clean. Avoid yarns that can easily fray or shed.
Pattern Selection: Start with simpler patterns if you’re a beginner and gradually work your way to more complex designs as you gain confidence.
Size Considerations: Ensure that the size of the toy is appropriate for its intended user. Larger toys can be great for cuddling, while smaller ones are easier for little hands to manage.
Safety Features: Always prioritize safety when making toys for children. Check that all parts are securely attached and that there are no small pieces that can pose a choking hazard.
By following these steps and tips, you can create a charming and safe crochet toy that can be cherished for years to come!