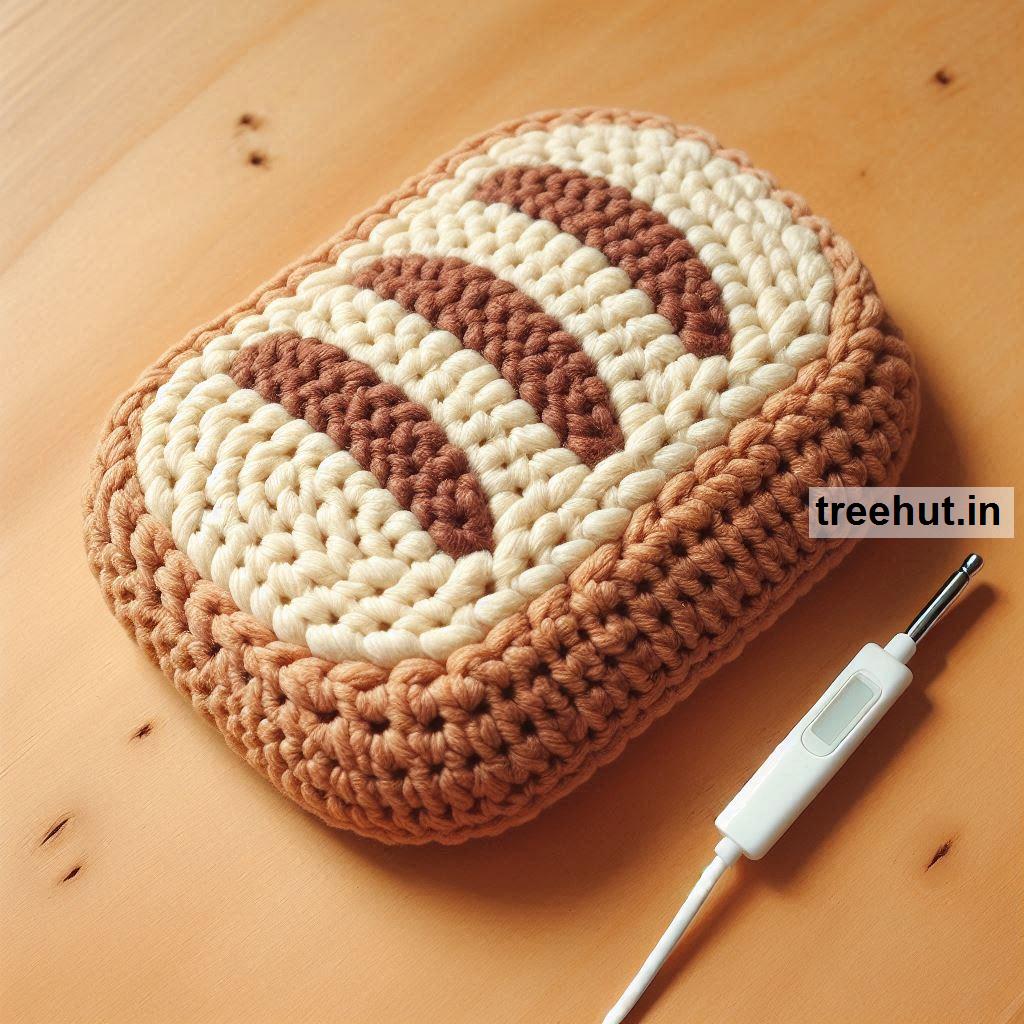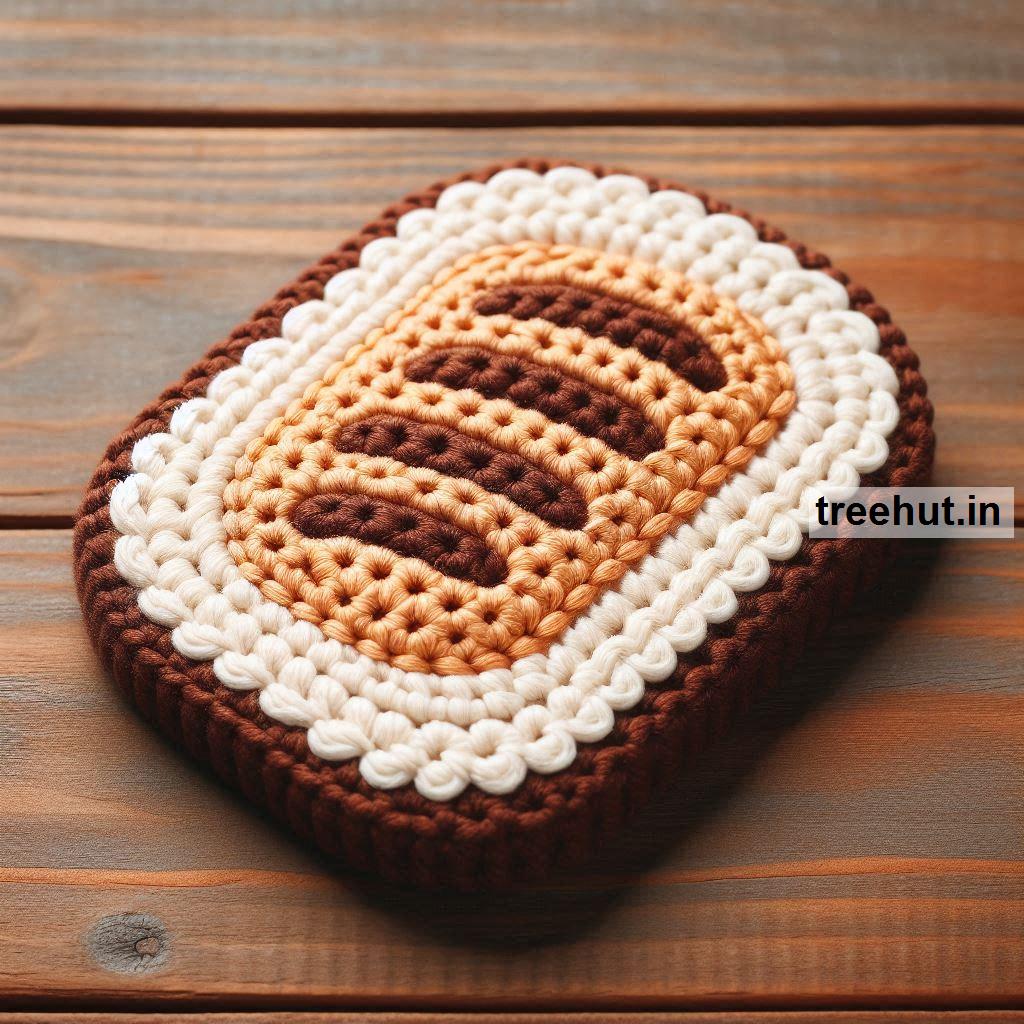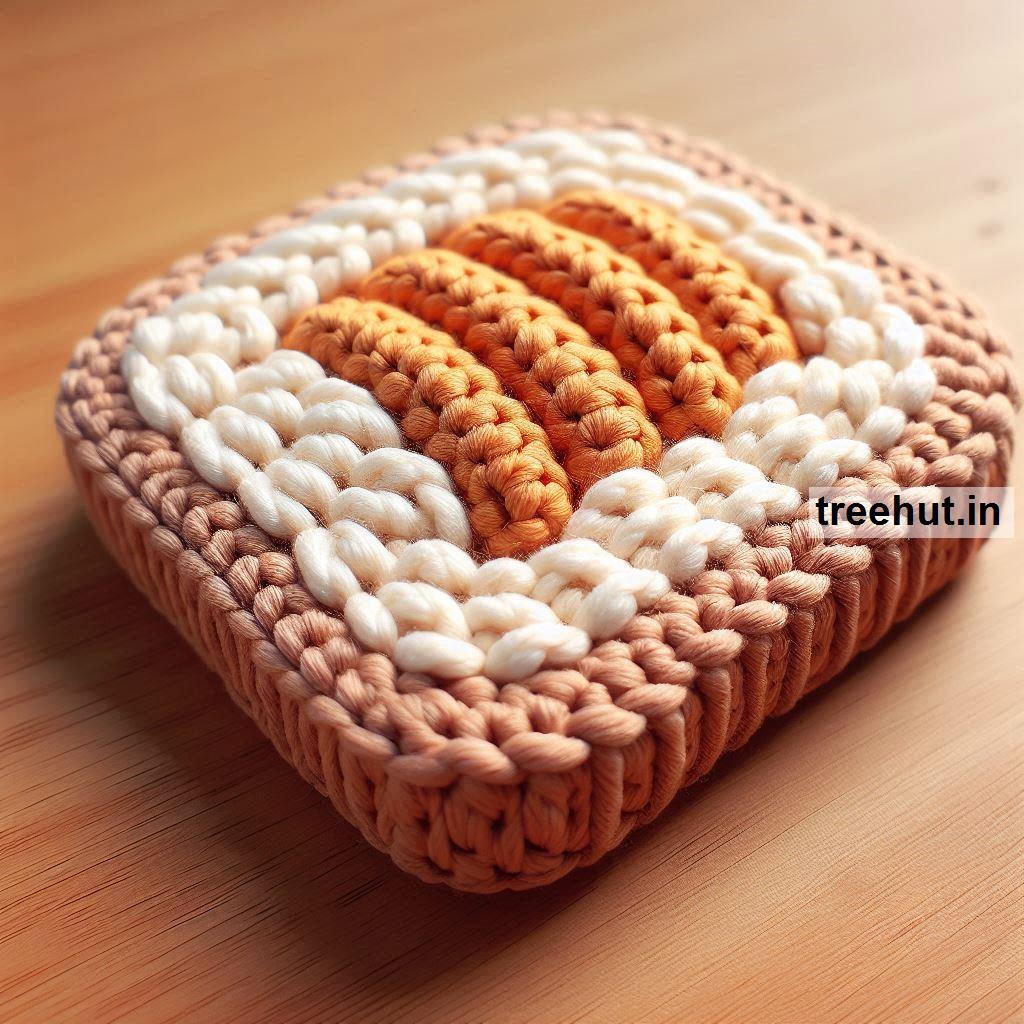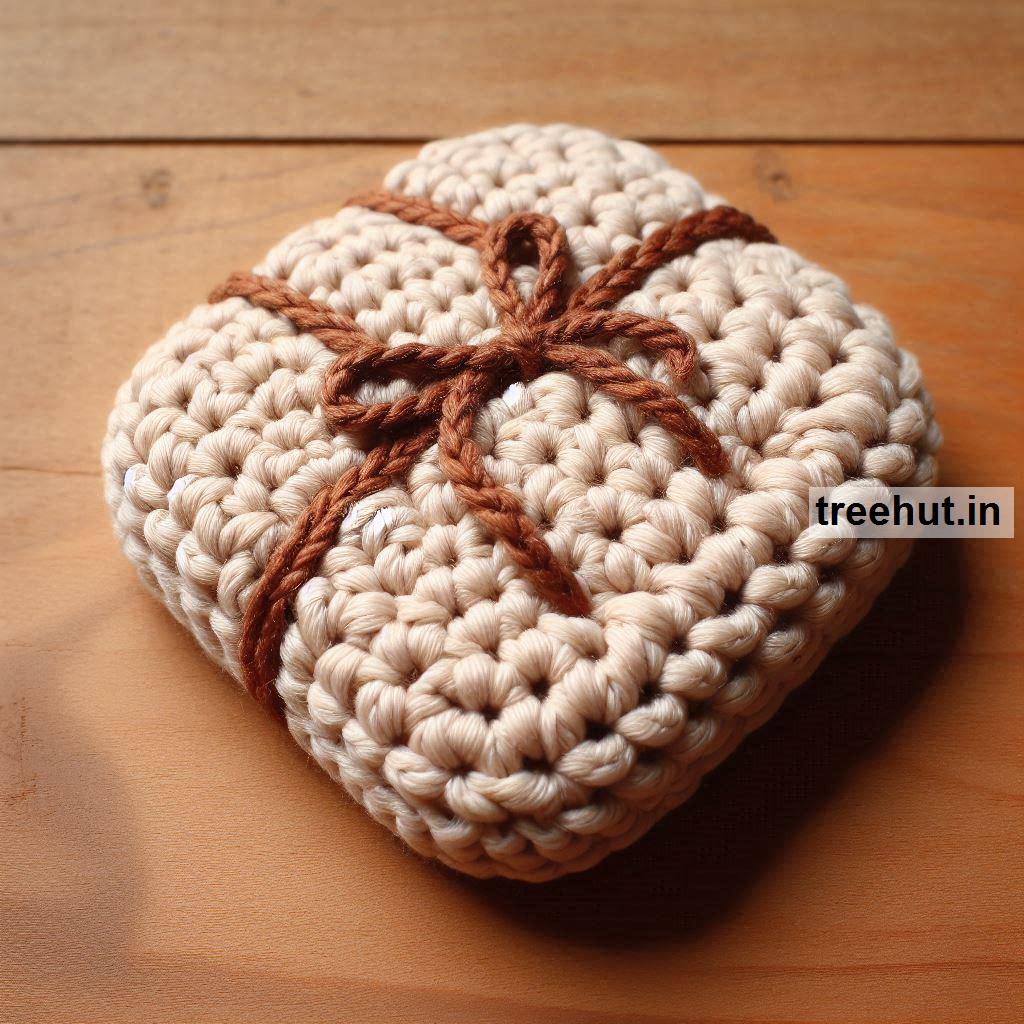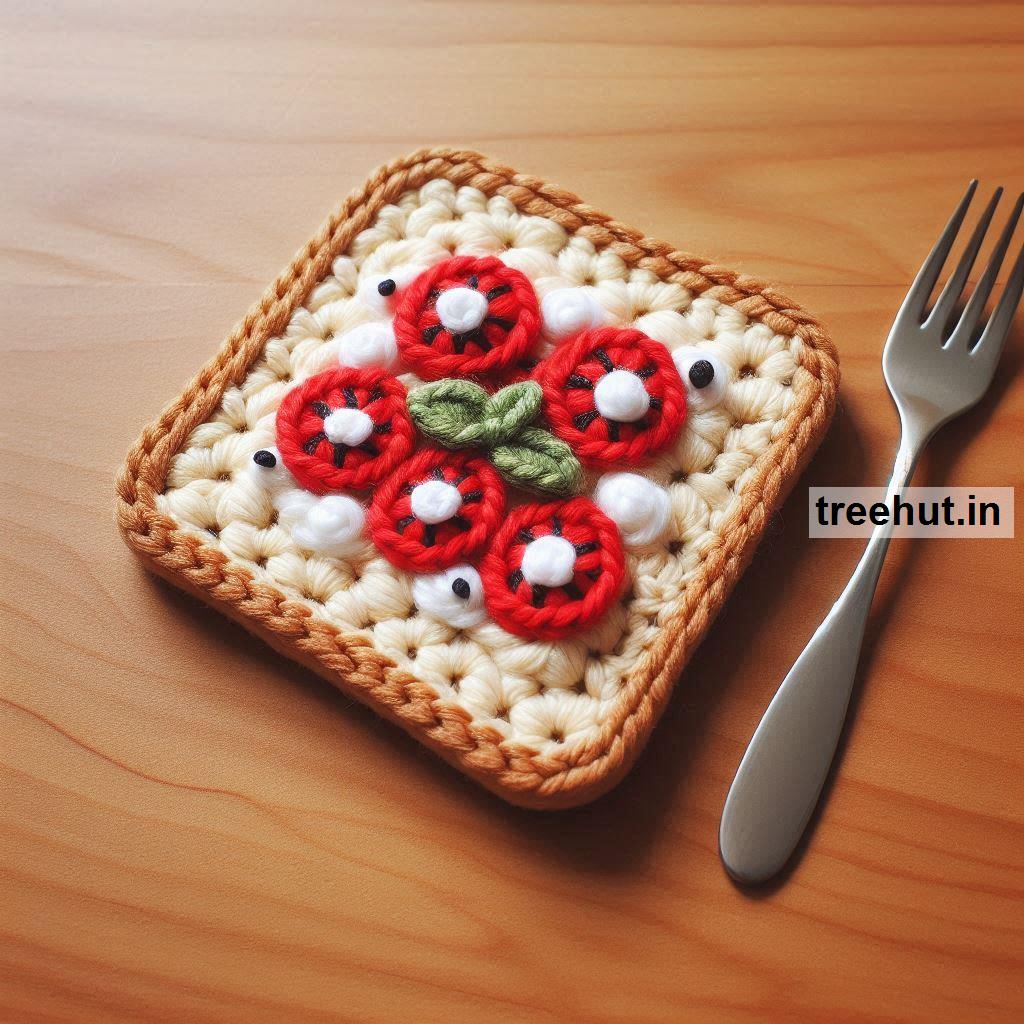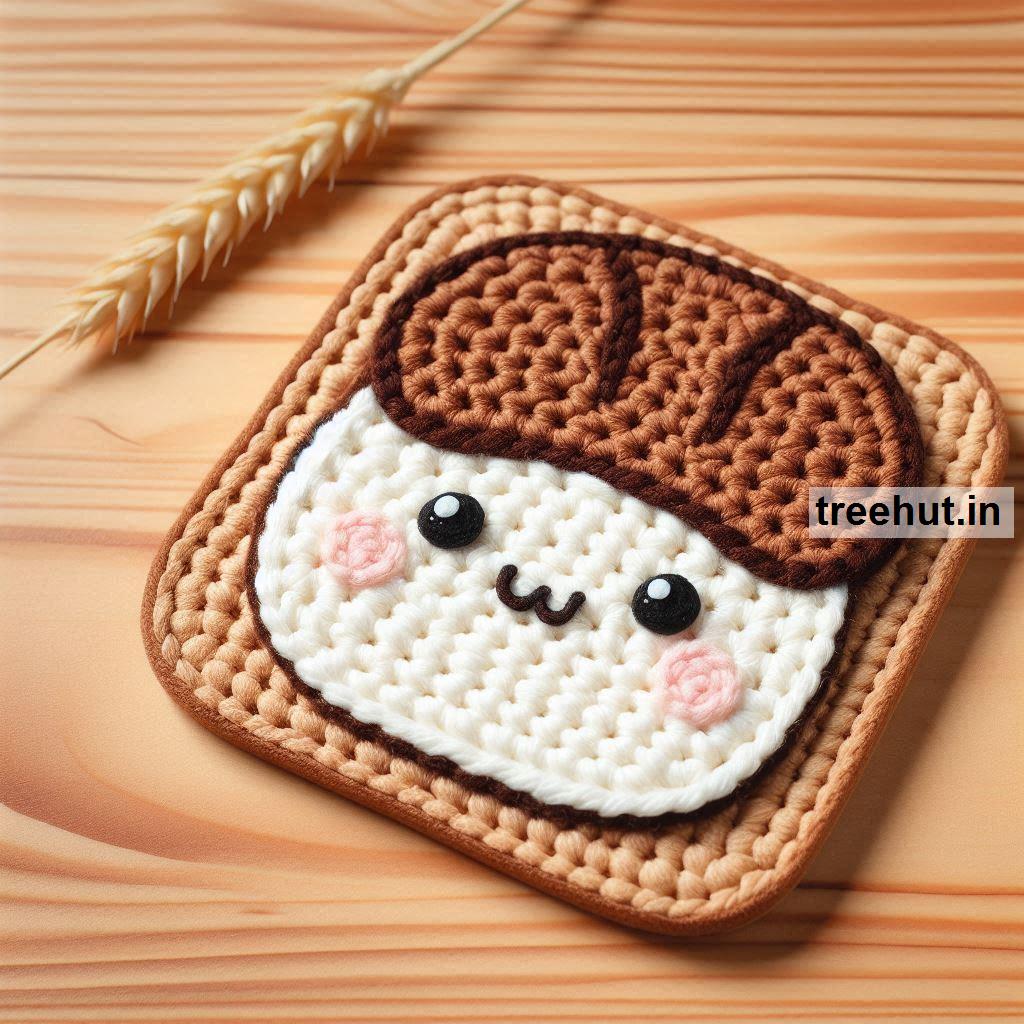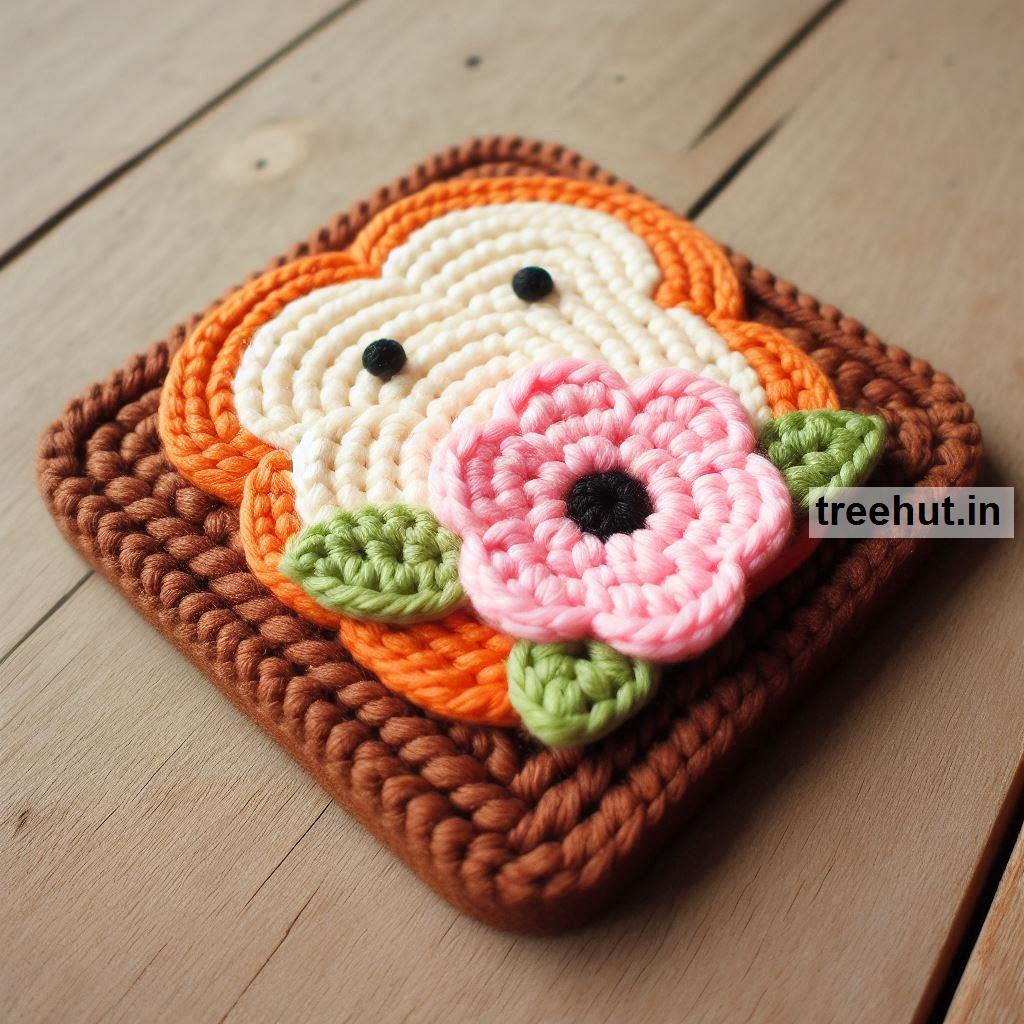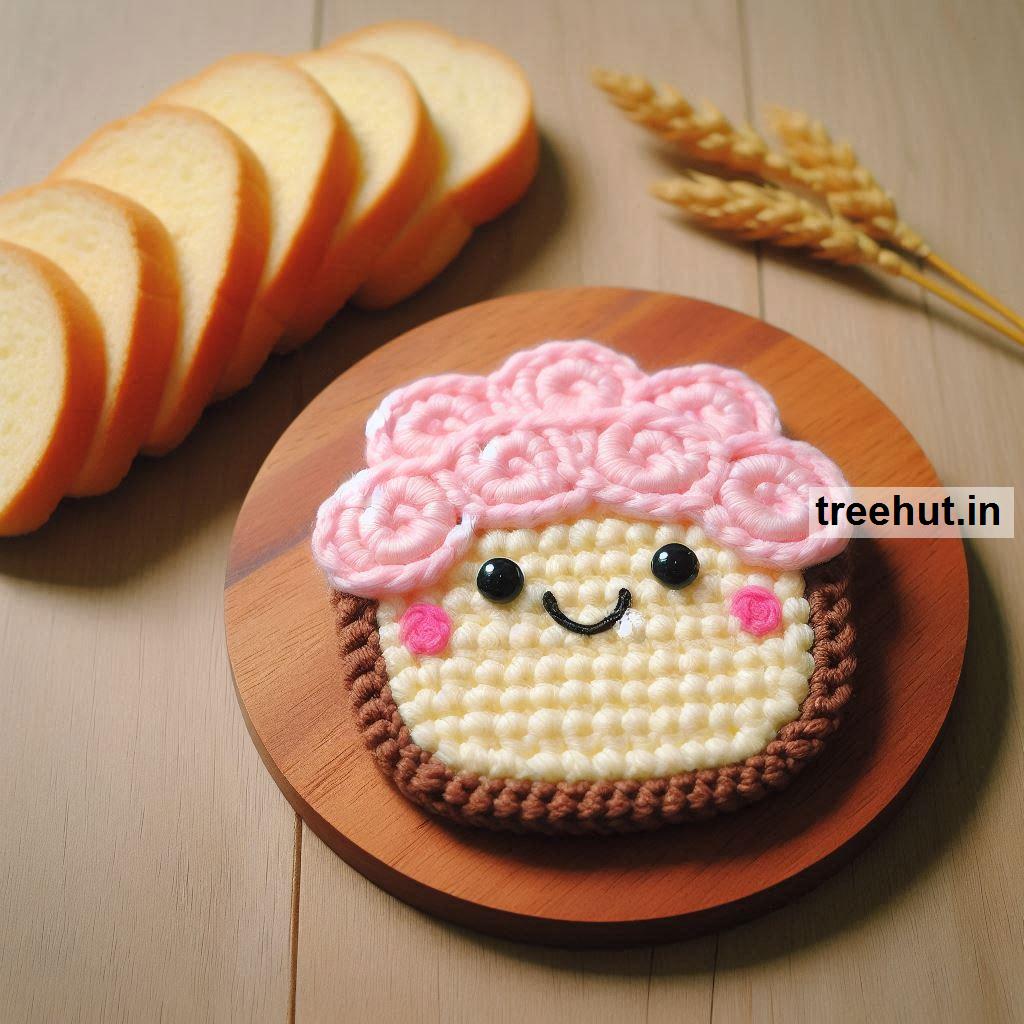




Bread Crochet Coasters and how to make crochet bread
How to Make Crochet Bread Coasters
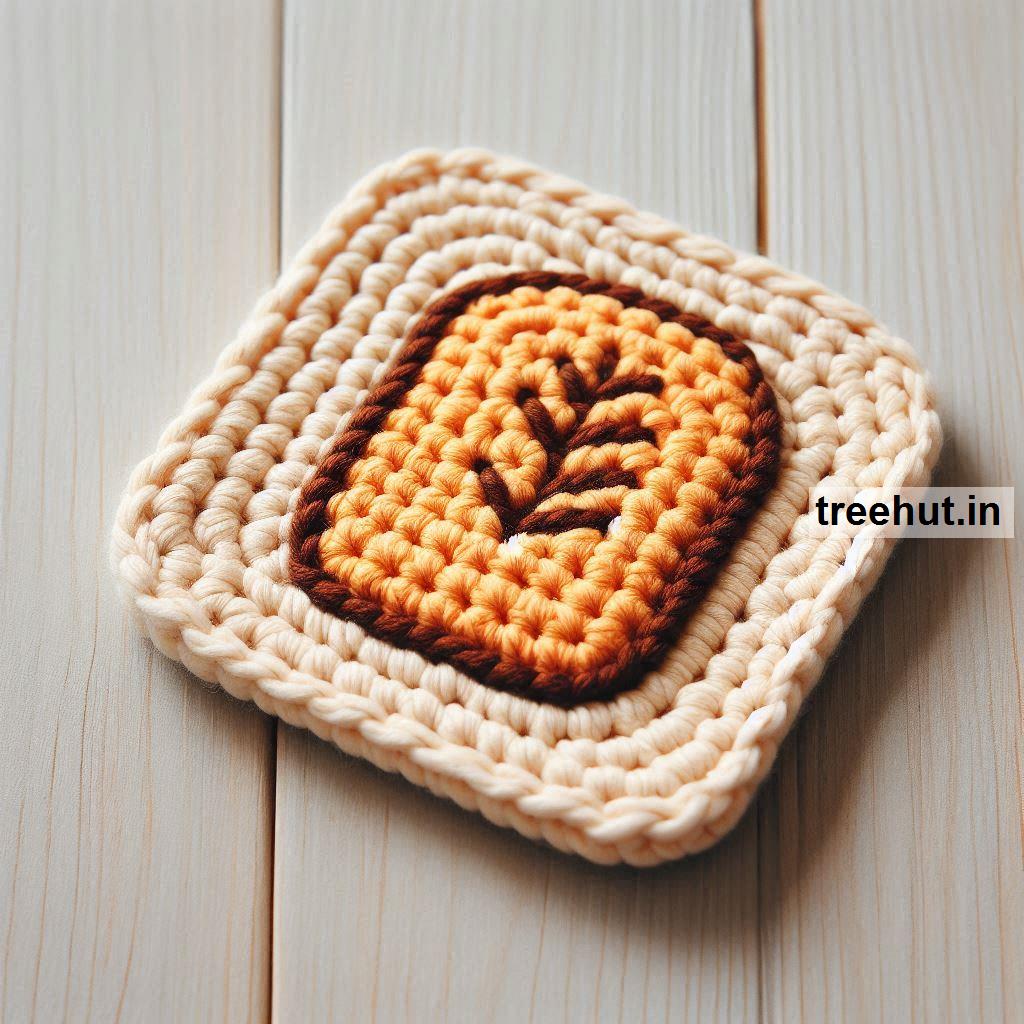
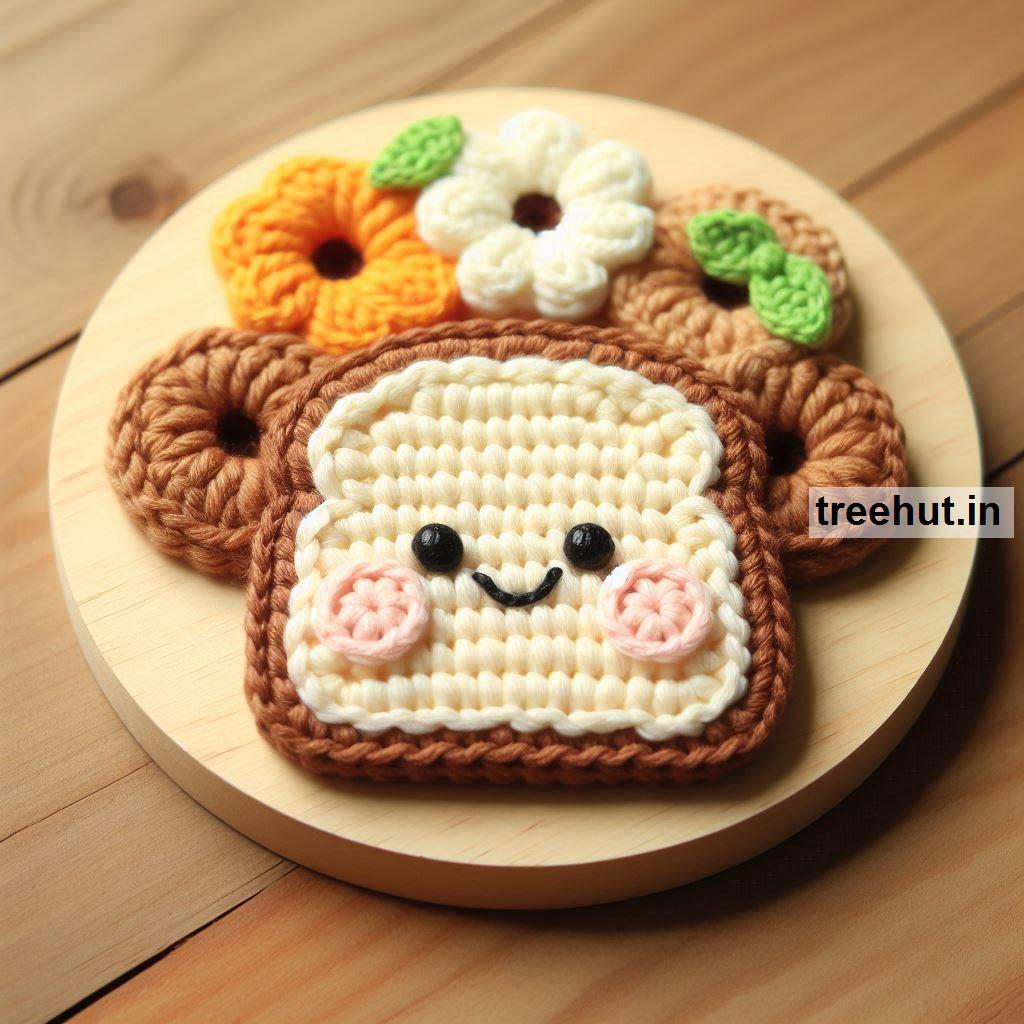
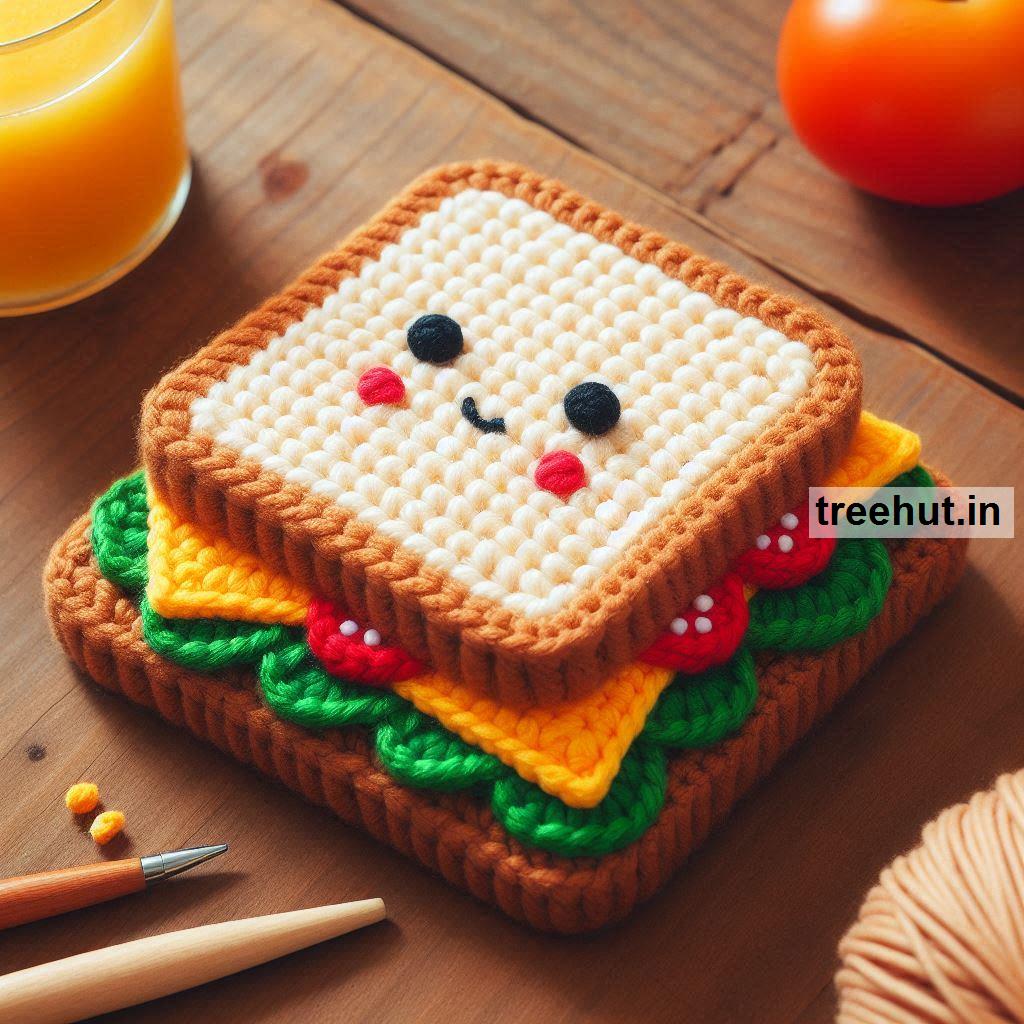
Crochet bread coasters are a fun and practical project, perfect for adding a quirky touch to your kitchen or dining table. Here’s a simple guide to help you make crochet coasters that look like slices of bread.
Materials:
- Yarn in light tan or beige (for the bread slice)
- Yarn in dark brown (for the crust)
- Crochet hook (appropriate for your yarn weight)
- Yarn needle (for weaving in ends)
- Scissors
Basic Crochet Bread Coaster Pattern:
Step 1: Start with the Bread Slice Base (Light Tan Yarn)
Chain 10:
- This will be the starting width of your bread coaster.
- You can adjust the chain length depending on how big you want your coaster to be.
Single Crochet Across:
- Single crochet in the second chain from the hook and across the row (9 stitches).
- Chain 1, turn your work.
Continue Crocheting Rows:
- Single crochet across for several more rows (approximately 8–10 rows, or until the slice is nearly square in shape).
- This creates the flat, rectangular part of the bread slice.
Step 2: Create the Rounded Top of the Bread Slice
Work in Rounds:
- After completing your last row, chain 1 and single crochet around the entire piece to form the rounded top and clean up the edges.
- When you get to the top corners, increase the number of stitches in each corner stitch to round them off (for example, place 3 single crochets in each corner stitch).
Shape the Top:
- You can start decreasing slightly at the top corners to make them more rounded (optional). If you're comfortable with increasing and decreasing, this will help give the top of the bread slice a more realistic shape.
Slip Stitch to Join:
- Once you’ve worked all the way around, slip stitch to the first stitch of the round and fasten off the light tan yarn.
Step 3: Add the Crust (Dark Brown Yarn)
Join the Dark Brown Yarn:
- Attach the darker yarn (representing the bread crust) at any point along the edge of your coaster.
Single Crochet Around the Edge:
- Single crochet all the way around the edge of the bread slice to create the crust.
- Work evenly around the edges, and place extra single crochets in the rounded top corners to keep the shape smooth.
Optional Second Round of Crust:
- For a thicker crust, you can work a second round of single crochet around the entire edge in the same dark brown yarn.
Fasten Off and Weave in Ends:
- Once you finish the edging, cut the yarn and weave in any loose ends using your yarn needle.
Step 4: Block Your Coasters (Optional)
- Blocking: To ensure your bread coasters lie flat, you can block them. Wet block by soaking the coasters in water, then pinning them into shape on a blocking mat and letting them dry flat.
- This helps the yarn relax and the coasters keep their shape better.
Variations for Crochet Bread Coasters
- Toast with Butter: Add a small yellow "butter" square to the top of the bread slice for a fun detail.
- Seeded Bread: Embroider small "seeds" on the surface using a contrasting yarn color to resemble sesame or poppy seeds.
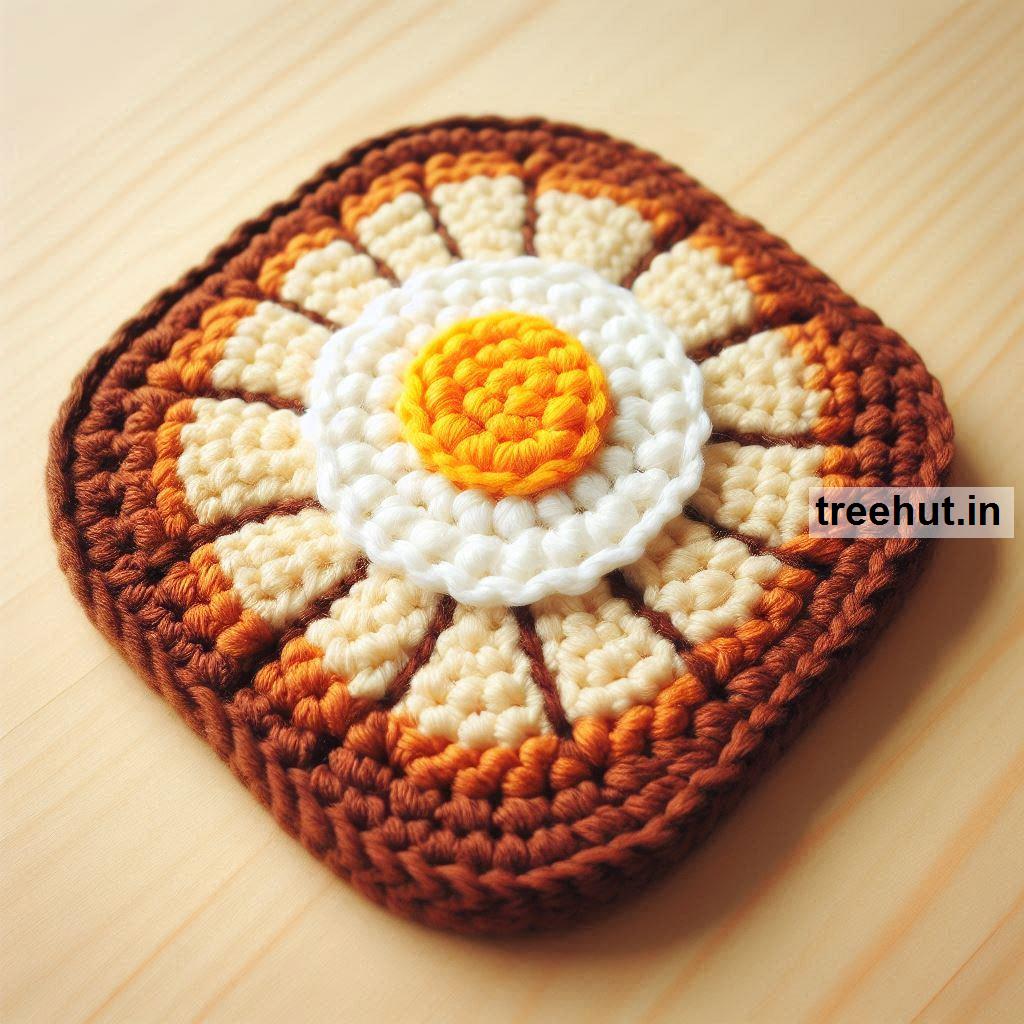
- Different Bread Types: Adjust the color of the yarn to make rye bread, whole wheat bread, or even cinnamon swirl bread with decorative embroidery.
Crochet bread coasters are not only cute but functional. They’re quick to make, and once you get the hang of the pattern, you can create a variety of bread slices—from white bread to more artistic interpretations. Experiment with colors and textures to create unique coasters for your home or as gifts!
Crochet Bread Ideas and How to Make Crochet Bread
Crochet bread items are adorable and fun projects, perfect for kitchen decor, play food for kids, or as a quirky gift. Here are some ideas for crochet bread, along with a guide to making them.
Crochet Bread Ideas:
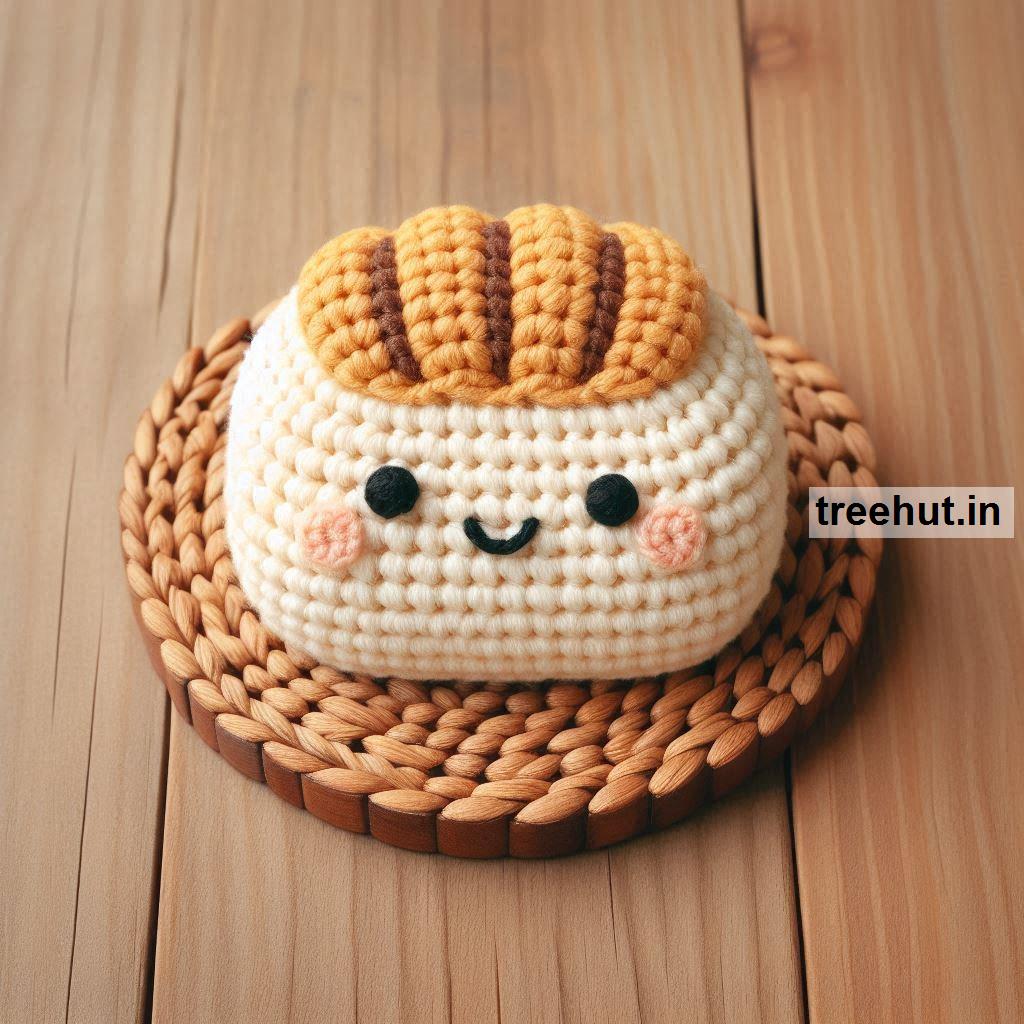
Crochet Loaf of Bread
- Design: A classic bread loaf shape in soft, earthy brown tones.
- Technique: Create a rectangular base with rounded edges to replicate the shape of a real loaf. You can use basic crochet stitches such as single crochet to give the loaf a solid structure.
- Finish: Add a darker shade for the crust using a slip stitch around the edge.
Crochet Sliced Bread
- Design: Create individual slices of bread that can be used as coasters, part of a playset, or decorative items.
- Technique: Crochet rectangles with slightly rounded tops in beige or light tan for the bread, and add a darker brown outline for the crust using a border stitch.
- Finish: To make it more realistic, you can lightly stuff the slices to give them a little depth.
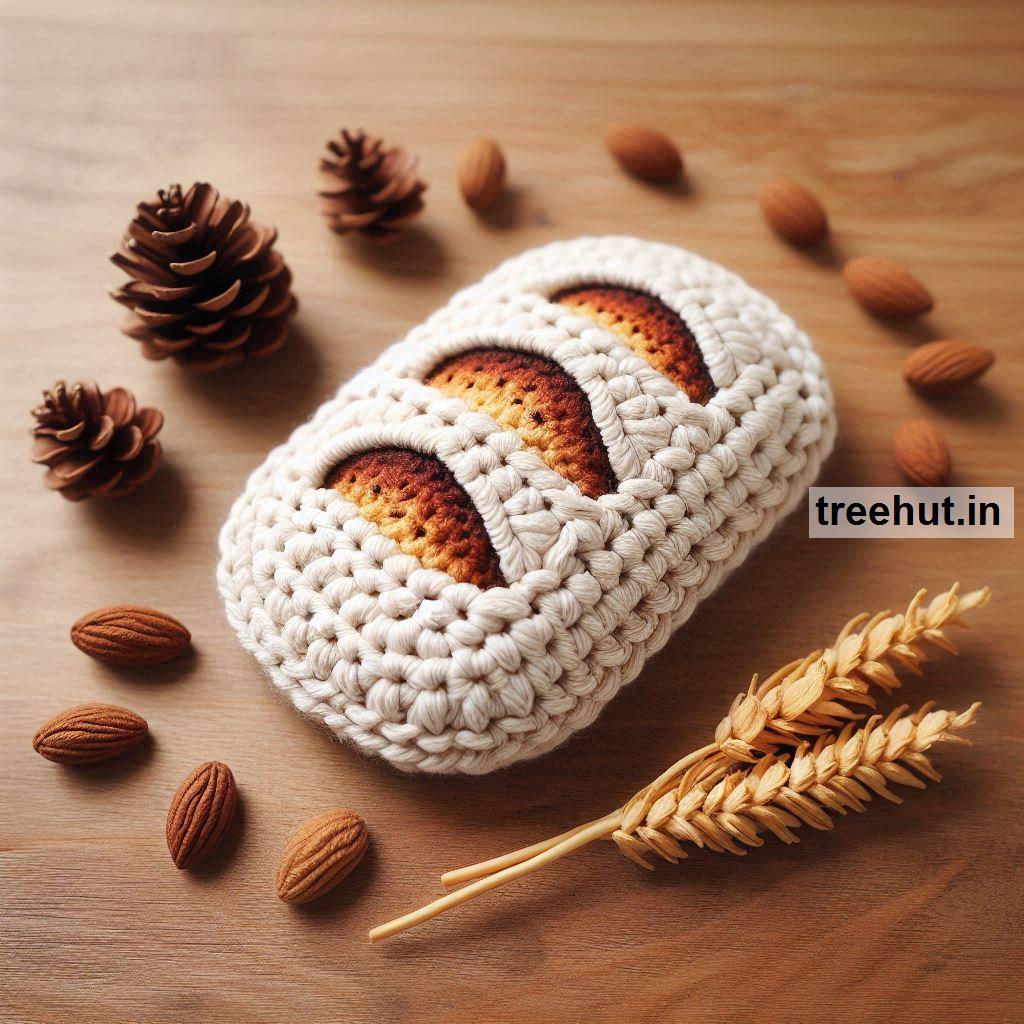
Crochet Baguette
- Design: A long, narrow French baguette with soft ridges along the top.
- Technique: Start with an oval shape and work in the round, increasing until it reaches the desired width. Use simple crochet stitches like half double crochet. Crochet rows to build the length, and add slight ridges along the top by working into the front loops of certain stitches.
- Finish: Add a light stuffing to give it the characteristic firm look of a baguette.
Crochet Bread Rolls
- Design: Small round rolls or buns, great for decorative bowls or children's play food.
- Technique: Begin with a magic ring and work in the round, increasing to create a sphere-like shape. As you reach the desired size, begin decreasing to close the shape.
- Finish: Lightly stuff and close the top. For extra detail, add small surface crochet patterns or embroidery to resemble seeds or texture.
Crochet Pretzel
- Design: A fun, knot-shaped pretzel with a realistic look.
- Technique: Start by crocheting a long, thick chain or tube. Shape it into a traditional pretzel knot by twisting and looping the tube. Use simple sewing stitches to tack the shape into place.
- Finish: Embroider small white "salt" spots using white yarn or thread.
Crochet Bagel
- Design: A ring-shaped bagel with a smooth texture.
- Technique: Start by crocheting a flat disc for the top and bottom of the bagel, then join them with a chain around the edges, leaving the middle open to create the ring shape.
- Finish: You can embroider seeds or grains on top of the bagel, like sesame seeds or poppy seeds.
Crochet Croissant
- Design: A crescent-shaped croissant with a realistic, flaky texture.
- Technique: Crochet a tapered tube, wider at one end and narrower at the other. Then, sew the tube into a crescent shape, using slip stitches to create "flaky" layers across the surface.
- Finish: Add stuffing before closing the seams to give the croissant some body and shape.
How to Make Crochet Bread: A Step-by-Step Guide
Here’s a simple guide on how to make a crochet slice of bread. This pattern can be adjusted for other types of bread as well.
Materials:
- Yarn in light brown (for the bread) and dark brown (for the crust)
- Crochet hook (sized to match your yarn weight)
- Yarn needle
- Fiberfill stuffing (optional for a thicker slice)
Basic Pattern for a Slice of Bread:
Start with the Bread Base (Light Brown Yarn):
- Chain 10 (or adjust for the desired width of your bread slice).
- Single crochet in the second chain from the hook and across (9 stitches).
- Chain 1, turn your work, and continue single crocheting across for several rows (about 6-8 rows depending on the thickness of your bread slice).
- This creates the middle part of the bread. For the top, we will round off the edges.
Shape the Rounded Top:
- After completing your last row, chain 1 and single crochet across the top but work extra stitches in the two end stitches to form a round edge (usually 3 single crochets in each corner stitch).
- Continue working in the round around the bread slice for another row to smooth out the top edge. Slip stitch to join when you finish.
Add the Crust (Dark Brown Yarn):
- Join the darker brown yarn at the corner of the bread slice.
- Single crochet around the entire piece to form the crust, working evenly around the top, sides, and bottom.
- For extra thickness, you can work a second round of single crochet around the edges.
- Fasten off and weave in ends.
Stuffing (Optional):
- If you want a thicker slice, make two pieces of the bread base and single crochet them together with the crust-colored yarn. Stuff lightly with fiberfill before closing.
Final Touches:
- You can embellish the bread with surface crochet or embroidery to add texture or simulate grains.
Crochet bread can be as simple or as detailed as you like, and the possibilities are endless. Whether you're making realistic baguettes, fun slices of toast, or whimsical pretzels, these projects are great for home decor, toy sets, or even quirky gifts. Enjoy experimenting with shapes, stitches, and colors to bring your crochet bread to life!