

What’s the difference between working in rows versus working in the round in crochet? Crochet Techniques
What’s the difference between working in rows versus working in the round in crochet?
Working in rows and working in the round are two primary techniques in crochet, each suited to different types of projects. Here’s a detailed comparison of the two:
1. Working in Rows
When you crochet in rows, you work back and forth across the fabric, turning your work at the end of each row.
Characteristics:
- Structure: The fabric is flat, with a defined beginning and end to each row. This technique is commonly used for blankets, scarves, or any flat pieces.
- Turning Chains: At the end of each row, you usually create a turning chain (a few extra stitches) to bring the hook up to the next row's height. For example, you’ll chain 1 for single crochet, chain 2 for half-double crochet, or chain 3 for double crochet.
- Front and Back: When working in rows, you’ll alternate between working on the front side and the back side of the fabric, giving it a different look on each side unless you're using a reversible stitch pattern.
Applications:
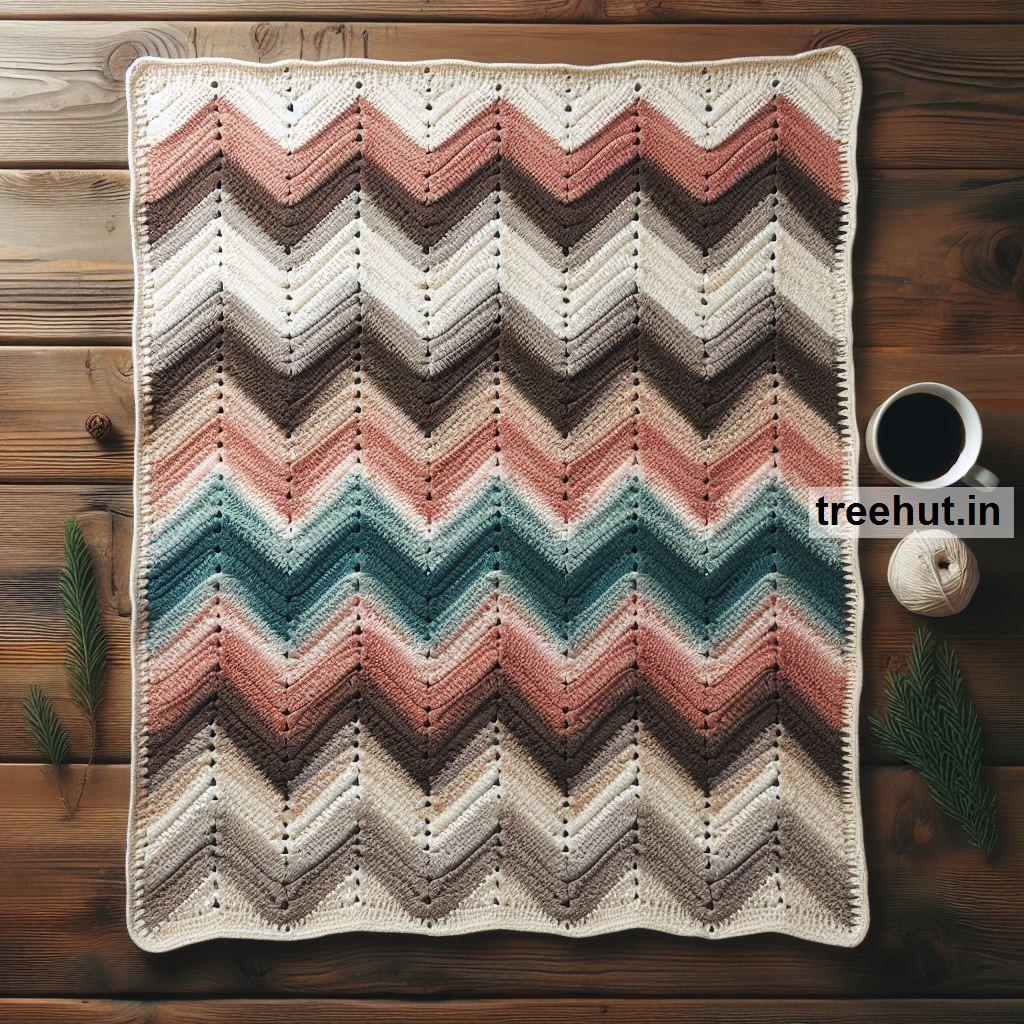
- Blankets: Often worked in rows because they are flat and rectangular.
- Scarves: These are typically worked in rows to create long, flat fabric.
- Sweater Panels: Front, back, and sleeve panels of sweaters can be worked in rows and then sewn together.
- Dishcloths: Flat items like dishcloths and washcloths are commonly worked in rows.
Advantages:
- Control Over Length and Width: Working in rows makes it easy to adjust the size of your project. You can increase the number of rows to lengthen the piece or add more stitches to widen it.
- Easy to Learn: Crocheting in rows is often simpler for beginners because you follow a straightforward back-and-forth pattern.
Challenges:
- Visible Seams or Edges: If you're not careful, the edges can be uneven or loose. It can also be easy to accidentally drop or add stitches when turning your work.
- Turning: It may be tricky for beginners to get used to turning the work at the end of each row and remembering to count the turning chain as a stitch (if necessary).
2. Working in the Round
When working in the round, you start with a small number of stitches and continuously build outwards in a circular or tubular shape. This method is great for projects like hats, bags, or doilies.
Characteristics:
- Structure: Instead of going back and forth, you work in a continuous spiral or joined rounds, with no turning of your work.
- Joining or Spiraling: You can either join the end of each round with a slip stitch (creating clear rounds) or work in a continuous spiral (which avoids visible seams).
- Right Side Always Facing: When working in the round, you typically always work on the right side of the fabric, meaning it has a more uniform look than pieces worked in rows.
Applications:
- Hats: The circular shape of working in the round makes it perfect for hats, starting at the crown and increasing outward.
- Amigurumi: This technique is commonly used for making stuffed animals, toys, or other 3D objects.
- Bags: Many bags and purses are worked in the round to create cylindrical or tubular shapes.
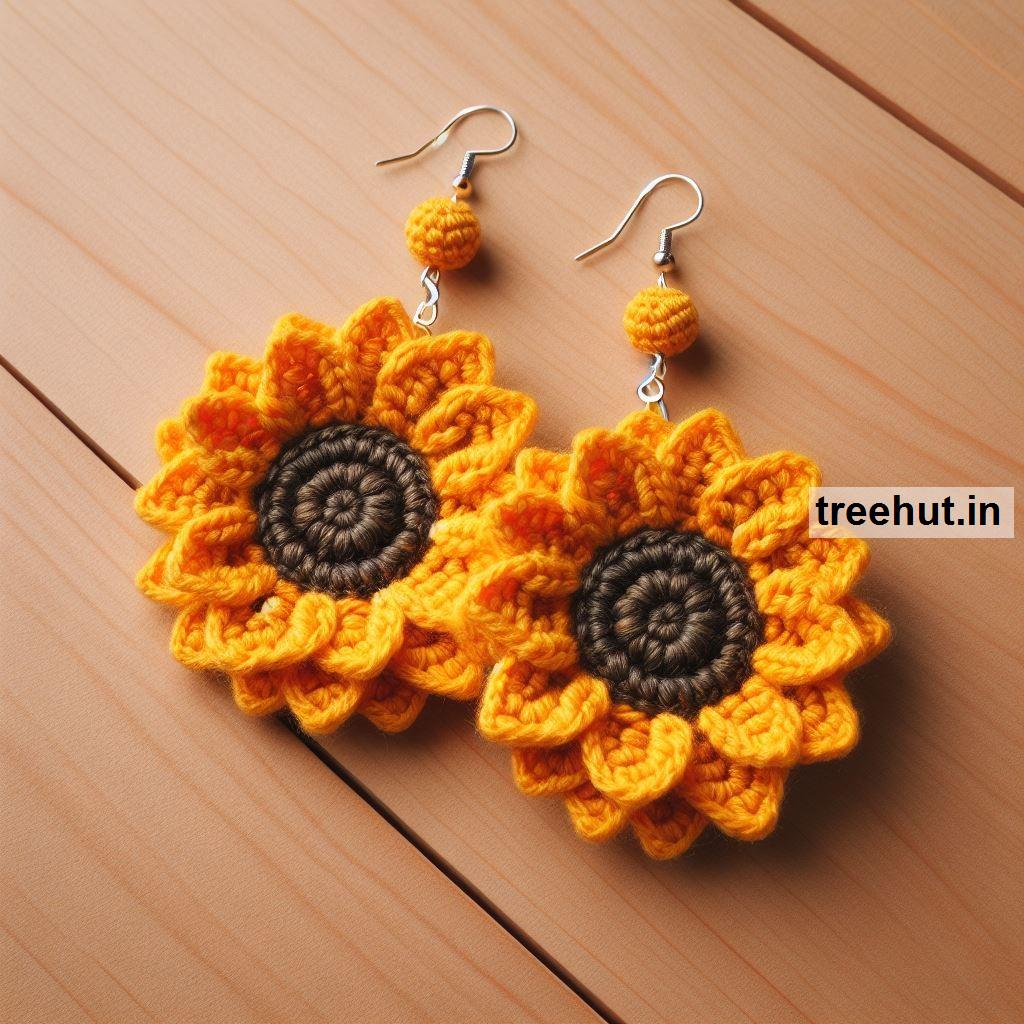
- Coasters/Doilies: Flat, circular items like coasters or doilies are traditionally worked in the round.
Advantages:
- Seamless: Projects worked in the round often have fewer seams or joins, giving a more polished, seamless look.
- Circular Shapes: This technique is ideal for creating round or tubular items like hats, cowls, and mandalas.
- Consistency: Since you're always working with the right side facing you, the stitches have a consistent appearance.
Challenges:
- Shaping: If you're not careful with your increases and decreases, it can be tricky to maintain a smooth shape. It’s easy to accidentally increase or decrease too much, making the shape uneven.
- Stitch Marker Use: When working in a spiral, it’s easy to lose track of where the round begins, so stitch markers are essential to keep your place.
Key Differences:
| Feature | Working in Rows | Working in the Round |
|---|---|---|
| Structure | Flat and linear, turning at the end | Circular or tubular, no turning |
| Side Appearance | Alternates between front and back sides | Right side always faces you |
| Edges | Defined edges on all four sides | Circular or seamless, no edges |
| Turning | Requires turning your work | No turning, continuous round |
| Common Projects | Blankets, scarves, dishcloths | Hats, amigurumi, bags, doilies |
| Joining | Often requires seaming at the end | Seamless or joined with a slip stitch |
Both techniques have their strengths and are suited to different types of projects. If you’re making flat, rectangular items, working in rows is ideal. For circular or seamless projects like hats, bags, or amigurumi, working in the round is the way to go. Mastering both techniques will allow you to tackle a wide range of crochet projects with confidence.