



How do I join granny squares together? Crochet Techniques
How do I join granny squares together?
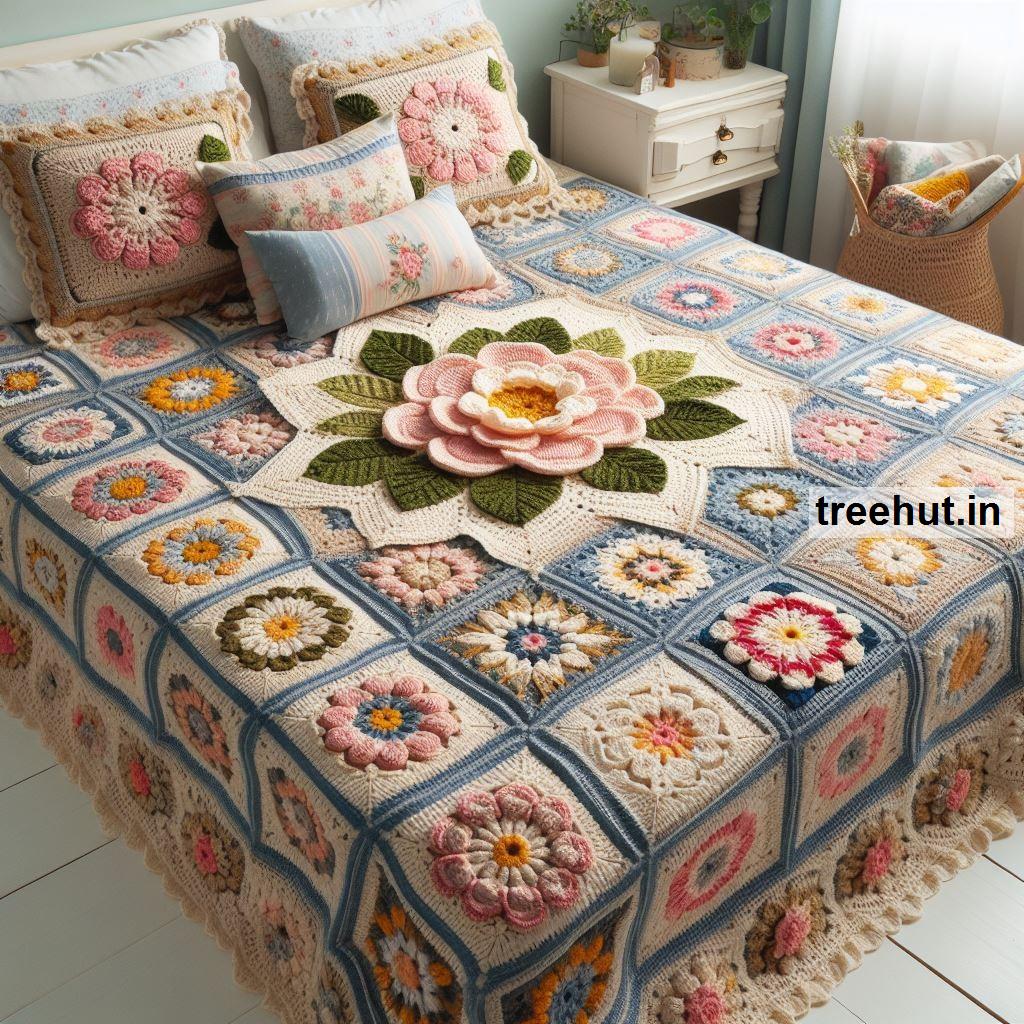
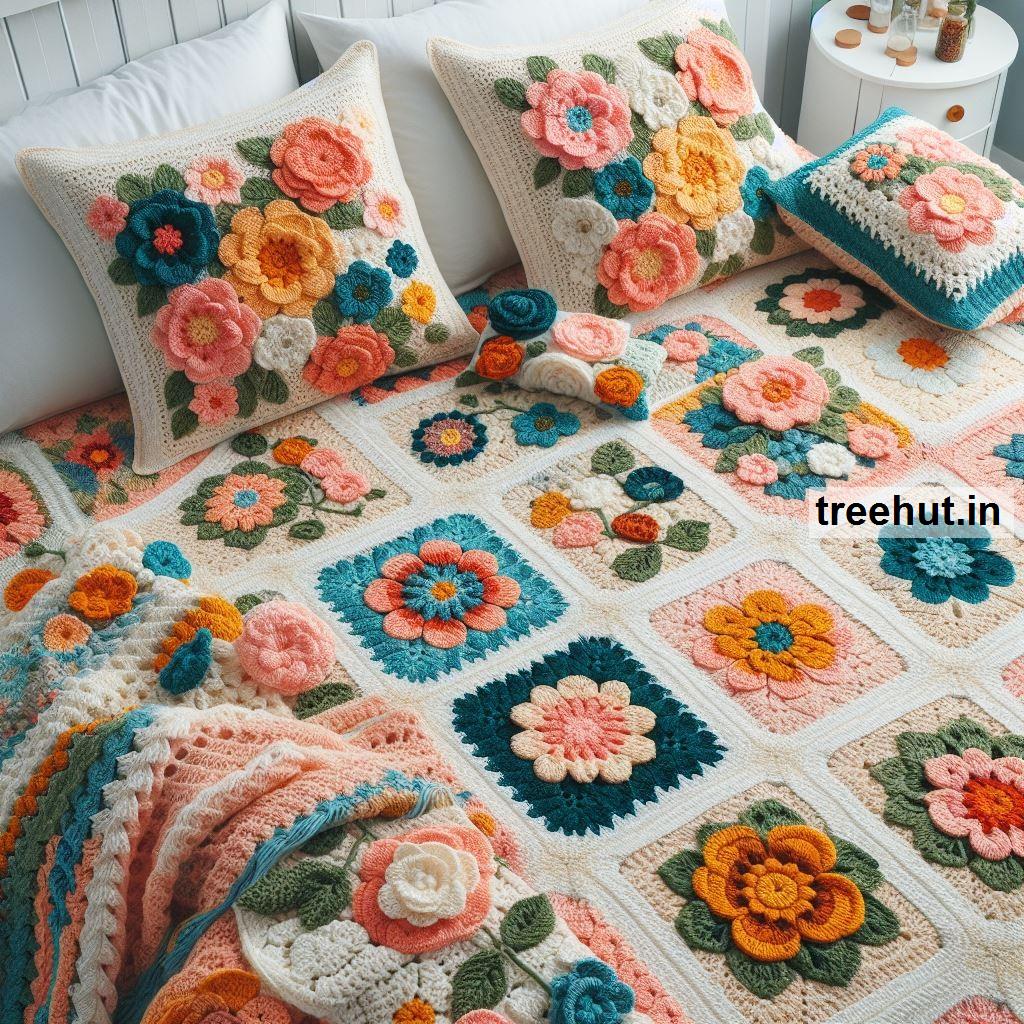
Joining granny squares is an important step in creating a cohesive project like a blanket, bag, or other items that use multiple squares. There are several methods to join granny squares together, each providing a different finish, from seamless and invisible to decorative and raised. Here’s a detailed guide on how to join granny squares:
1. Decide on Your Joining Method
There are a variety of techniques to join granny squares, and your choice will depend on the final look and feel you want for your project. Here are some of the most common methods:
a. Whip Stitch (Invisible Seam)
- This is a hand-sewing technique that creates an invisible join.
- How to do it:
- Place two squares right sides together.
- Using a yarn needle and a length of matching yarn, whip stitch through the back loops of the stitches along the edges of the squares.
- Work across the edge, pulling the yarn tight enough to close the gap but not so tight that it puckers the fabric.
- Fasten off and weave in the ends.
b. Slip Stitch Join (Flat but Visible)
- This crochet join method leaves a slight ridge and is worked with a crochet hook.
- How to do it:
- Hold two squares wrong sides together so that the seam will appear on the front of the piece.
- Insert your hook through both loops of the stitches at the edges of both squares, yarn over, and pull through the loops.
- Slip stitch across the entire edge, joining the two squares. Fasten off and weave in the ends.
- Repeat for each pair of squares.
c. Single Crochet Join (Decorative Ridge)
- This method creates a raised ridge where the squares meet, adding texture to the join.
- How to do it:
- Hold two squares wrong sides together.
- Insert your hook into both loops of the first stitch from each square, yarn over, and pull through to complete a single crochet.
- Continue crocheting a single crochet into each stitch along the edge, joining the squares.
- Fasten off, weave in the ends, and repeat for all the squares.
d. Flat Braid Join (Lacy and Decorative)
- This is an intricate method that adds a decorative, lacy finish between squares.
- How to do it:
- After completing the final round of your granny square, chain a few stitches, slip stitch into the corresponding stitch on the adjacent square, and chain again.
- Work a pattern like chain 3, slip stitch into next stitch, and continue around the entire square.
- This creates a braided or lacy connection between squares.
e. Join-As-You-Go (JAYGO)
- This is a great option if you want to avoid sewing or stitching squares together after making them.
- How to do it:
- When you crochet the final round of a granny square, you attach it directly to the previous square(s) by slip stitching into the corresponding stitches as you go.
- Each time you reach a corner, slip stitch to the corner of the adjacent square before continuing your round.
2. Plan Your Layout
Before joining, it’s essential to plan how you want your granny squares to be arranged. Here are a few tips:
- Lay out your squares: Place them on a flat surface in the order you want them joined.
- Color arrangement: Make sure the colors and patterns are balanced across your project.
- Take a photo: It’s helpful to take a picture of your layout, especially if you need to move the project or work on it in stages.
3. Start Joining
- Begin by joining squares row by row, joining either in pairs or across the entire length of the row. After the rows are joined, work on joining the columns (or vice versa, depending on your method).
- Keep your tension even, especially when using crochet joins, to avoid puckering or pulling.
4. Weave in Ends
- Once all your squares are joined, weave in any loose yarn ends from the joining process.
- If you used whip stitching or any sewing technique, ensure the yarn tails are secured within the stitches to prevent unraveling.
5. Optional: Add a Border
Once your granny squares are all joined, consider adding a border around the entire piece to give it a finished look. The border can be a simple single crochet or double crochet row or something more decorative like a shell or scalloped edge.
Joining granny squares together can be done in several ways, including whip stitching, slip stitch joins, single crochet joins, or more decorative methods like the flat braid join or join-as-you-go. Choose a method based on the look and texture you want. Be sure to plan your layout, join the squares row by row, and weave in any loose ends before optionally adding a border to finish your project.